
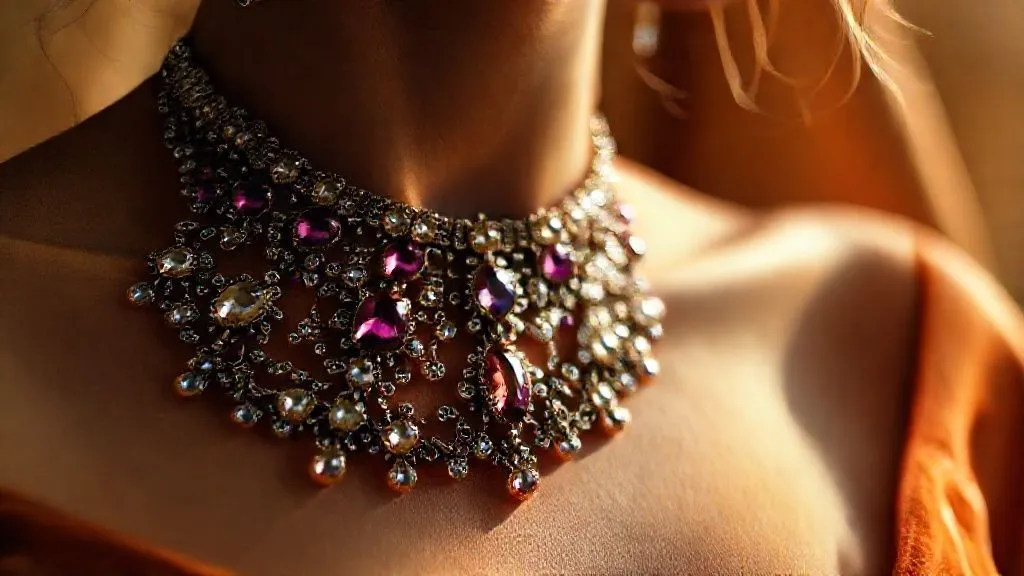
Preventing Unexpected Gemstone Cleavage During Complex Custom Settings?
For over two decades in the high-stakes world of bespoke jewelry design, I've witnessed firsthand the sheer heartbreak and significant financial cost of unexpected gemstone cleavage. There’s a particular sting when a client’s dream piece, often featuring a rare or sentimental stone, succumbs to a hairline fracture during the final stages of setting. It’s a moment that can challenge even the most seasoned artisan.
The problem isn't just a minor inconvenience; it's a critical threat to reputation, profitability, and client trust. When a precious gem, perhaps an emerald with its perfect cleavage or a topaz with its basal tendency, unexpectedly splits under pressure, it often means sourcing a new, equally rare stone, redesigning, and absorbing considerable losses. This issue is magnified exponentially in complex custom settings, where intricate designs demand extraordinary precision and often place unique stresses on the stone.
But what if there was a systematic approach, a framework built on deep gemological understanding and advanced setting techniques, to dramatically reduce this risk? In this definitive guide, I will share the actionable frameworks, cutting-edge insights, and expert-level strategies I’ve honed over years to master preventing unexpected gemstone cleavage during complex custom settings. You'll learn not just what to do, but why, ensuring your custom creations are as durable as they are beautiful.
Understanding Gemstone Cleavage: The Foundation of Prevention
Before we can prevent cleavage, we must first truly understand it. Cleavage isn't just random breakage; it's a fundamental crystallographic property of many gemstones, a predisposition to split along specific, flat planes where atomic bonds are weakest. Think of it like wood grain – it's easier to split wood along the grain than across it. For gemstones, these 'grains' are inherent structural weaknesses.
Ignoring these inherent weaknesses is akin to building a house on sand. I've seen countless instances where a lack of thorough understanding of a gem's specific cleavage properties led directly to irreparable damage. It's not just about knowing if a stone has cleavage, but understanding its direction, perfection, and the specific forces that can exploit it.
The Crystallographic Weakness: Identifying Vulnerable Gems
Gemstone cleavage varies in its perfection and directionality. Some gems, like diamond, have perfect octahedral cleavage, meaning they can split cleanly in four directions. Topaz has perfect basal cleavage, splitting easily across its width. Fluorite has perfect octahedral cleavage, while emerald, a variety of beryl, exhibits imperfect basal cleavage but is notorious for its internal inclusions and fractures, which can act as pre-existing cleavage planes.
Identifying these planes requires more than just a passing glance. It demands careful examination, often with magnification, to observe growth patterns, inclusions, and any existing stress lines that could indicate a potential cleavage path. This initial inspection is paramount, setting the stage for every subsequent decision in the setting process.

To illustrate the varying degrees of cleavage perfection and their implications for jewelers, consider this comparison:
| Gemstone | Cleavage Perfection | Cleavage Direction | Setting Implication |
|---|---|---|---|
| Diamond | Perfect | Octahedral (4 directions) | Extreme care with impact, avoid pressure on planes. |
| Topaz | Perfect | Basal (1 direction) | Protect edges perpendicular to cleavage, avoid striking the top/bottom. |
| Emerald | Imperfect Basal | Basal (1 direction) | Highly susceptible due to inclusions; gentle, even pressure is critical. |
| Spodumene (e.g., Kunzite) | Perfect | Prismatic (2 directions) | Very fragile, requires protective settings, avoid sudden temperature changes. |
| Fluorite | Perfect | Octahedral (4 directions) | Extremely soft and fragile, best for protected settings, avoid all impact. |
Pre-Setting Protocols: Mitigating Risk Before the First Touch
The battle against cleavage is often won or lost long before the gem touches the setting. My experience has taught me that meticulous pre-setting protocols are the bedrock of successful, damage-free custom work. This phase is about gathering intelligence, understanding your material, and planning your attack – or rather, your gentle embrace – of the gemstone.
1. Comprehensive Gemstone Assessment & Selection
Every gemstone must undergo a rigorous individual assessment. This isn't just a cursory glance; it's a deep dive into its unique characteristics. Here’s my refined process:
- Magnification Examination (10x to 60x): Use a high-quality loupe or microscope to scan for existing fractures, inclusions that intersect the surface, and subtle cleavage planes. Pay particular attention to girdle edges and pavilion facets, which are common stress points. Look for ‘feathers’ or ‘gossamer’ inclusions that might indicate latent cleavage.
- Polariscope Analysis: For doubly refractive stones, a polariscope can reveal internal strain patterns, which are invisible to the naked eye but can indicate areas of weakness or potential cleavage. Anomalous extinction patterns often signal internal stress.
- Refractometer & Specific Gravity: Confirm the gem's identity. Misidentification can lead to inappropriate setting techniques. A common mistake is treating a fragile, cleavage-prone gem like a robust one.
- Mohs Hardness & Toughness Review: While hardness is resistance to scratching, toughness is resistance to breaking. Many hard gems (like diamond) can be brittle (low toughness) and prone to cleavage. Always verify the gem's toughness rating.
- Orientation Mapping: For stones with distinct cleavage, use a fine-tipped marker (erasable) to map out the cleavage planes directly on the stone if possible, or on a diagram. This visual guide is invaluable during setting.

2. Advanced CAD/CAM Design & Stress Analysis
In today's custom jewelry landscape, CAD/CAM technology is an indispensable ally in preventing cleavage. I can't stress enough how critical it is to leverage these tools. Instead of relying solely on intuition or trial-and-error, we can now simulate the setting process digitally.
Sophisticated CAD software allows us to design settings with incredible precision, ensuring that contact points are optimized, and pressure is distributed evenly. More importantly, advanced simulation modules can perform Finite Element Analysis (FEA). This allows designers to virtually apply forces to the gemstone within the proposed setting and identify areas where stress concentrations might lead to cleavage. It’s a game-changer, revealing potential weaknesses in the design before a single piece of metal is cut or a gem is touched.
For a deeper dive into how CAD/CAM revolutionizes precision in jewelry, I recommend exploring resources from reputable institutions like the Gemological Institute of America (GIA), which often publishes insights into these advancements.
Setting Techniques Masterclass: Precision for Fragile Gems
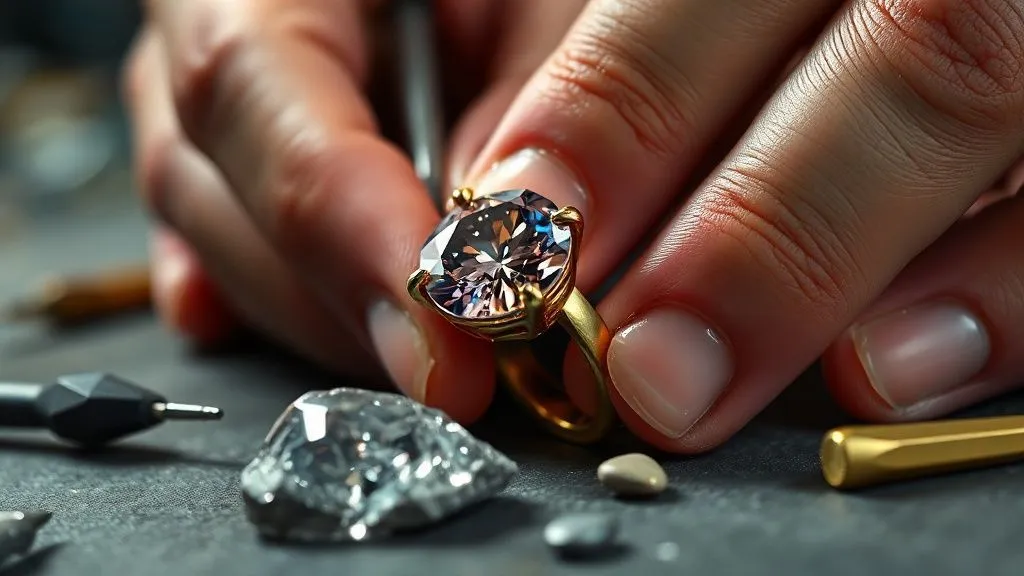
Once the gem is assessed and the setting designed, the actual setting process demands an unparalleled level of skill, patience, and specialized technique. This is where the rubber meets the road, and where years of experience truly shine.
3. Tailoring Setting Styles to Gemstone Characteristics
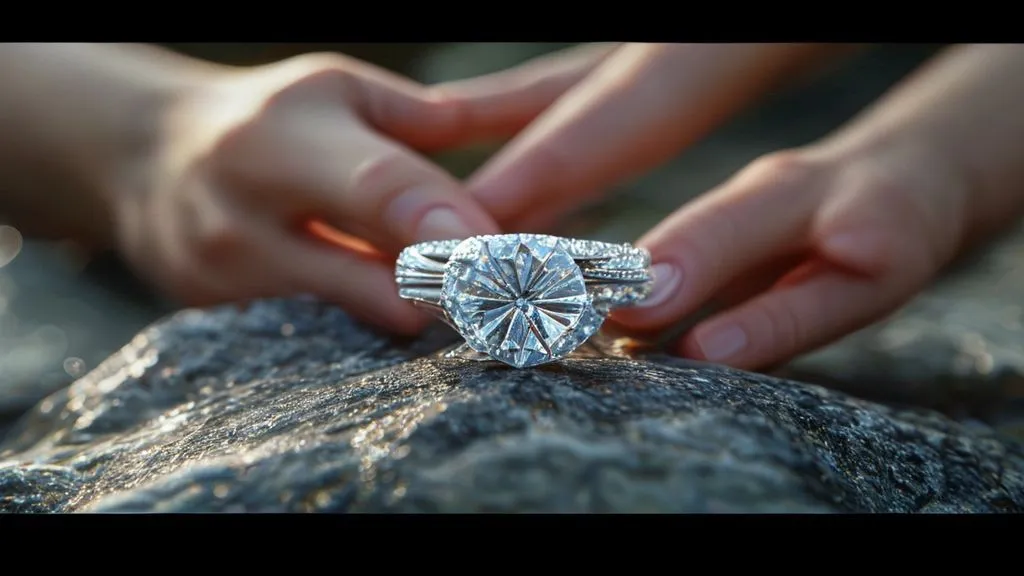
Not all setting styles are created equal, especially when dealing with cleavage-prone gems. The choice of setting must be a conscious decision, directly influenced by the gem's vulnerabilities:
- Bezel Settings: Often my first choice for very fragile or cleavage-prone gems. A full bezel completely encircles the gem, providing maximum protection to the girdle and edges, distributing pressure evenly across a larger surface area, and cushioning the stone.
- Partial Bezel or Half-Bezel: Offers good protection while allowing more light. Careful consideration must be given to the exposed areas, especially if they align with cleavage planes.
- Channel Settings: Excellent for protecting multiple small stones, but the side walls must be meticulously prepared to avoid applying undue pressure to the gem's girdles during insertion. The channel must be perfectly sized.
- Prong Settings: While popular for maximizing light, prong settings can be risky for cleavage-prone gems if not executed with extreme care. Each prong acts as a point of pressure. Prongs must be perfectly aligned, evenly spaced, and shaped to cradle the gem without sharp edges digging into the girdle. I always advise using thicker, rounded prongs for softer or more fragile stones.
- Tension Settings: Generally avoided for cleavage-prone gems due to the immense, sustained pressure applied to two points. Only exceptionally tough gems are suitable for this style.

Case Study: The 'Whisper-Thin' Emerald Engagement Ring
Acme Jewels, a boutique studio known for its intricate custom work, recently faced a daunting challenge: an engagement ring featuring a stunning, yet notoriously fragile, emerald. The client requested a minimalistic design with minimal metal, making the traditional protective bezel less appealing. The emerald itself had several faint, natural inclusions that hinted at latent cleavage planes.
By implementing the comprehensive assessment and CAD/CAM stress analysis I've described, Acme's lead designer identified critical stress points in the initial prong setting concept. They discovered that two of the four prongs, if set conventionally, would exert pressure directly along a potential cleavage plane. Through iterative FEA simulations, they redesigned the prongs to be slightly wider, with meticulously rounded tips, and shifted their placement by mere fractions of a millimeter to cradle the gem's toughest points.
During setting, the jeweler used specialized, cushioned setting pliers and applied pressure incrementally, checking under magnification after each micro-adjustment. The result was a breathtaking ring where the emerald appeared to float, yet was securely held without any sign of stress or cleavage. This meticulous approach not only saved the expensive emerald but solidified Acme Jewels' reputation for handling exceptionally challenging commissions, leading to a significant increase in high-value custom orders.
Tooling & Craftsmanship: The Jeweler's Essential Arsenal
Even with the perfect design and the right setting choice, the process can still fail if the tools and the jeweler's touch are not perfectly attuned to the delicate nature of the gemstone. It's about finesse, control, and a deep respect for the material.
4. Specialized Tools and Modified Approaches
Using the correct tools, and knowing how to modify their use, is paramount. I've curated my toolkit over years to include specific items for delicate work:
- Soft-Jawed Pliers and Tweezers: Always use tools with nylon, rubber, or plastic-coated jaws when handling gems. Metal-on-gem contact, even with light pressure, can cause micro-fractures or transfer shock.
- Precision Pusher Tools: For closing prongs or bezels, opt for specialized pusher tools with broad, flat, or rounded ends made from brass, plastic, or even hardened wood. These distribute pressure more evenly than a sharp steel graver.
- Micro-Hammers and Punch Tools: If hammering is unavoidable (e.g., for certain pave settings), use micro-hammers with adjustable force and soft tips. Always use a punch tool that perfectly matches the surface being worked, ensuring the force is directed precisely where needed and not allowed to glance off onto the gem.
- Wax or Thermoplastic Holders: For intricate work, temporarily securing the gem in a thermoplastic or wax holder can provide stability and prevent accidental drops or shifting during setting, which can be a common cause of impact-induced cleavage.
- Ultrasonic Cleaner Caution: After setting, always exercise extreme caution with ultrasonic cleaners, especially for emeralds or other heavily included or treated gems. The vibrations can exacerbate existing fractures or even induce new ones. Gentle hand-cleaning is often preferred.
The GIA offers excellent resources on gemstone care and handling, which often touch upon the nuances of jeweler's tools and their application for different gem types.
5. Temperature Control and Environmental Factors
Thermal shock is a silent killer for many gemstones, particularly those with good cleavage. Rapid changes in temperature cause expansion and contraction within the stone, leading to internal stresses that can exploit existing cleavage planes. I've seen a beautiful tanzanite shatter simply because it was moved too quickly from a cold workshop bench to a warm polishing wheel.
- Consistent Environment: Maintain a stable workshop temperature. Avoid sudden blasts of hot air from torches or cold air from air conditioning units directly on the gemstone.
- Gradual Heating/Cooling: If heating the metal setting is necessary (e.g., for certain repairs or adjustments), ensure the gemstone is either removed or protected, and that any heating/cooling is done gradually.
- Lubrication: For some settings, a tiny amount of a neutral lubricant (like mineral oil) can help the stone slide into place more smoothly, reducing friction and the need for excessive force. This is particularly useful for channel settings.
Post-Setting & Quality Assurance: Ensuring Long-Term Stability
The work isn't truly done once the gem is seated. A thorough post-setting inspection and quality assurance process are crucial to guarantee the integrity of the piece and to ensure that no latent damage occurred during the setting phase. This final check is your last line of defense.
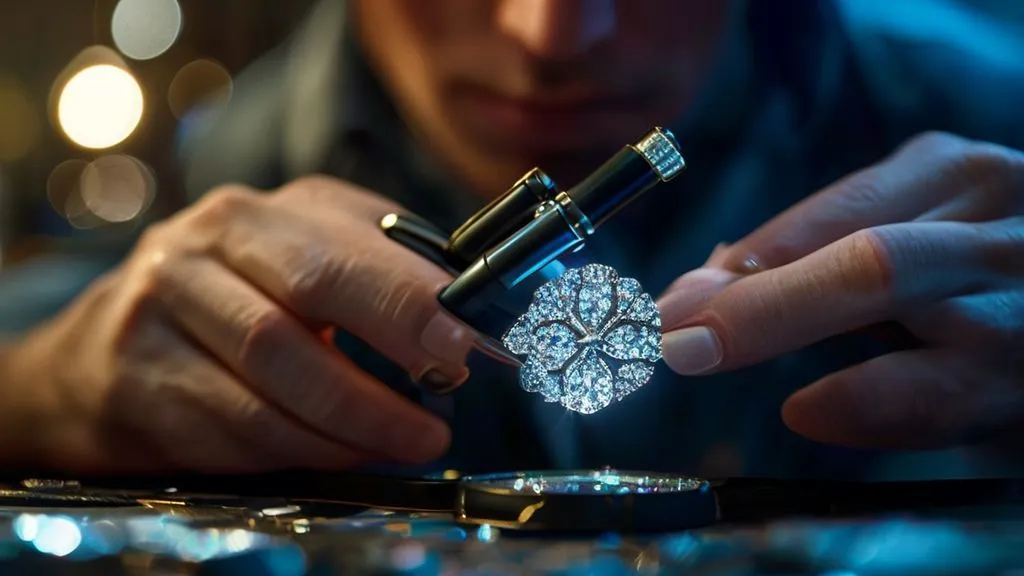
Microscopic Inspection and Stress Testing
After the setting is complete, I always perform a detailed microscopic inspection. This involves:
- High-Magnification Scan: Examine the entire gemstone, paying close attention to the girdle, facet junctions, and any areas near contact points with the metal. Look for new feathers, chips, or subtle stress fractures that might not be visible to the naked eye.
- Light Tapping Test (Gentle): For some more robust gems, a very gentle tap with a plastic-tipped probe on the crown can reveal if the stone is loose or if there's any undue vibration that could indicate a poor fit. This must be done with extreme caution and only on appropriate gems.
- Visual Check for Gaps: Ensure there are no gaps between the gem and the metal, which could allow dirt ingress or indicate uneven pressure points.
For more detailed insights into quality control in jewelry manufacturing, I often refer to industry standards and best practices outlined by organizations like the American Gem Trade Association (AGTA), which emphasizes ethical and quality benchmarks.
Expert Insight: "The true mark of a master jeweler isn't just in the flawless execution of a complex setting, but in the foresight to anticipate every potential point of failure and to engineer a solution before the stone is even touched. Prevention is always superior to repair, especially when dealing with the irreplaceable beauty of a natural gemstone."
Frequently Asked Questions (FAQ)
What is the single most common mistake jewelers make that leads to gemstone cleavage? In my extensive experience, the most common mistake is inadequate pre-assessment of the gemstone's specific cleavage properties and inherent weaknesses. Many jewelers rely on generalized knowledge rather than a detailed, individual examination of each stone, leading to inappropriate setting techniques or excessive force being applied along a vulnerable plane.
Can ultrasonic cleaners cause cleavage in set gemstones? Yes, absolutely. While convenient, ultrasonic cleaners generate high-frequency vibrations that can exacerbate existing fractures or inclusions, and even induce cleavage in certain fragile or heavily included gemstones like emeralds, opals, or tanzanites, especially if they are already stressed in their setting. For such stones, gentle hand-cleaning with mild soap and water is always the safer option.
How does the metal's hardness or malleability affect the risk of cleavage during setting? The choice of metal significantly impacts the setting process. Softer, more malleable metals like pure gold or platinum are generally more forgiving, allowing the jeweler to manipulate the metal around the stone with less force, reducing the risk of cleavage. Harder alloys, while more durable for the finished piece, require greater force to work, increasing the potential for stress transfer to the gemstone if not handled expertly.
Are certain gemstone cuts more prone to cleavage than others? Yes, specific cuts can increase vulnerability. Cuts with very sharp corners, thin girdles, or large, exposed tables (like emerald cuts or baguettes) are inherently more susceptible to impact and cleavage than rounded cuts (like brilliant or cabochon). The orientation of the cut relative to the rough stone's cleavage planes is also crucial; a cutter should ideally orient the stone to minimize cleavage exposure, but this isn't always possible.
What role does the jeweler's experience play in preventing cleavage, beyond technical knowledge? Beyond technical knowledge, experience brings an intuitive 'feel' for the stone and metal. It's the subtle understanding of how much pressure is too much, the ability to 'listen' to the material, and the muscle memory developed over countless settings. An experienced jeweler can anticipate potential issues, adapt on the fly, and execute with a gentle, confident touch that minimizes risk, a skill that can only be honed over years of practice and a deep respect for the craft.
Key Takeaways and Final Thoughts
Preventing unexpected gemstone cleavage during complex custom settings is not merely a technical challenge; it's an art form rooted in scientific understanding, meticulous planning, and masterful execution. My journey through decades in this industry has underscored one fundamental truth: true expertise lies in foresight and prevention.
- Thorough Assessment is Non-Negotiable: Every gem is unique. Understand its individual vulnerabilities before you begin.
- Leverage Technology: CAD/CAM and FEA are powerful tools for pre-empting design flaws.
- Match Setting to Stone: Choose setting styles that protect, rather than expose, a gem's weaknesses.
- Master Your Tools and Touch: Use specialized equipment and apply pressure with precision and patience.
- Control the Environment: Mitigate thermal shock and other environmental stressors.
- Inspect, Inspect, Inspect: Post-setting quality assurance is your final safeguard.
By integrating these principles into your daily practice, you won't just be setting gemstones; you'll be safeguarding their inherent beauty and ensuring the lasting integrity of your custom creations. Embrace these strategies, and you'll transform potential heartbreak into enduring masterpieces, building a reputation for excellence that truly shines.
Recommended Reading
- Boost Luxury Fashion Week ROI: 7 Strategies Amidst Rising Costs
- 7 Essential Urgent Repair Methods for Priceless Haute Couture Textiles
- Revive Your Fashion Blog: 5 Steps to Predict Emerging Trends & Stay Relevant
- 7 Steps: Ethically Sourcing Traceable Gold for Small Jewelry Brands
- 7 Pillars: How to Design Luxury Watches for Guaranteed Resale Value

Your email address will not be published. Required fields are marked *