
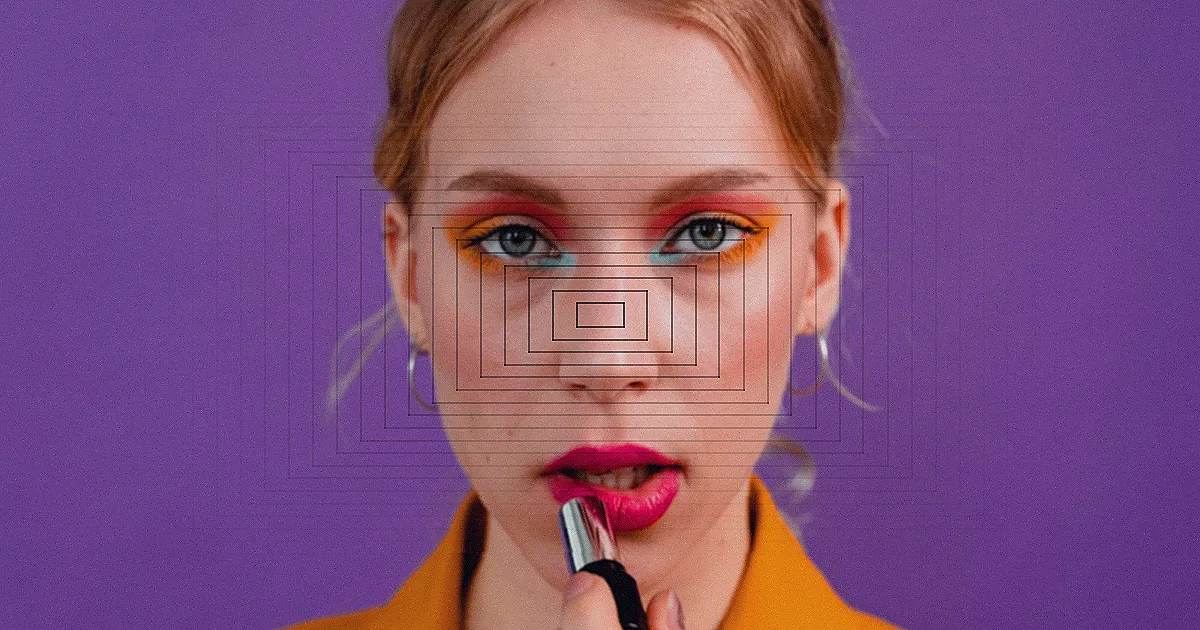
Prevent Professional Makeup Flashback in HD Photos: My Expert Guide
For over 15 years in the high-stakes world of beauty fashion, I've witnessed countless moments of panic and disappointment when a stunning professional makeup look, meticulously crafted for a client, is utterly ruined by the dreaded 'flashback effect' in HD photos. It's a gut-wrenching experience for both the artist and the client, turning a radiant face into a ghostly apparition under the camera's unforgiving flash.
This common, yet often misunderstood, phenomenon occurs when certain makeup ingredients reflect light back into the camera lens, creating a stark white cast that completely distorts the intended look. It can sabotage everything from red carpet appearances and editorial shoots to the most important day of a bride's life, leaving behind a trail of frustration and costly re-shoots.
But here's the good news: preventing professional makeup flashback in HD photos isn't a dark art, it's a science, and I'm here to demystify it for you. In this definitive guide, I'll share my battle-tested strategies, product insights, and application techniques to ensure your professional makeup looks flawless, no matter how bright the flash or how high-definition the camera. You'll learn the 'why' behind flashback and, more importantly, the 'how' to banish it forever.
Understanding the Science of Flashback: What Causes It?
To truly combat flashback, we must first understand its origins. It's not just a random occurrence; it's a direct interaction between specific makeup ingredients, light, and the camera's sensor. Think of it as a tiny, unwelcome spotlight on your face.
The Culprits: Silica, Titanium Dioxide, and Zinc Oxide
The primary culprits behind flashback are often ingredients found in many popular makeup products, especially those designed for sun protection or oil control. Silica (silicon dioxide), commonly found in translucent setting powders, is a fantastic oil absorber and creates a blurring effect, but its micro-particles are highly reflective under direct flash.
Similarly, titanium dioxide and zinc oxide, the physical sunscreens in many foundations and SPF products, are designed to reflect UV light. While excellent for sun protection, this reflective property extends to visible light, making them notorious for causing a white cast in flash photography. According to Paula's Choice, these mineral filters sit on the skin's surface and literally bounce light away, which is their protective mechanism but also their photographic downfall.
Light Interaction and Camera Sensors
Modern HD cameras, with their advanced sensors and high resolution, are incredibly sensitive to light. When a flash fires, it emits a burst of intense, direct light. If your makeup contains highly reflective particles, that light is bounced straight back into the camera lens, creating an overexposed, bright white area on your skin. This is particularly noticeable in areas where powder is concentrated, like under the eyes or around the T-zone.
It's a subtle dance between the light source, the reflective makeup, and the camera's ability to capture every detail. My experience tells me that even a tiny amount of the wrong product can make a significant difference.

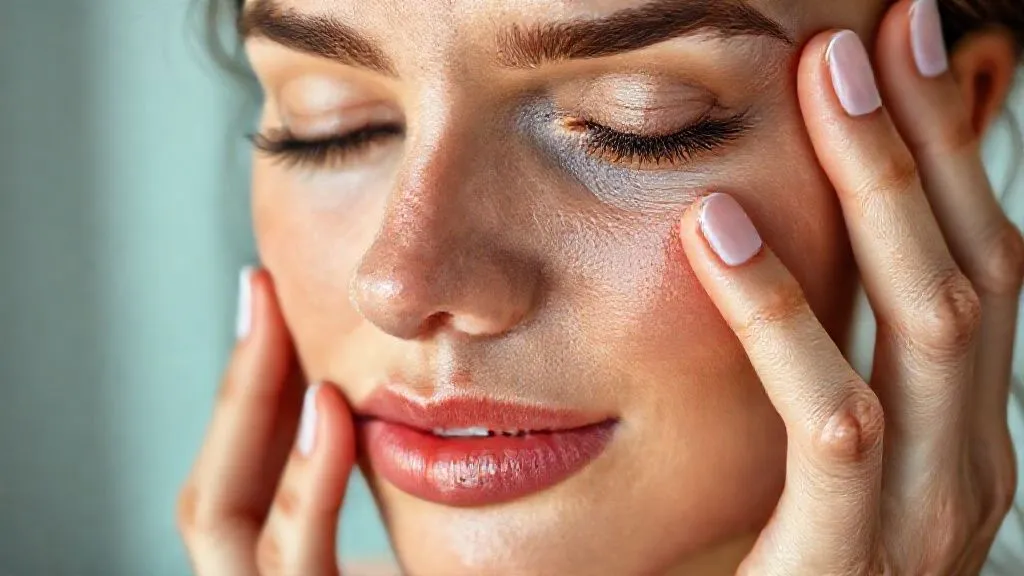
Mastering Your Foundation & Concealer Choices
The foundation of any professional makeup look is, well, the foundation itself. Choosing the right formula and shade is paramount to preventing flashback.
Formulation Matters: Silicone vs. Water-Based
In my kit, I gravitate towards foundations that are silicone-based or water-based and specifically formulated for photography or 'HD' wear. These often have finely milled pigments and are designed to diffuse light rather than reflect it. Avoid heavy, oil-based formulas that can look greasy and patchy under flash, or those with a high concentration of physical sunscreens.
Always check the ingredient list for titanium dioxide and zinc oxide. While a small percentage might be fine, a high concentration, especially if listed early in the ingredients, is a red flag for flash photography. Many brands now explicitly state 'flash-friendly' or 'no flashback' on their packaging, which is a great starting point.
Shade Matching Under Different Lights
Shade matching is another critical component. I've seen clients look perfectly matched in natural daylight, only to appear ghostly pale or oddly orange under studio lights or flash. Always test your foundation and concealer shades in the lighting conditions where the photos will be taken. This means taking test photos with a flash!
A shade that looks slightly darker or warmer in natural light might be perfect under flash, as flash tends to wash out color. Conversely, a shade that's perfect in natural light might look too light under flash. It's a subtle art of prediction and testing.
| Foundation Type | Flashback Risk | Key Benefit | Ideal Use |
|---|---|---|---|
| Silicone-Based | Low | Smooth, blurring effect | Photography, long-wear |
| Water-Based | Low to Medium | Lightweight, natural finish | Everyday, lighter coverage |
| Oil-Based/Heavy Coverage | Medium to High | Maximum coverage, hydration | Dry skin, theatrical |
| SPF-Heavy (Mineral) | High | Sun protection | Outdoor daytime, no flash |
The Strategic Art of Powder Application
Powder is where flashback often rears its ugly head most prominently. It's a powerful tool for setting makeup and controlling shine, but it requires a nuanced approach for HD photography.
Translucent vs. Colored Powders: A Critical Distinction
When it comes to powder, not all are created equal. Many so-called 'translucent' powders contain a high percentage of silica, which, as we discussed, is a major flashback culprit. While they look invisible to the naked eye, under flash, they can create that dreaded white cast. My go-to strategy is to use finely milled, color-correcting powders that have a subtle tint (like banana powder for warmth or lavender for brightening) but are not heavily opaque.
Alternatively, if a true translucent powder is necessary, I opt for formulas that explicitly state they are flashback-safe, or those with a very low silica content. Less is always more when it comes to powder for photography.
The 'Baking' Technique: When and How to Use It Safely
The 'baking' technique, where a thick layer of powder is applied and left to 'bake' before being brushed off, is popular for creating a flawless, creaseless finish. However, it's a high-risk maneuver for flash photography if you're using the wrong powder.
If you must bake, use a very finely milled, flashback-safe powder with a subtle tint. My preferred method is a lighter hand and a damp beauty sponge to press the powder into the skin, allowing it to meld, then gently dusting off any excess with a soft, fluffy brush. The goal is to set, not to layer excessively.
- Step 1: Choose Wisely. Select a finely milled, tinted setting powder (e.g., a banana powder) or a translucent powder specifically labeled as 'flashback-safe' with minimal silica.
- Step 2: Less is More. Dispense a small amount of powder onto a palette or the back of your hand.
- Step 3: Targeted Application. Using a damp beauty sponge or a small, fluffy brush, gently press the powder onto areas prone to shine or creasing, such as under the eyes, T-zone, and around the mouth.
- Step 4: Press, Don't Rub. Press the powder into the skin using a patting motion. This helps it meld with the foundation and concealer, rather than sitting on top.
- Step 5: Dust Off Excess. After a minute or two, take a large, soft powder brush and lightly sweep away any visible excess powder. Ensure no visible residue remains.
- Step 6: Test. Always take a test photo with flash to confirm the absence of flashback before the main event.
Beyond the Basics: Blush, Bronzer, and Highlighter
While foundation and powder are the main culprits, secondary products like blush, bronzer, and highlighter can also contribute to unwanted reflectivity if not chosen and applied correctly.
Avoiding Shimmer Overload
Many blushes, bronzers, and especially highlighters contain shimmer or glitter particles. While beautiful in person, under flash, these can create hot spots of light that look unnatural and distracting in photos. My rule of thumb for flash photography is to opt for matte or satin-finish products for blush and bronzer.
For highlighter, choose finely milled formulas that give a 'lit-from-within' glow rather than an obvious sparkle. Cream highlighters can often be more forgiving than powder highlighters, as they tend to melt into the skin more seamlessly.
Cream vs. Powder Formulations for Flash Photography
In my experience, cream-based blushes and bronzers often perform better under flash than their powder counterparts. They tend to create a more natural, skin-like finish and are less likely to sit on the surface of the skin and reflect light. If using powder products, again, ensure they are finely milled and applied sparingly, building up color gradually.
Remember, the goal is to enhance features, not to create a disco ball effect. Subtlety is key for professional, flawless HD photography.

Setting Sprays: Your Final Flashback Shield
Setting sprays are often an overlooked but crucial step in preventing professional makeup flashback in HD photos. They serve as a final seal, melting powders into the skin and creating a unified, skin-like finish.
Choosing the Right Setting Spray Formula
Not all setting sprays are created equal. Avoid those that promise a 'dewy' or 'radiant' finish, as these often contain reflective particles that can exacerbate flashback. Instead, look for sprays that offer a matte, natural, or long-wearing finish.
Ingredients like PVP, alcohol (in moderation), and film-formers help to lock makeup in place and reduce the powdery appearance, effectively minimizing light reflection. I always keep several different formulas in my kit to suit various skin types and photographic needs.
Application Techniques for Longevity and Reflection Control
The way you apply setting spray is just as important as the product itself. After completing the entire makeup look, hold the bottle about 8-10 inches away from the face and mist in an 'X' and 'T' formation. This ensures even coverage.
Allow the spray to air dry completely. Do not fan your face, as this can cause uneven drying and disrupt the film-forming process. The goal is to create a seamless layer that fuses all the powders and creams, making them appear as one with the skin, thereby reducing their individual light-reflecting properties.
"A well-chosen and expertly applied setting spray is the unsung hero against flashback. It’s the final veil that harmonizes all components, making makeup look like skin and banishing the dreaded white cast." - Industry Expert's Insight
Lighting & Photography: Collaborating with Your Photographer
Even with the most meticulously applied flashback-proof makeup, understanding the photographic environment is key. Makeup and photography are two sides of the same coin, and collaboration is essential.
Understanding Different Flash Types
Not all flashes are created equal. A direct, on-camera flash is the most notorious for causing flashback because the light hits the face head-on and bounces directly back into the lens. Off-camera flashes, bounced flashes (where light is aimed at a ceiling or wall), or diffused flashes are much more forgiving.
As a makeup artist, I always try to communicate with the photographer about their lighting setup. Knowing if they'll be using direct flash, natural light, or studio strobes helps me make subtle adjustments to the makeup, such as going even lighter on powder or opting for cream products.
Pre-Shoot Tests: The Non-Negotiable Step
This is perhaps the most crucial advice I can offer: always conduct test shots with the actual camera and flash that will be used for the final photos. This should be done in the same lighting conditions, if possible. My process involves taking a few quick photos with a flash, then reviewing them on the camera's display.
Look closely at the T-zone, under-eye area, and any other areas where powder or reflective products were applied. If you see any signs of a white cast, you still have time to make adjustments, such as blotting, lightly dusting off excess powder, or applying a hydrating mist. This step has saved countless shoots from potential disaster.

| Pre-Shoot Task | Responsibility | Notes |
|---|---|---|
| Discuss Lighting Setup | MUA & Photographer | Understand flash type, natural light availability |
| Full Makeup Application | MUA | Apply all products as planned for the shoot |
| Take Test Photos with Flash | Photographer | Use actual camera/flash, multiple angles |
| Review Images Together | MUA & Photographer | Check for flashback, unevenness, color shift |
| Make Adjustments | MUA | Blot, re-powder, mist as needed; repeat test if significant changes |
Case Study: Sarah's Wedding Day Flashback Rescue
The Initial Problem and Panic
I recall a bride, Sarah, who had her makeup done by another artist for her engagement photos. She showed me the proofs, and her face, particularly around her under-eyes and forehead, had a distinct ghostly white cast against her beautiful, olive skin. She was devastated. The other artist had used a popular translucent powder with high silica content, believing it would create a 'poreless' finish.
Sarah was panicking about her upcoming wedding day, fearing the same outcome. She came to me specifically to prevent professional makeup flashback in HD photos for her big day.
My Intervention and the Flawless Outcome
My first step was a thorough consultation, reviewing her previous photos and understanding her skin type. For her wedding, I opted for a silicone-based, flashback-safe foundation, meticulously matched to her skin in both natural and flash lighting. Instead of a silica-heavy translucent powder, I used a very finely milled, subtly tinted banana powder to set her under-eyes and T-zone, applied with a damp sponge and minimal product. I strictly avoided any SPF in her face makeup.
Crucially, I worked closely with her wedding photographer. We did extensive test shots during her trial and again on the wedding morning, using the photographer's exact lighting setup. Each time, we reviewed the images on the camera's screen, ensuring no hint of flashback. The result? Sarah's wedding photos were absolutely stunning. Her skin looked flawless, radiant, and perfectly natural, with not a single trace of flashback. She was overjoyed, and it solidified my belief in meticulous product selection and pre-shoot testing.
Common Mistakes to Avoid and Expert Troubleshooting
Even seasoned professionals can sometimes make mistakes. Being aware of these common pitfalls can save you a lot of headache.
Over-Application of SPF Products
This is a huge one. While SPF is vital for daily skin protection, it's often the primary cause of flashback in photography. Many foundations, primers, and moisturizers contain SPF 15 or higher, often with titanium dioxide or zinc oxide. For flash photography, I always recommend using a separate moisturizer without SPF, and a foundation that is SPF-free or has a very low, chemical-based SPF (which tends to be less reflective than mineral sunscreens). As Allure frequently highlights, even a seemingly small amount of SPF can be problematic.
Ignoring Skin Prep
Flawless makeup starts with flawless skin prep. If the skin is dry, flaky, or overly oily, makeup won't sit smoothly, increasing the likelihood of uneven application and potential flashback. Always cleanse, tone, and moisturize thoroughly. Use a hydrating, non-silicone-heavy primer to create an even canvas. Well-prepped skin allows makeup to truly meld, reducing surface reflectivity.
Last-Minute Product Changes
Never, ever introduce a new product on the day of a major shoot or event without testing it first. I've seen artists swap out a trusted powder for a 'new and improved' version just hours before a red carpet, only to discover it caused severe flashback. Stick to what you know works, and if you must try something new, test it rigorously with flash photography beforehand.

Frequently Asked Questions (FAQ)
Can mineral makeup cause flashback? Yes, absolutely. Many mineral makeups rely heavily on titanium dioxide and zinc oxide for their natural sun protection and coverage properties. While excellent for everyday wear, these ingredients are notorious for causing flashback in flash photography. Always check the ingredient list and perform a flash test.
Is SPF in foundation always bad for photos? Not always, but it's a high risk. Foundations with high mineral SPF (titanium dioxide, zinc oxide) are the biggest culprits. Chemical SPFs (like oxybenzone, avobenzone) are generally less reflective, but even then, a high SPF factor can sometimes contribute to a slight haze. For critical photos, I recommend an SPF-free foundation.
How do I test my makeup for flashback at home? It's simple and crucial! After applying your full makeup look, take a selfie using your phone's flash. Review the photo immediately. Pay close attention to your T-zone, under-eyes, and any areas where you applied powder. This quick test will reveal any issues before you step out.
What about 'HD' labeled products? Are they always flashback-safe? While 'HD' labeled products are designed to look flawless under high-definition cameras, it doesn't automatically guarantee they are flashback-proof. Some older 'HD' formulas might still contain reflective ingredients. Always check reviews, ingredient lists, and, most importantly, conduct your own flash test. Trust your own eyes and camera, not just the label.
Does skin type affect flashback? Yes, indirectly. Oily skin types often require more powder to control shine, which can increase the risk of flashback if the wrong powder is used or over-applied. Dry skin might show flashback more prominently if powders cling to dry patches. Proper skin prep and targeted product selection are essential for all skin types to mitigate this. Research on skin optics and cosmetics confirms that surface texture and oiliness influence light reflection.
Key Takeaways and Final Thoughts
Preventing professional makeup flashback in HD photos is a skill honed through experience and a deep understanding of product chemistry and photography. It’s about being proactive, not reactive.
- Choose Wisely: Prioritize flashback-safe foundations, concealers, and setting powders, avoiding high concentrations of mineral SPF, silica, titanium dioxide, and zinc oxide.
- Apply Strategically: Practice a light hand with powders, opting for finely milled, tinted formulas over heavy, translucent ones. Cream products can be your ally.
- Seal the Deal: Integrate a matte or natural-finish setting spray to fuse makeup and reduce powdery finishes.
- Communicate & Test: Always collaborate with your photographer and, critically, conduct flash test shots before any major event or shoot. This is your ultimate safety net.
- Prep is Power: Never underestimate the importance of proper skin preparation for a seamless, non-reflective canvas.
I've seen the confidence that comes from knowing your makeup will look perfect, both in person and on camera. By integrating these expert strategies into your professional makeup routine, you won't just prevent flashback; you'll elevate your artistry and deliver truly flawless, camera-ready results every single time. Go forth and create stunning, unforgettable images!
Recommended Reading
- Navigating Ethical Diamonds: 7 Steps to Conflict-Free Fine Jewelry
- Unearthing Obscure Costume Details: A Filmmaker's 7-Step Research Guide
- 7 Proven Strategies: Differentiating Luxury Fitness Fashion in a Crowded Market
- 7 Smart Ways to Liquidate Unsold Winter Accessories Without Devaluing Your Brand
- Mastering Heritage: 7 Steps to Train Couture Embroidery Artisans

Your email address will not be published. Required fields are marked *