
Unlocking Hyper-Realism: How to Improve Costume Design Sketch Realism
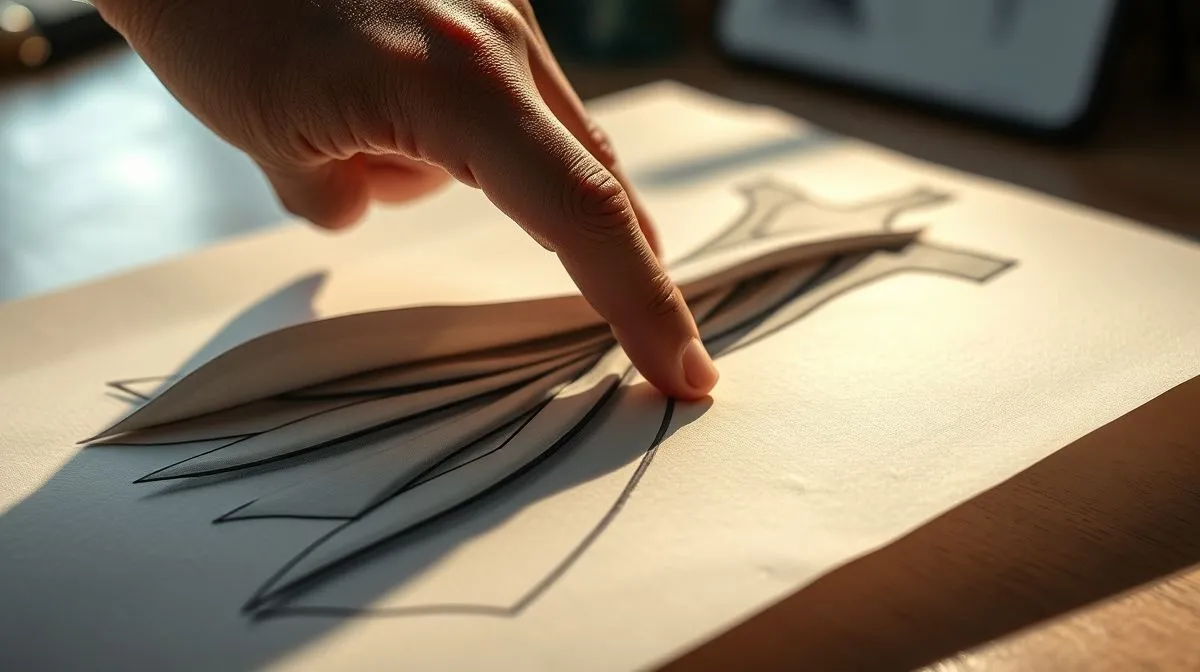
Have you ever poured your heart into a costume design, only to find that your sketch doesn't quite capture the vibrant vision in your mind? That feeling of a flat, lifeless rendering failing to convey the intricate textures, the dramatic drape, or the very essence of your character's attire is a common frustration among designers. It's a disconnect between imagination and execution, where the dynamism of a living garment gets lost on paper.
The core problem often lies in translating the three-dimensional world of fabric, form, and light onto a two-dimensional surface with convincing authenticity. How do you make silk look like silk, and armor feel like solid metal? How do you convey the way a skirt sways with movement or how light glints off an embroidered detail? The challenge is to bridge this gap, ensuring your sketches communicate not just the design, but its tangible presence.
This comprehensive guide will equip you with the essential knowledge and practical techniques to dramatically improve costume design sketch realism. From mastering fundamental drawing principles to advanced rendering tricks, you’ll learn how to breathe life into your creations, making them resonate with the same depth and impact you envision. Prepare to transform your sketches into compelling, hyper-realistic representations of your artistic vision.
Mastering Anatomy and Figure Drawing for Costume
At the heart of any realistic costume sketch is a solid understanding of the human form. Costumes don't exist in a vacuum; they adorn bodies. A convincing costume starts with a convincing figure underneath.
Understanding Proportions and Structure
- Accurate Proportions: Begin with a strong foundational understanding of human anatomy and proportions. Even if your final figure is stylized, the underlying structure must be sound to ensure the costume drapes realistically.
- Skeletal and Muscular Landmarks: Familiarize yourself with how bones and muscles dictate the form beneath the fabric. This knowledge allows you to predict how fabric will stretch, pull, and fold over various body parts.
- Dynamic Poses: Practice drawing figures in a variety of poses that convey movement and emotion. A static figure will lead to a static costume.
Drawing the Figure Beneath the Fabric
Think of the figure as a mannequin upon which you are dressing your design. Sketch the basic form lightly first, then build the costume on top. This ensures the garment conforms naturally to the body's curves and contours, rather than appearing as a flat cutout.
According to art educator and author, Betty Edwards, in her renowned book 'Drawing on the Right Side of the Brain,' observing and replicating shapes and negative spaces accurately is paramount to achieving realism. This principle applies directly to how fabric interacts with the human form.
The Art of Fabric Draping and Texture Rendering
Fabric is perhaps the most challenging, yet rewarding, element to render realistically. Each textile has unique properties that dictate how it behaves.
Understanding Fabric Types and Their Behavior
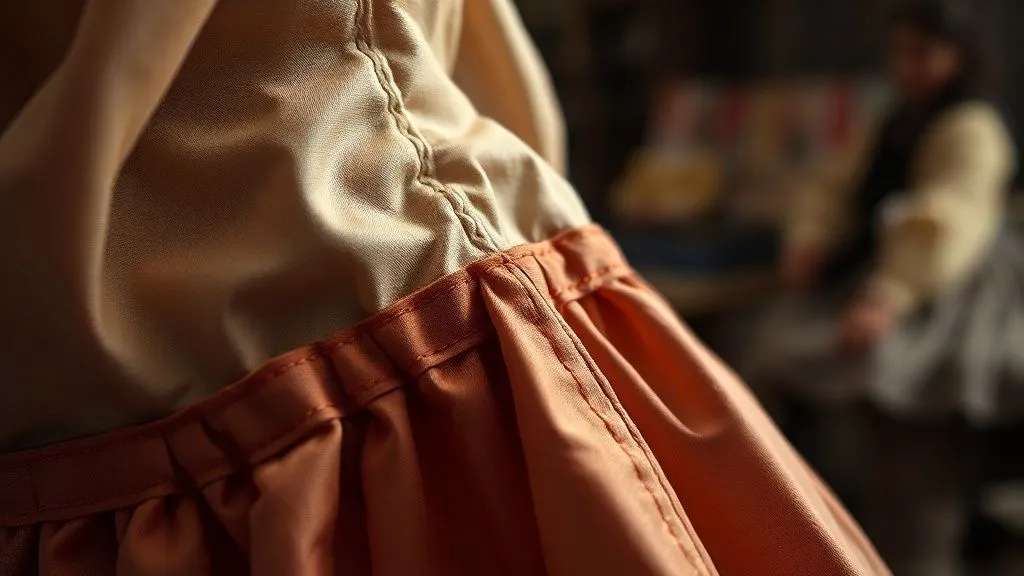
- Weight and Stiffness: Heavy fabrics like wool or brocade will create fewer, larger folds, while light fabrics like chiffon or silk will form numerous, delicate wrinkles.
- Sheen and Opacity: Does the fabric absorb light (matte cotton) or reflect it (satin, leather)? Is it translucent or opaque?
- Stretch and Flow: How much does the fabric stretch? Does it cling to the body or flow away from it?
Techniques for Realistic Folds and Wrinkles
Folds are not random; they are dictated by gravity, tension, and the underlying form. There are several common types of folds:
- Pipe Folds: Cylindrical folds seen in heavy, stiff fabrics.
- Diaper Folds: Irregular, soft folds often seen in loose fabric hanging from a single point.
- Spiral Folds: Form when fabric twists around a limb.
- Half-Lock Folds: Seen when fabric bunches against itself.
- Inert Folds: Folds that have settled due to gravity, often at the bottom of a garment.
Practice observing real fabrics and understanding how light and shadow play across their surfaces. This is crucial to improve costume design sketch realism.
Rendering Different Textures
Use varying line weights, shading techniques, and even specific rendering tools to convey texture:
- Silk/Satin: Smooth, reflective surfaces with sharp highlights and soft, graduated shadows.
- Wool/Tweed: Rougher textures, often rendered with short, broken lines or stippling to suggest a woven pattern.
- Leather: A combination of smooth, reflective areas and subtle wrinkles, often with sharp, defined edges.
- Lace/Embroidery: Requires meticulous detail, often using fine lines and dot work to represent intricate patterns.
The Power of Light, Shadow, and Value
Light and shadow are the sculptors of realism. Without them, your sketch remains flat. Value refers to the lightness or darkness of a color or tone.
Understanding Light Sources
Always establish a clear light source. Is it coming from the top, side, front, or back? This dictates where highlights and shadows fall. A consistent light source makes your drawing believable.
Applying Shadows and Highlights
- Cast Shadows: Shadows cast by an object onto another surface (e.g., a sleeve casting a shadow on the torso). These are often darker and more defined.
- Form Shadows: Shadows that define the form of the object itself (e.g., the shaded side of a draped fold). These are softer and follow the contours.
- Highlights: Areas where light directly hits the surface, often the lightest points.
- Mid-tones: The range of values between highlights and shadows that define the general color and texture.
Build up values gradually, from light to dark. Use a range of pencils or digital brushes to achieve smooth transitions and rich contrast. This depth is what truly helps to improve costume design sketch realism.
Color Theory and Material Representation
Color is not just about hue; it's about how light interacts with the material's inherent properties.
Choosing and Mixing Colors
- Material-Specific Palettes: Understand that the same hue will appear differently on various materials. A red velvet will look different from a red silk due to their reflective qualities.
- Warm and Cool Colors: Use warm colors (reds, yellows) to bring areas forward and cool colors (blues, greens) to recede them, adding depth.
- Color Harmonies: Apply basic color theory (complementary, analogous, triadic) to create visually pleasing and cohesive designs.
Layering and Blending Techniques
Whether traditional or digital, layering colors allows for greater depth and realism. Build up colors from light to dark, allowing previous layers to influence the final tone. Blending is key to smooth transitions and capturing the subtle shifts in hue and value that define a material.
For instance, when rendering gold embroidery, don't just use a single gold color. Incorporate yellows, oranges, browns, and even hints of green or purple in the shadows to create a rich, metallic gleam. The complexity of color interaction is vital to truly improve costume design sketch realism.
Incorporating Movement and Pose
Costumes are rarely static. They move with the wearer, reacting to gravity, wind, and the body's actions. Capturing this dynamism elevates a sketch from a mere blueprint to a piece of art.
Dynamic Posing
Start with a strong, expressive pose for your figure. A pose that suggests action, emotion, or a narrative will naturally inform how the costume drapes and flows. Think about the character's personality and how they would carry themselves in this attire.
Flow and Direction of Fabric
Consider the forces acting on the fabric. If the figure is walking, how does the skirt trail behind? If an arm is raised, how does the sleeve wrinkle and stretch? Use curved, flowing lines to indicate movement, rather than stiff, straight ones. The direction of your lines can imply the direction of movement. This is a subtle yet powerful way to improve costume design sketch realism.
Tools and Techniques for Enhanced Realism
The right tools, coupled with skillful techniques, can significantly boost the realism of your sketches.
Traditional Mediums
- Pencils: A range of graphite pencils (2H to 8B) for varying values. Colored pencils for subtle color and texture.
- Charcoal and Pastels: Excellent for soft shadows, rich blacks, and textural effects, especially on fabrics like velvet or fur.
- Watercolors/Gouache: Transparent watercolors for delicate washes and blending; opaque gouache for vibrant, flat colors or highlights.
- Markers: Alcohol-based markers for smooth gradients and vibrant color blocks, often used as a base layer.
- Inks: For sharp outlines, intricate details, and strong contrasts.
Digital Tools and Software
Software like Adobe Photoshop, Procreate, Clip Studio Paint, or Corel Painter offers immense flexibility:
- Layers: Work non-destructively, allowing for easy adjustments to colors, shadows, and details.
- Brushes: A vast array of brushes to simulate different textures (fabric, fur, metal), blending tools, and rendering effects.
- Reference Images: Easily import and overlay reference photos for accurate proportion and detail.
- Adjustment Layers: Fine-tune lighting, color balance, and contrast without altering original pixels.
Whether traditional or digital, practice with your chosen medium is key. Experiment with different techniques to find what works best for rendering specific materials and effects.
Observational Drawing and Reference Use
Even the most imaginative designers benefit immensely from keen observation and the intelligent use of references.
Drawing from Life and Photography
Regularly practice drawing from life. Sketch people in motion, observe how clothes wrinkle when someone sits, stands, or turns. Visit fabric stores and sketch different textiles, paying attention to their drape, sheen, and how light interacts with them.
Use high-quality photographic references. Look for images with clear lighting, varied poses, and detailed views of garments. Don't copy blindly; analyze how the fabric behaves and apply those principles to your own designs.
Online resources like the Victoria and Albert Museum's digital archives (V&A) or the Metropolitan Museum of Art's costume institute collection (Met Museum Costume Institute) offer invaluable visual references for historical garments and their unique construction, which can significantly improve costume design sketch realism.
Building a Reference Library
Curate your own collection of images: fabric swatches, fashion photography, historical costumes, and even architectural details that inspire texture or pattern. A rich visual library is an endless source of inspiration and accuracy.
Avoiding Common Realism Pitfalls
Even seasoned artists can fall into traps that detract from realism.
Flatness and Lack of Depth
This is often due to insufficient attention to value and form shadows. Ensure you have a full range of values from darkest darks to brightest highlights. Think of the costume as a three-dimensional object, not a flat shape.
Generic Fabric Rendering
Treating all fabrics the same is a common mistake. Each material has a distinct personality. Take the time to understand and render the specific qualities of silk, denim, wool, or leather.
Disjointed Figure and Costume
The costume must appear to be worn by the figure, not pasted onto it. This goes back to solid anatomy and understanding how fabric drapes and pulls over the body's contours.
Over-rendering vs. Under-rendering
Find the balance. Over-rendering can make a sketch look stiff and overworked, while under-rendering leaves it looking unfinished and lacking detail. Focus on key areas that convey texture and form, allowing other areas to be suggested.
Frequently Asked Questions (FAQ)
What are the most crucial elements for realistic costume sketches? The most crucial elements are a strong understanding of human anatomy, mastery of fabric draping and texture rendering, and effective use of light, shadow, and value. These three pillars form the foundation of compelling realism.
How can I make my fabric folds look more natural? To make fabric folds look more natural, study real-life fabric behavior under various conditions. Pay attention to the specific types of folds (e.g., pipe, diaper, spiral) and how tension, gravity, and the underlying form dictate their shape and direction. Use a range of values to define their three-dimensionality.
Is it better to sketch digitally or traditionally for realism? Both digital and traditional mediums can achieve high levels of realism. Digital tools offer flexibility with layers, brushes, and easy corrections, while traditional mediums provide a unique tactile experience and inherent textures. The 'better' choice depends on your personal preference, workflow, and the specific effect you aim to achieve. Many artists combine both for optimal results.
How often should I practice observational drawing? Regular observational drawing is key to improving realism. Aim for daily practice, even if it's just 15-30 minutes. Sketching from life, photographs, and even everyday objects will train your eye to see and interpret forms, light, and textures more accurately.
Can I achieve realism without being an expert in figure drawing? While strong figure drawing skills significantly aid realism, you can still improve costume sketch realism by focusing on key areas. Use reliable figure templates or mannequins, and concentrate on how fabric interacts with the basic forms of the body. Over time, your figure drawing will naturally improve alongside your costume rendering. For further study on figure drawing, consider resources like Proko, a highly regarded online art education platform focusing on anatomical drawing.
Recommended Reading
- Unlock the Secret: How to Prevent Scratches on Your Watch Crystal
- Haute Couture: Is Exclusive Design Investment a Smart Move?
- Draping Dreams: Best Fabric for Textile Art Costumes REVEALED!
- The Ultimate Guide: How to Properly Fit a Men's Formal Dress Shirt?
- Best Affordable Streetwear Brands 2024: Your Ultimate Guide to Stylish Savings
Conclusion
Achieving hyper-realism in costume design sketches is an iterative journey of observation, understanding, and practice. It's about moving beyond simply drawing clothes to truly rendering garments that feel tangible, that possess weight, texture, and the subtle interplay of light and shadow. By diligently applying principles of anatomy, mastering fabric behavior, and skillfully utilizing value and color, you can transform your flat sketches into vibrant, compelling representations of your creative vision. Embrace the challenge, observe the world around you, and watch as your costume designs leap off the page with unprecedented realism and depth.


Your email address will not be published. Required fields are marked *