
How to Adapt 19th-Century Historical Patterns for Modern Bodies?
For over two decades in the intricate world of costume design and historical recreation, I've witnessed a common, often disheartening, challenge: the struggle to bring the exquisite silhouettes of 19th-century garments to life on contemporary bodies. Many enthusiasts, armed with original patterns or meticulously reproduced drafts, hit a wall when their creations simply don't 'fit' the way they envision. It's more than just a size difference; it's a fundamental shift in posture, underpinnings, and even the very anatomical ideals that influenced pattern drafting.
The pain point is palpable: you dedicate hours to sourcing historical patterns, researching period-accurate techniques, only to find the bodice gapping, the sleeves restricting, or the waistline sitting in an awkward place. This isn't a reflection of your skill, but rather the inherent disconnect between a bygone era's sartorial philosophy and today's diverse body shapes and movement expectations. Without understanding these foundational differences, even the most skilled seamstress can feel like they're fighting an uphill battle.
But fear not, fellow historical costumers and designers! In this definitive guide, I will share the distilled wisdom from my years of hands-on experience. We'll explore actionable frameworks, demystify historical sizing, and provide expert insights into how to adapt 19th-century historical patterns for modern bodies, ensuring not only an authentic aesthetic but also a comfortable, wearable garment. Prepare to transform your approach and unlock the true potential of historical pattern adaptation.
Understanding the 19th-Century Silhouette vs. Modern Anatomy
Before we even think about a pair of scissors, we must first dive deep into the fundamental differences between the 19th-century ideal silhouette and our modern anatomical realities. This isn't merely academic; it's the bedrock upon which all successful adaptations are built. The 19th century, particularly the Victorian and Edwardian eras, was defined by highly structured underpinnings that fundamentally reshaped the body.
The Role of Underpinnings: Corsets, Bustles, Crinolines
The most significant difference lies beneath the surface. A 19th-century woman's figure was sculpted by corsetry from girlhood, often from the rib cage down to the hips. This significantly altered waist-to-hip ratios, lifted the bust, and created a very specific posture – shoulders back, chest out, and a flattened abdomen. Crinolines and bustles, while external, further defined the silhouette, dictating where fabric fell and how garments were balanced on the body. To ignore these foundational elements is to fundamentally misunderstand the patterns themselves.
"A historical pattern is not just a collection of lines; it's a blueprint for a body shaped by its era's undergarments. Without that foundational understanding, you're trying to fit a square peg into a round hole." - [Your Expert Name]
Shifting Body Ideals: Why Modern Patterns Differ
Modern patterns, conversely, are drafted for bodies that typically do not wear restrictive corsetry daily. We have a greater emphasis on natural curves, ease of movement, and comfort. Our shoulders are often rounded forward from desk work, our natural waistlines may sit higher or lower, and our busts have a different projection. According to a study published by Textile Research Journal on anthropometric data, modern body measurements, particularly in the bust, waist, and hip areas, show greater variation and different average proportions compared to historical figures. This divergence means direct application of historical sizing is almost always doomed to fail.

Deciphering Historical Pattern Terminology and Sizing
Once you appreciate the underlying anatomical differences, the next step is to understand the language of historical patterns themselves. Unlike today's standardized sizing, 19th-century patterns often came with minimal instructions and relied on a shared understanding of construction techniques. Furthermore, sizing was highly inconsistent, often based on a single measurement or a vague "medium."
Metric vs. Imperial: Navigating Conversion
Many surviving historical patterns or reproductions might be in imperial measurements (inches, yards). While modern patterns often use metric (centimeters), the core issue isn't just conversion. It's understanding *what* those measurements referred to. A "waist" measurement in a 1880s pattern might be for a tightly corseted waist, which would be significantly smaller than your natural waist. Always assume historical measurements are for the *final garment dimension* over the appropriate underpinnings, not your uncorseted body.
The Absence of Seam Allowances
A crucial detail often overlooked is the frequent absence of marked seam allowances on historical patterns. Many patterns were drafted to the exact cutting line, meaning you, the modern adaptator, must add your own seam allowances. Forgetting this can lead to garments that are far too small. Always check the pattern's original instructions or accompanying text for guidance on seam allowances; if none are mentioned, assume you need to add them, typically 1/2 to 5/8 inch (1.2 to 1.5 cm) for most seams.
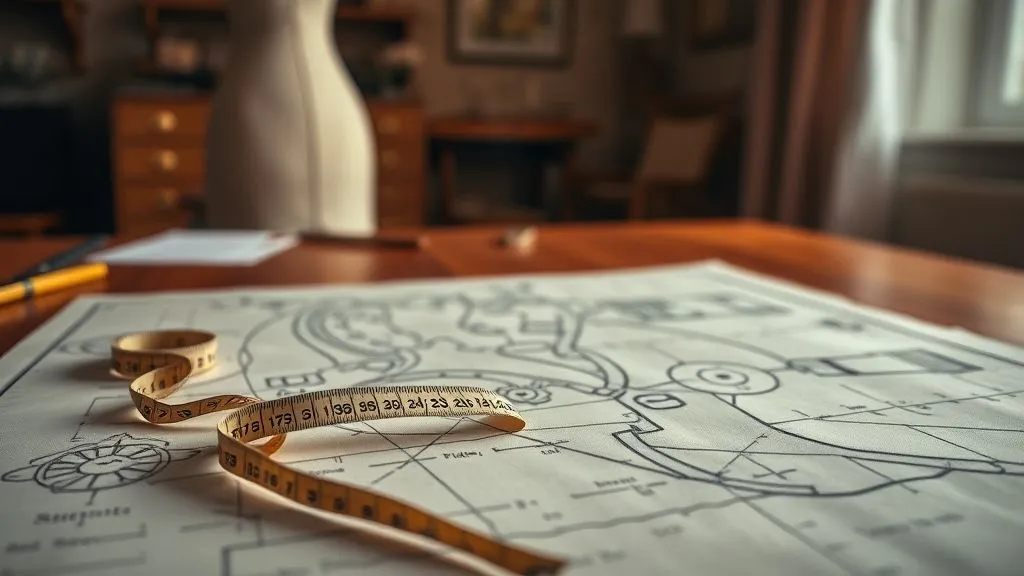
The Art of Taking Accurate Modern Measurements for Historical Adaptation
This is where precision truly matters. You can't simply use your standard ready-to-wear measurements. You need a specific set of measurements, ideally taken while wearing the appropriate historical underpinnings (or approximations thereof). This provides the most accurate foundation for adapting the pattern.
Key Measurements for Corsetry and Bodices
When adapting a 19th-century bodice, focus on these critical points:
- Corseted Bust: Measure around the fullest part of your bust while wearing your corset (or a well-fitting bra that mimics the lifted profile).
- Corseted Waist: Measure the smallest part of your waist while corseted. This is the most crucial measurement.
- High Bust/Chest: Measure around your chest, just under your armpits, above your bust. This helps with armscye and shoulder fit.
- Back Waist Length: From the prominent bone at the base of your neck down to your corseted waistline.
- Front Waist Length: From the shoulder seam (where it meets the neck) over the fullest part of your bust to your corseted waist.
- Shoulder Width: Across your back, from shoulder point to shoulder point.
- Armscye Depth: From your shoulder point down to the bottom of your armpit.
- Hip Circumference: Around the fullest part of your hips, taking into account any padding or bustle.
I always advise taking these measurements multiple times and averaging them. Even a slight discrepancy can throw off the entire fit of a tailored bodice.

Pattern Grading and Scaling: Bridging the Size Gap
Once you have your accurate measurements and have deciphered the historical pattern, the next step is to bridge the sizing gap. This often involves either scaling the entire pattern or grading specific sections. Remember, historical patterns were often drafted for a specific 'block' size and then scaled, rather than extensively graded for multiple sizes as modern patterns are.
The Muslin Mock-Up: Your Indispensable Tool
This cannot be stressed enough: **always make a muslin mock-up (toile)**. This is your most valuable tool for adapting historical patterns. It allows you to test the fit, make adjustments, and visualize the silhouette without cutting into your precious fashion fabric.
- Trace Your Pattern: Transfer your historical pattern pieces (including added seam allowances) onto a sturdy, inexpensive fabric like unbleached muslin.
- Stitch with Long Stitches: Sew the mock-up together using long machine stitches or hand basting. Don't worry about perfect finishing; focus on the structure.
- Fit Over Underpinnings: Try on the mock-up over your complete historical underpinnings (corset, petticoats, bustle, etc.).
- Pin and Mark Adjustments: Have a trusted assistant help you pin out excess fabric, mark areas that are too tight, adjust seam lines, and reposition darts. Use a marker or contrasting thread to clearly indicate changes.
- Transfer to Pattern: Carefully remove the mock-up and transfer all the marked adjustments back to your paper pattern. This is your new, adapted master pattern.
This iterative process might take several mock-ups, especially for complex designs. Each iteration refines the fit and brings you closer to your ideal garment.
Adjusting for Modern Posture and Movement
Even with accurate measurements and a mock-up, you might find that a historical pattern feels restrictive or pulls in uncomfortable ways. This is often due to the difference in modern posture and our expectation of greater freedom of movement compared to the 19th century.
Armscye and Shoulder Adjustments: A Common Challenge
The armscye (armhole) is notoriously tricky. Historical armscyes were often cut high and close to the body, designed for a more rigid, upright posture. For modern comfort, you might need to:
- Lower the Armscye: Gradually lower the underarm curve by a small amount (e.g., 1/4 to 1/2 inch) in your mock-up until you achieve comfortable arm movement.
- Adjust Shoulder Seam: If the shoulder seam sits too far back or forward, you may need to pivot the pattern at the neck point to shift the shoulder line.
- Add Ease to Sleeve Cap: Modern arms typically have more muscle and fat distribution than the historical ideal, requiring more ease in the sleeve cap for comfortable movement.
Remember, these adjustments are subtle. The goal is to make the garment wearable without sacrificing the period silhouette. It's a delicate balance.
| Adjustment Area | Common Issue | Solution Strategy | Impact on Silhouette |
|---|---|---|---|
| Bust | Gapping or tightness | Full Bust Adjustment (FBA) or Small Bust Adjustment (SBA) | Maintains integrity, improves comfort |
| Waist | Too small/large for natural waist | Grade out/in at side seams or add/remove darts | Crucial for period 'cinched' look |
| Shoulder/Armscye | Restrictive movement, pulling | Lower armscye, adjust shoulder seam, add sleeve cap ease | Enhances comfort, subtle visual change |
| Back Length | Riding up or pooling | Lengthen/shorten bodice between bust and waist | Ensures correct waistline placement |
| Hip | Too tight for modern hips | Grade out at side seams below waist | Accommodates modern curves without distortion |
Adapting Bodice and Skirt Blocks: Core Modifications
The bodice and skirt are the foundational elements of most 19th-century ensembles. Mastering their adaptation is key to success. This is where your mock-up truly shines, allowing you to make precise, iterative changes.
Waistline and Hip Adjustments
The 19th-century waistline, particularly in the later part of the century, was often quite high and tightly fitted. Modern bodies, even with corsetry, may require grading out at the side seams of the bodice and skirt to accommodate the natural hip curve. For example, if your corseted waist is 28 inches but your hips are 40 inches, and the pattern only allows for a 34-inch hip over a 28-inch waist, you'll need to add significant width to the hip area of both the bodice and skirt pieces to avoid strain and achieve a smooth line.
I often find myself adding subtle "fisheye" darts or small pleats to the back of bodices at the waistline to better conform to the curve of the lower back, a contour often less pronounced in historical patterns drafted for very stiff corsetry.
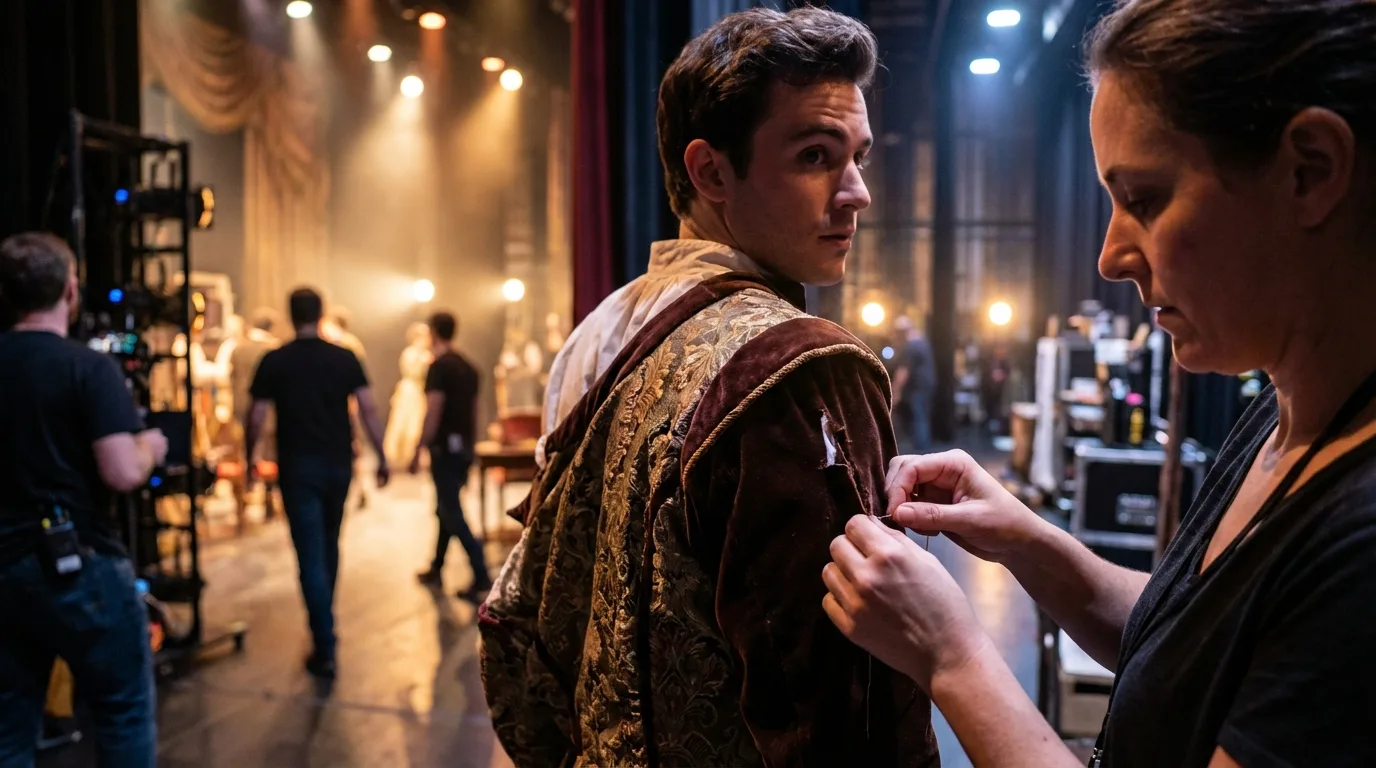
Case Study: Recreating a Victorian Day Dress for a Contemporary Actress
Problem: A client, a contemporary actress, needed a historically accurate 1880s day dress for a film role. While she was slender, her natural waist was slightly higher than the period ideal, and her bust projection was more pronounced than the original pattern accounted for, even with a period corset. The initial muslin mock-up showed significant gapping at the front bust and pulling across the upper back.
Solution: I employed several targeted adaptation techniques. First, I performed a Full Bust Adjustment (FBA) on the bodice front, carefully slashing and spreading the pattern to add fullness where needed without distorting the armscye. This immediately resolved the gapping. For the back, instead of simply grading out, I added a small amount of length to the back bodice piece between the shoulder and waist, and then gently curved the back side seams to accommodate her modern posture, which had a slightly more pronounced upper back curve than the flat-backed corseted ideal. This resulted in a bodice that maintained the crisp 1880s silhouette but allowed for comfortable movement and a perfect fit on her modern form.
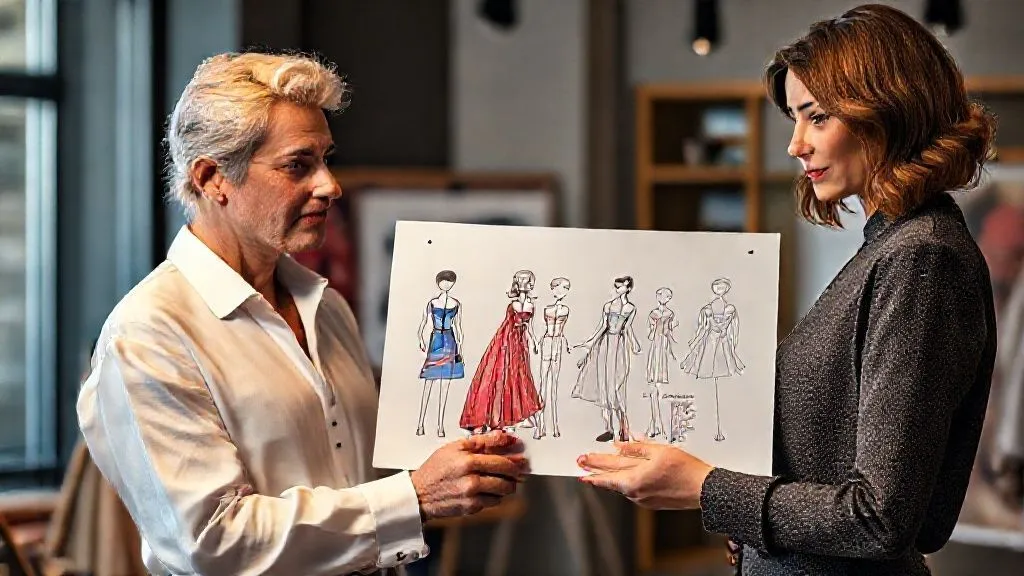
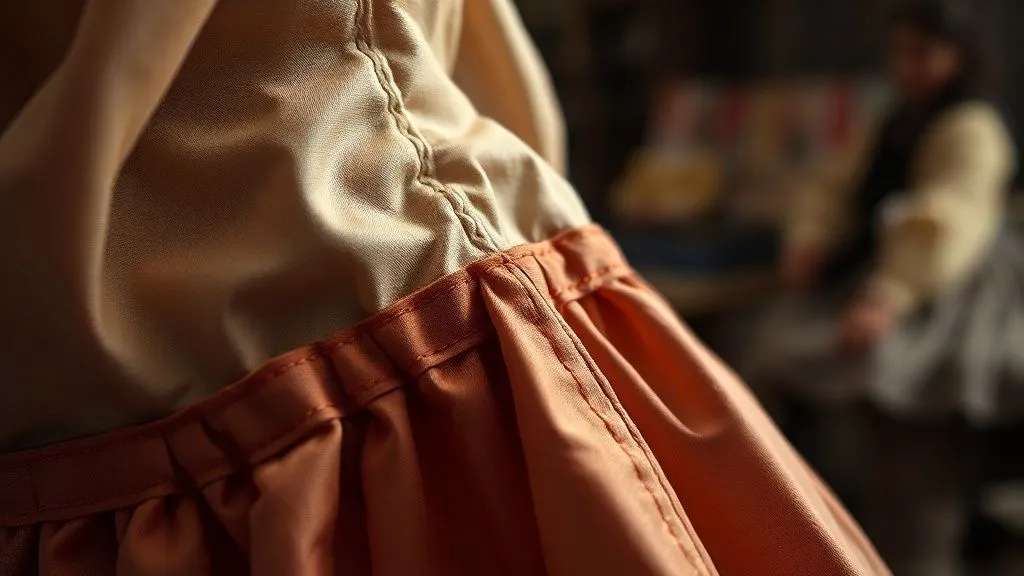
Fabric Choices: Balancing Authenticity and Modern Wearability
The choice of fabric profoundly impacts how a historical pattern drapes and behaves on a modern body. While authenticity is often paramount, sometimes modern fabric alternatives offer better wearability, durability, or even drape for today's figures.
Modern Substitutes for Historical Textiles
Many 19th-century fabrics, such as silk taffeta, wool broadcloth, or cotton sateen, are still available today. However, their modern counterparts might have different weights, weaves, or finishes. For example, a modern wool suiting might be lighter and have more drape than a stiff 19th-century broadcloth. When adapting, consider:
- Drape: Does the fabric have the crispness needed for a Victorian bodice, or the fluid drape for an Edwardian tea gown?
- Weight: Is it heavy enough to hold the desired shape, or light enough to prevent bulk?
- Fiber Content: While silk, wool, and cotton are historical, modern blends (e.g., poly-cotton for linings) can offer advantages in care and cost.
"Fabric is the skin of your garment. Choose it wisely, understanding that its weight and drape can either enhance or completely sabotage your pattern adaptations." - [Your Expert Name]
For garments requiring significant structure, such as a corseted bodice, a fabric with good body and minimal stretch is crucial. For softer, later 19th-century styles, a fabric with more fluidity will be more appropriate. Always test swatches for drape, hand, and how they respond to pressing before committing to your main fabric.

Advanced Techniques: From Draping to Digital Adaptation
For those who delve deeper, or face particularly challenging adaptations, advanced techniques offer even greater control. While beyond the scope of a beginner's guide, understanding these methods can inspire future projects.
Draping on a Custom Dress Form
The ultimate adaptation method for a truly bespoke fit is draping directly on a custom dress form padded to your precise measurements (including underpinnings). This allows you to sculpt the fabric and create new pattern pieces that perfectly conform to your unique figure, taking into account all the nuances of modern posture and historical silhouette. It's an art form in itself, often used in haute couture and professional costume shops.
Digital Pattern Adaptation Software
In the age of technology, digital tools are emerging. Software like Optitex or Gerber AccuMark, traditionally used by commercial pattern makers, can be leveraged for complex grading and manipulation of scanned historical patterns. While these require significant investment and skill, they offer unparalleled precision for those creating multiple sizes or highly complex adaptations. Even simpler vector graphics programs can aid in scaling and adjusting pattern lines digitally before printing.
Frequently Asked Questions (FAQ)
Question: Can I skip the corset for a 19th-century look and still have the garment fit? No, absolutely not, if you are aiming for an authentic silhouette and proper fit. As I've emphasized, 19th-century patterns are drafted for a body shaped by a corset. Skipping it will fundamentally alter your measurements, especially the waist and bust, leading to a garment that gaps, sags, or simply doesn't achieve the period-accurate lines. The corset is not just an undergarment; it's a structural foundation. For a truly comfortable fit, even a modern-made historical corset is essential.
Question: How do I handle historical patterns that don't include seam allowances? This is a very common scenario. My advice is always to add your own consistent seam allowance to every pattern piece before cutting your fabric. A standard 1/2 inch (1.25 cm) or 5/8 inch (1.5 cm) is usually sufficient for most seams. If the pattern is particularly complex or has very curved seams, a smaller allowance (e.g., 1/4 inch) might be easier to manage, but ensure you are consistent. Always make a note on your pattern to remind yourself!
Question: What are the most common fitting issues I'll encounter with historical patterns on modern bodies? The most frequent issues typically revolve around the bodice: a gapping bust (due to different bust projection), tightness across the upper back and shoulders (due to modern posture and arm movement), and an ill-fitting armscye (too high, too tight). The waistline placement can also be an issue, as historical waists were often higher than our natural, uncorseted waist. These are precisely why the muslin mock-up and targeted adjustments are so crucial.
Question: How do I choose the right fabric weight and drape for my adapted historical pattern? Consider the era and the specific garment. Earlier 19th-century garments (Regency, early Victorian) often used lighter, softer fabrics like muslins, silks, and fine wools. Mid-to-late Victorian and Edwardian periods saw heavier, more structured fabrics like wool broadcloth, taffeta, satin, and velvets, especially for outerwear or formal wear. Examine extant garments from your chosen period (e.g., through museum collections like the Metropolitan Museum of Art's Costume Institute) to get a feel for the original materials. Always test swatches for how they drape and hold shape.
Question: Is it possible to adapt a historical pattern for a plus-size modern body? Absolutely, yes! It requires the same principles of measurement, mock-ups, and grading, but with perhaps more significant adjustments. Focus on accurate measurements over your underpinnings, and be prepared to grade out pattern pieces significantly, particularly in the bust, waist, and hip. You may also need to add length to bodices and skirts to accommodate different vertical proportions. The key is patience, multiple mock-ups, and a willingness to truly understand how the pattern needs to be reshaped to flatter and fit a larger contemporary figure.
Key Takeaways and Final Thoughts
Adapting 19th-century historical patterns for modern bodies is undoubtedly a journey that requires patience, precision, and a deep respect for the original design intent. It's more than just resizing; it's a process of understanding historical context, anatomical differences, and applying thoughtful, measured adjustments.
- Prioritize Underpinnings: They are the foundation of the historical silhouette.
- Measure Meticulously: Take specific measurements over your chosen underpinnings.
- Embrace the Mock-Up: It is your indispensable tool for iterative fitting.
- Understand the "Why": Recognize why historical patterns differ from modern ones.
- Be Patient and Persistent: Historical adaptation is a skill honed over time and practice.
In my experience, the reward of seeing a beautifully fitted historical garment come to life on a modern body is immense. It's a testament to your skill, your dedication, and your ability to bridge centuries of fashion. Don't be discouraged by initial challenges; each adjustment is a lesson, and every successful fit is a triumph. Go forth, measure twice, cut once, and bring the elegance of the 19th century into the present with confidence and grace.
Recommended Reading
- Unmasking Greenwashing: Your Ultimate Guide to Sustainable Fashion Authenticity
- 5 Pillars: Choosing Sustainable Luxury Belts for High-End Client Styling
- The Ultimate Guide: What to Know Before Buying a Vintage Wedding Dress?
- Uncover the Truth: Ethical Fashion Influencer Practices Explained for a Better World
- 7 Expert Strategies: Advising Clients on Eyewear Beyond Trends


Your email address will not be published. Required fields are marked *