
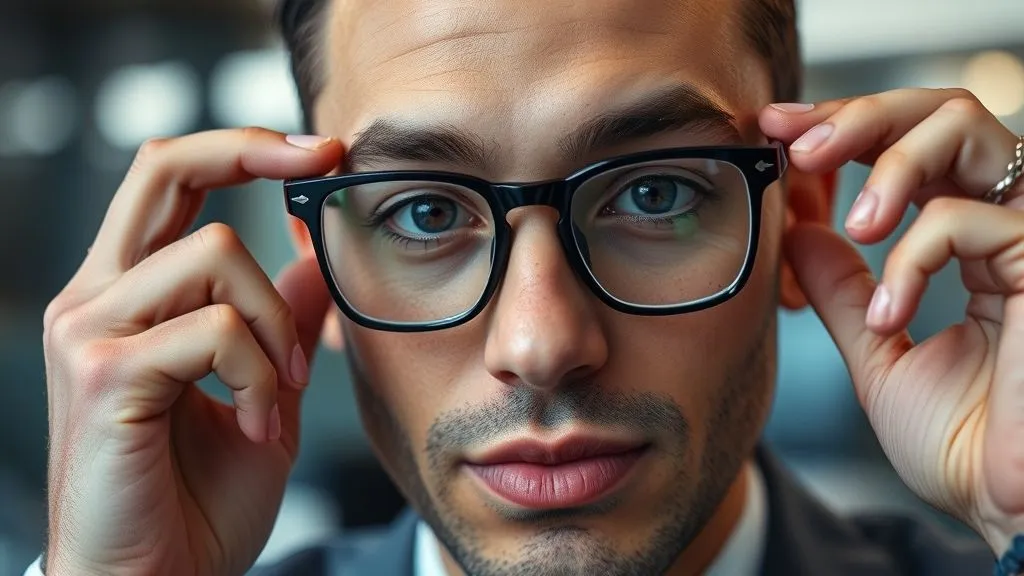
How to choose prescription glasses for a professional headshot?
For over 15 years in the fashion and eyewear industry, I've had the privilege of guiding countless professionals through the intricate world of personal branding. One subtle yet incredibly impactful detail that often gets overlooked, or worse, mishandled, is the choice of eyewear for a professional headshot. I've seen individuals with impeccable suits and perfectly styled hair inadvertently undermine their entire professional image with a pair of glasses that cause glare, obscure their eyes, or simply don't complement their features.
Many assume that any pair of glasses will do, or that their everyday frames are automatically headshot-ready. This couldn't be further from the truth. The wrong frames can create unflattering shadows, distract from your eyes – the window to your personality – or even make you appear less approachable. The challenge isn't just about looking good; it's about conveying confidence, competence, and authenticity in a single, static image. It's about ensuring your eyewear is an asset, not a liability, in that crucial first impression.
This definitive guide is designed to arm you with the expert insights and actionable frameworks you need to master the art of choosing prescription glasses for a professional headshot. We'll delve into everything from understanding your unique facial geometry to selecting the right lens coatings, ensuring your glasses elevate your professional presence and capture the very best version of you. By the end, you'll not only know how to choose prescription glasses for a professional headshot, but you'll understand the 'why' behind each decision, guaranteeing a polished and powerful result.
Understanding Your Face Shape: The Foundation of Frame Selection
The journey to selecting the perfect prescription glasses for your headshot begins with a fundamental understanding of your face shape. Just as a tailor customizes a suit to fit your physique, the right eyewear should harmonize with your facial structure. Ignoring this crucial step is like trying to fit a square peg in a round hole – it simply won't look right.
Identifying Your Face Shape
Before we dive into recommendations, let's quickly identify your unique face shape. Stand in front of a mirror, pull your hair back, and trace the outline of your face with a washable marker or lipstick. Step back and observe the shape. The most common face shapes are:
- Oval: Balanced proportions, high cheekbones, slightly narrower forehead than jaw.
- Round: Soft, curved lines, width and length are roughly equal.
- Square: Strong, angular jawline, broad forehead, width and length are similar.
- Heart: Broad forehead, high cheekbones, narrow chin.
- Diamond: Narrow forehead and jawline, broad cheekbones.
- Oblong: Longer than it is wide, straight cheek lines.
Best Frame Styles for Each Face Shape
Once you've identified your face shape, the principle is generally to choose frames that create contrast and balance, rather than mimicking your face shape directly. This helps to add definition and visual interest.
- Oval Faces: You're in luck! Oval faces are considered the most versatile and can pull off almost any frame style. Rectangular, square, cat-eye, or even round frames work well.
- Round Faces: Opt for angular, geometric frames like rectangular or square styles. These add definition and make your face appear longer and thinner. Avoid small, round frames that can exaggerate roundness.
- Square Faces: Soften strong features with round, oval, or cat-eye frames. These curvilinear shapes will balance your angular jawline and forehead.
- Heart Faces: Balance your broader forehead with frames that are wider at the bottom or have delicate detailing on the lower rim, such as aviator or cat-eye styles.
- Diamond Faces: Highlight your eyes and soften your cheekbones with cat-eye, oval, or browline frames. Frames with detailing on the browline can also add width to your forehead.
- Oblong Faces: Add width and shorten the appearance of your face with tall, square, or oversized frames. Frames with decorative temples can also add width.
 with corresponding ideal eyewear frame styles next to each, professional photography, 8K, cinematic lighting, sharp focus, depth of field, shot on a high-end DSLR.")
Remember, these are guidelines, not rigid rules. Your personal style and comfort are also critical, but starting with your face shape provides a robust foundation for selecting frames that enhance your features for that professional headshot.
The Power of Proportion: Size and Scale Matter
Beyond face shape, the actual size and scale of your chosen frames play an equally critical role in how your glasses appear in a professional headshot. A perfectly styled frame can look awkward if its dimensions are off relative to your facial features. This isn't just about comfort; it's about visual harmony and ensuring your eyewear enhances, rather than overwhelms, your face.
Width and Bridge Fit
The width of your frames is paramount. Ideally, your frames should be no wider than the widest part of your face. If they extend too far beyond your temples, they can make your face appear narrower and throw off balance. Conversely, frames that are too narrow can make your face seem disproportionately wide.
The bridge of your glasses is equally important. It should sit snugly on your nose, not slide down or leave red marks. For headshots, a well-fitting bridge ensures your glasses stay perfectly positioned, preventing awkward angles or a perpetually 'slipping' appearance. A bridge that is too wide will cause the glasses to sit too low, potentially obscuring your eyes, while a bridge that is too narrow can pinch and be uncomfortable, leading to an unnatural expression.
Temple Arm Length and Eyebrow Alignment
The temple arms (the parts that extend over your ears) should be long enough to reach comfortably without putting pressure behind your ears, but not so long that they protrude awkwardly. In a headshot, an ill-fitting temple arm can create an odd silhouette or even become visible if the shot is taken from a slight angle. Furthermore, consider how the top line of your frames interacts with your eyebrows. For a professional headshot, the frames should ideally follow the line of your eyebrows or sit just below them. Frames that cover your eyebrows can obscure expression and make you look less approachable, while frames that sit too far below can create an unbalanced look.
The most stylish frames can look ill-fitting and distracting if they don't respect the proportions of your unique facial structure. Proper fit is paramount for a polished look, especially when every detail is magnified in a headshot.
According to a study published by The Vision Council, ill-fitting eyewear is a leading cause of discomfort and contributes to a less confident appearance. This is amplified in a professional photograph where subtle nuances are captured. Taking the time to ensure your frames are proportionally correct and fit perfectly will make a significant difference in the overall impact of your professional headshot.
Color and Material: Reflecting Your Personal Brand
Once you've nailed down the shape and size, the color and material of your prescription glasses become the next frontier in refining your professional headshot look. These elements are powerful non-verbal communicators, subtly influencing how your personal brand is perceived. They can convey approachability, authority, creativity, or classic elegance, all without uttering a single word.
Choosing Colors for Your Skin Tone
Just like clothing, eyewear colors should complement your skin tone, hair color, and eye color. This creates a harmonious look that enhances your natural features rather than clashing with them.
- Warm Skin Tones: If your skin has yellow, peach, or golden undertones, and your hair is often golden blonde, brown, or auburn, opt for warm frame colors. Think tortoiseshell, brown, beige, olive green, warm reds, or gold metals.
- Cool Skin Tones: If your skin has pink or blue undertones, and your hair is often ash blonde, black, or silver, choose cool frame colors. Black, silver, blue, purple, grey, or deep jewel tones often look stunning.
- Neutral Skin Tones: You have the flexibility to wear both warm and cool shades. Experiment with colors that appeal to you and complement your professional wardrobe.
For a professional headshot, I often advise leaning towards sophisticated, understated colors. While a vibrant red might be fantastic for a creative industry, a classic black, deep blue, tortoiseshell, or metallic frame might be more universally appropriate for a corporate headshot. The goal is refinement, not distraction.
Material Aesthetics (Acetate vs. Metal)
The material of your frames also contributes significantly to the overall aesthetic:
- Acetate (Plastic) Frames: These offer a vast range of colors, patterns (like tortoiseshell), and thicknesses. Thicker acetate frames can convey a sense of gravitas, intellectualism, or a bold fashion statement. Thinner acetate frames can be more subtle. They are excellent for adding a touch of personality and warmth.
- Metal Frames: Often perceived as sleek, minimalist, and sophisticated. Gold, silver, gunmetal, or titanium frames can project an image of precision, authority, and modern elegance. They are generally less obtrusive than acetate frames, allowing your eyes to be the primary focus.
Case Study: Sarah's Subtle Shift for Leadership
I recall working with Sarah, a brilliant marketing director who was being promoted to a VP role. Her existing headshot featured bold, bright red acetate frames – a reflection of her vibrant personality, perfect for her previous role in a creative startup. However, her new position required a more gravitas-driven, authoritative image for her corporate headshot. We discussed her skin tone and the brand image she wanted to project. I advised a switch to a subtle, deep tortoiseshell acetate frame with a classic rectangular shape. The color beautifully complemented her warm skin tone and dark hair, while the classic shape and sophisticated material conveyed the refined professionalism her new role demanded. The resulting headshot was powerful yet approachable, a testament to how the right eyewear can subtly but profoundly alter perception.
Choosing the right color and material for your prescription glasses for a professional headshot is about strategic self-presentation. It’s about leveraging these elements to reinforce the professional brand you wish to embody.
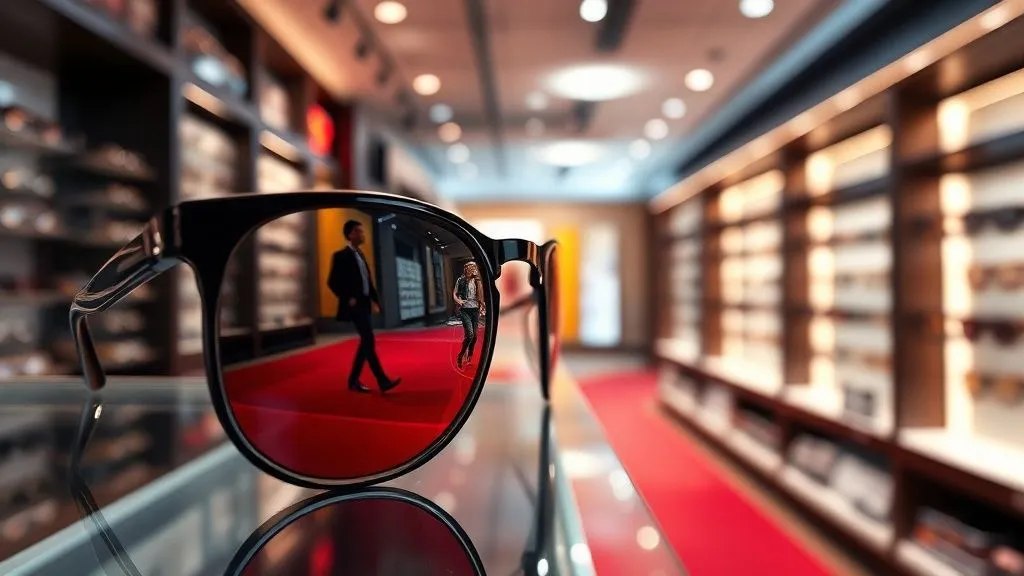
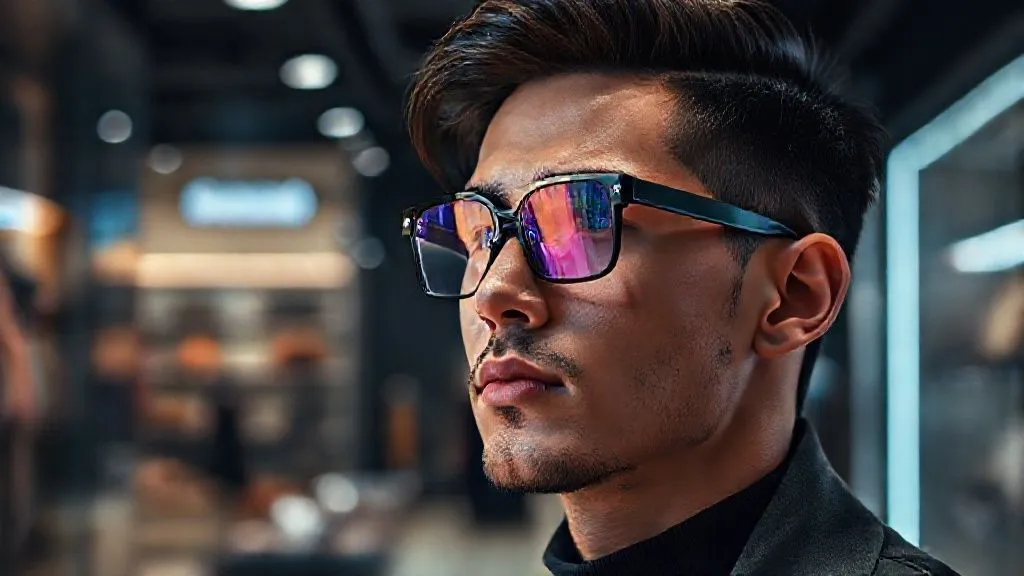
Lens Considerations: Anti-Glare is Non-Negotiable
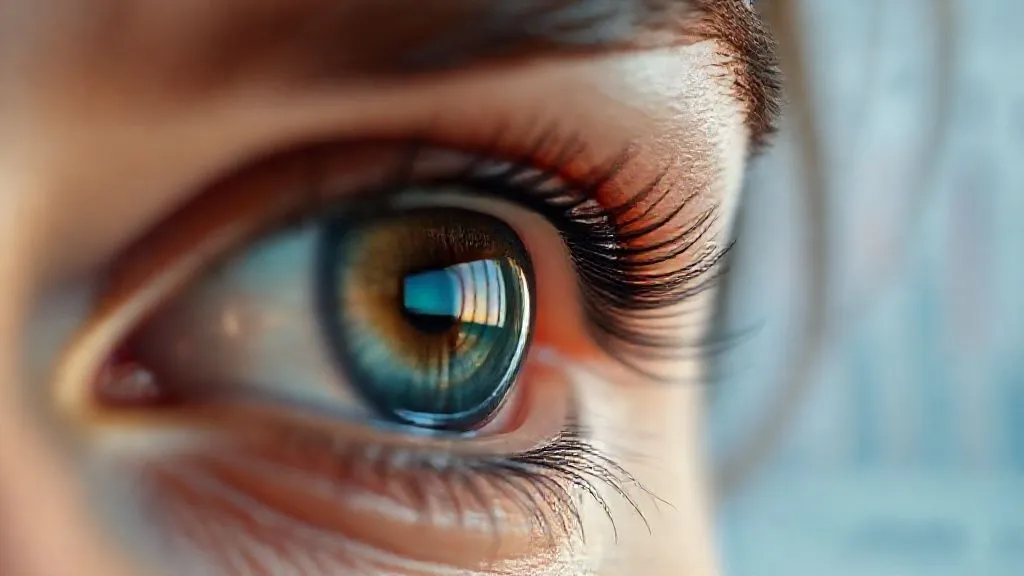
When it comes to wearing prescription glasses for a professional headshot, the lenses themselves are arguably the most critical component. I've witnessed countless stunning photographs marred by distracting glare, reflections, or distorted vision through the lenses. This isn't just an aesthetic issue; it can genuinely obscure your eyes, which are vital for conveying warmth, sincerity, and directness in a portrait. The number one enemy of a great headshot with glasses is uncontrolled light reflection.
Anti-Reflective (AR) Coatings: Your Best Friend
If you wear glasses, an anti-reflective (AR) coating on your lenses is not just recommended; it is absolutely essential for a professional headshot. This coating, also known as anti-glare coating, is a microscopically thin, multi-layer film that eliminates reflections from the front and back surfaces of your eyeglass lenses. Without it, studio lights, or even natural light, will create bright spots on your lenses, obscuring your eyes and making you look less engaged.
AR coatings dramatically reduce glare, allowing more light to pass through the lenses, which means your eyes are more visible and appear clearer in the photograph. This is critical for connecting with the viewer. For a deeper dive into the science behind how these coatings work, you can explore resources from reputable optical organizations like the American Optometric Association.
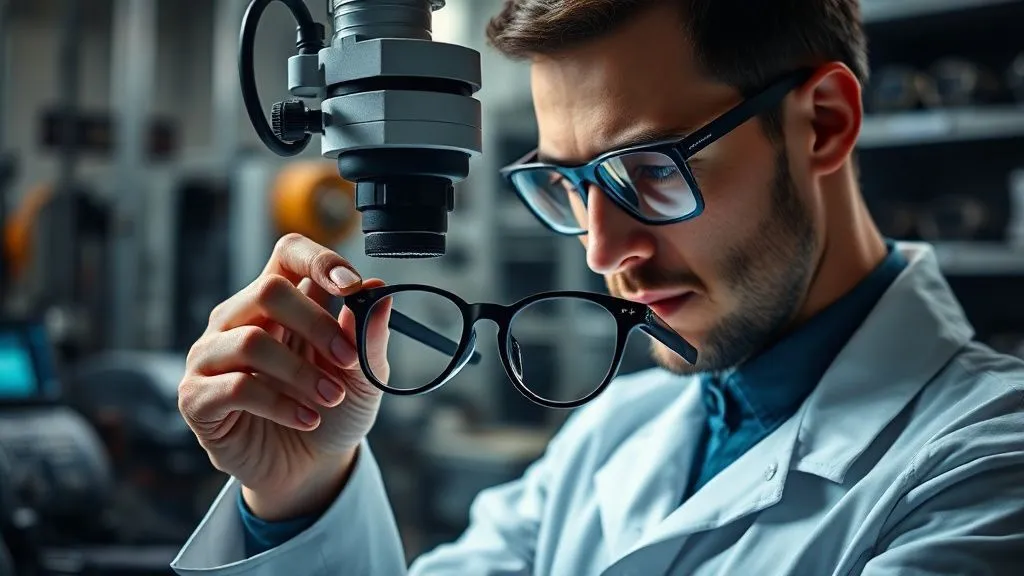
Lens Thickness and Edge Polish
For individuals with stronger prescriptions, lens thickness can be a concern. Thick lenses can create a 'bug-eyed' or 'pin-holed' effect, and their edges can be quite noticeable. This is where high-index lenses come into play. High-index materials allow for thinner, lighter lenses even with strong prescriptions, which can significantly improve the aesthetic of your glasses in a headshot.
Furthermore, consider an edge polish for your lenses. If your lenses are thicker, the exposed edge can appear dull or rough. A polished edge makes the lens look much more refined and nearly invisible from the side, contributing to an overall sleeker appearance. This attention to detail ensures that even the technical aspects of your prescription glasses contribute positively to your professional image.
| Lens Feature | Benefit for Headshots | Priority |
|---|---|---|
| Anti-Reflective Coating | Eliminates distracting glare and reflections, ensuring eyes are visible and clear. | Essential |
| High-Index Lenses | Thinner, lighter lenses for strong prescriptions, reducing distortion and improving aesthetics. | High (for strong prescriptions) |
| Edge Polish | Smooth, clear lens edges for a refined, premium look, especially for thicker lenses. | Medium |
| UV Protection | Prevents UV damage (less relevant for studio, but good for outdoor shoots or general eye health). | General Good Practice |
I cannot stress enough the importance of AR coatings. It’s the single most impactful investment you can make in your prescription glasses specifically for a professional headshot. It ensures that your eyes, not reflections, are the focal point, allowing your personality and professionalism to shine through unobstructed.
Style & Professionalism: Balancing Trend with Timelessness
Your professional headshot is a long-term asset, often used across multiple platforms for years. Therefore, the style of your prescription glasses should reflect a balance between contemporary relevance and enduring professionalism. While it's tempting to chase the latest trends, a headshot demands a more measured approach. Your eyewear should complement, not define, your professional persona.
Classic vs. Trendy: The Headshot Dilemma
In my experience, the safest and most effective approach for a professional headshot is to lean towards classic or subtly modern styles. Trends, by their very nature, are fleeting. What's fashionable today might look dated in two years. A classic rectangular, oval, or subtly cat-eye frame, in a timeless color, will serve you far better in the long run. These styles are universally recognized as professional and sophisticated.
If you wish to incorporate a touch of modern flair, do so subtly. Perhaps a classic shape in a slightly thicker acetate, or a metal frame with a unique texture. The key is that the frames should feel like a natural extension of your professional identity, rather than a standalone fashion statement that overshadows you.
Frame Shape and Your Message
Beyond broad categories, the specific shape of your frames can also subtly convey aspects of your professional message:
- Rectangular/Square Frames: Often associated with authority, seriousness, and meticulousness. These can be excellent for roles requiring strong leadership or analytical prowess.
- Softer, Rounder Frames: Can project approachability, creativity, and warmth. These are great for roles in client-facing positions, creative fields, or those who wish to appear more collaborative.
- Browline Frames: (e.g., Clubmaster style) — These frames emphasize the upper part of the face, drawing attention to the eyes and forehead. They can convey a sense of intellectualism and vintage sophistication.
"Your headshot is your visual handshake. Ensure your glasses convey confidence and competence, not a fashion distraction. The goal is a professional impression that lasts, not a fleeting trend." - Expert Insight.
The choice of eyewear for your headshot is a strategic decision in personal branding. As renowned marketing guru Seth Godin often says, "Marketing is about the stories we tell." Your headshot tells a story, and your glasses are a key element in that narrative. Ensure the story is one of enduring professionalism and authenticity. For further reading on personal branding, consider insights from leading publications like Harvard Business Review.
The Headshot Session: Tips for Glasses Wearers
Even after meticulously selecting the perfect prescription glasses, the headshot session itself requires a few specific considerations for glasses wearers. A well-prepared approach on the day can make all the difference between a good headshot and a truly outstanding one. As an industry specialist, I've observed that these seemingly small details can have a disproportionately large impact on the final image.
Cleaning Your Glasses: Spotless is Non-Negotiable
This might seem obvious, but it's astonishing how many people arrive at a headshot session with smudged or dusty lenses. In high-resolution photography, every speck of dust, every fingerprint, and every streak will be magnified. Before you step in front of the camera, ensure your lenses are absolutely spotless. Use a microfiber cloth and a dedicated lens cleaner. Do this just before the shoot begins, and even between takes if necessary. Your photographer will thank you, and your eyes will shine through without obstruction.
Posing with Glasses: Working with Light and Angles
Even with anti-reflective coatings, glare can sometimes be an issue depending on the lighting setup. This is where collaboration with your photographer becomes crucial. Be open to slight adjustments in your head tilt or the angle of your face. Often, a subtle turn of the head can eliminate a rogue reflection. Your photographer should be experienced in lighting subjects with glasses and will guide you. Don't be afraid to ask to see test shots on the monitor to ensure your eyes are clear and free of glare.
Consider your natural posture. Do your glasses tend to slide down your nose? Make sure they are pushed up to their proper position for each shot. A headshot captures a static moment, so any tendency for your glasses to slip will be frozen in time, potentially making you look uncomfortable or distracted.
Bringing Options: A Smart Strategy
If you're torn between two pairs of prescription glasses that both meet the criteria we've discussed, bring both to the shoot. Your photographer can offer an objective opinion on which pair photographs better under their studio lights. Sometimes, a frame that looks fantastic in natural light might behave differently under professional studio lighting. Having options allows for flexibility and ensures you walk away with the best possible image.
Additionally, if you have a non-prescription pair of glasses that are identical in style and fit to your prescription pair but without lenses (or with 'demo' lenses that can be easily removed), consider bringing those. Sometimes, even with AR coatings, the physical presence of the lens material can catch light in unexpected ways. Shooting without lenses entirely can guarantee zero glare, though this is a more advanced technique and should be discussed with your photographer beforehand. However, for most, a good AR coating is sufficient.

Remember, your photographer is your partner in this process. Communicate your concerns about your glasses, and together you can ensure your headshot perfectly captures your professional essence, with your eyewear serving as a distinguished enhancement.
Common Pitfalls to Avoid When Choosing Headshot Glasses
Even with the best intentions, it's easy to fall into common traps when selecting prescription glasses for a professional headshot. Having seen countless headshots over the years, I've identified recurring mistakes that can inadvertently detract from an otherwise strong professional image. Avoiding these pitfalls is just as important as knowing what to do correctly.
- Ignoring Anti-Glare Coating: As I've emphasized, this is the most frequent and most detrimental mistake. Lenses without an AR coating will inevitably reflect light, creating distracting hotspots that obscure your eyes. This is a non-negotiable feature for headshot eyewear.
- Choosing Overly Trendy or Distracting Frames: While fashion-forward frames can be fun for everyday wear, a headshot is about timeless professionalism. Frames that are too large, too brightly colored, or unusually shaped can draw attention away from your face and date your image quickly.
- Poorly Fitting Frames: Glasses that are too wide, too narrow, or constantly slip down your nose will look awkward and unprofessional in a static photograph. Ensure your frames fit perfectly, sitting comfortably and securely on your face.
- Dirty or Smudged Lenses: High-resolution cameras capture every detail. Dust, fingerprints, and smudges on your lenses will be painfully obvious and detract from your overall polished look. Clean your lenses meticulously before and during the shoot.
- Frames That Obscure Eyebrows or Eye Line: Your eyebrows are crucial for conveying emotion and expression. Frames that sit too high and cover your eyebrows can make you look less expressive or even angry. Conversely, frames that sit too low can make your eyes appear small or squinted.
- Overly Dark Tints or Photochromic Lenses: If your prescription glasses have a dark tint or are photochromic (transition lenses), they are generally unsuitable for a headshot. Even indoors, photochromic lenses can react to studio lights, causing them to darken slightly and obscure your eyes. Opt for clear lenses for your headshot.
- Wearing Brand New, Unfamiliar Frames: While exciting, wearing a brand new pair of glasses for the first time on your headshot day can be risky. You might not be accustomed to how they feel or sit, which could lead to an unnatural expression or discomfort during the shoot. Wear them for a few days beforehand to get comfortable.
By consciously avoiding these common missteps, you significantly increase your chances of achieving a headshot where your prescription glasses are a seamless, positive element of your professional presentation. For more general advice on headshot preparation, I often recommend resources from experienced portrait photographers, such as insights found on professional photography blogs dedicated to corporate imagery.
Frequently Asked Questions (FAQ)
Question: Should I take my headshot with or without my glasses? Answer: This is a personal decision, but if you wear glasses daily and they are a part of your professional identity, then absolutely include them. Removing them might make you feel less like yourself, and that discomfort can show in your expression. The key is to ensure your chosen glasses enhance your look, rather than distract from it. If you rarely wear them, or if you have a second, non-prescription pair you prefer for photos, that's also an option.
Question: What if my prescription is very strong, making my lenses thick? Answer: For strong prescriptions, high-index lenses are your best friend. They are designed to be much thinner and lighter than standard lenses, significantly reducing the 'coke bottle' effect and any potential distortion. Additionally, ensure your frames are proportionally appropriate for your face; sometimes a slightly smaller, well-fitting frame can make thick lenses less noticeable. Always opt for an anti-reflective coating.
Question: Can I wear blue light blocking glasses for my headshot? Answer: While blue light blocking glasses are excellent for daily computer use, their subtle yellow or amber tint can sometimes be noticeable in a professional headshot, altering your eye color or skin tone. Furthermore, some blue light coatings can create a distinct blue or purple reflection, which is highly distracting in photos. For your headshot, I strongly recommend opting for clear, non-tinted lenses with only an anti-reflective coating.
Question: How do I ensure my glasses don't slip down my nose during the shoot? Answer: First, ensure your glasses are properly fitted by an optician. The bridge and temple arms should be adjusted for a snug, comfortable fit. For the day of the shoot, you can use a small amount of optical wax (available at opticians) on the bridge of your nose or the nose pads to provide extra grip. Your photographer might also have tricks, like using a small piece of clear tape on the bridge, but a good fit is the primary solution.
Question: Are rimless glasses a good choice for a professional headshot? Answer: Rimless glasses can be an excellent choice if you prefer a minimalist, understated look. They are often perceived as sophisticated and allow your face to be the primary focus, as they don't add much visual weight. However, ensure the lenses have an effective anti-reflective coating, as any glare will be particularly noticeable without the frame to distract from it. Also, check that the temples (arms) are not overly decorative, maintaining that clean professional aesthetic.
Key Takeaways and Final Thoughts
Navigating how to choose prescription glasses for a professional headshot might seem like a small detail, but as an industry specialist, I can assure you it's a critical component of crafting a compelling and authentic professional image. Your headshot is often the first visual impression you make, and every element within it contributes to the story you tell about yourself.
- Master Your Face Shape: Select frames that complement your unique facial geometry, creating balance and harmony.
- Prioritize Proportion and Fit: Ensure your glasses are the right size for your face, sitting comfortably and securely without slipping or overshadowing your features.
- Strategize Color and Material: Choose hues and materials that align with your skin tone and enhance your professional brand, opting for timeless elegance over fleeting trends.
- Demand Anti-Glare Lenses: An anti-reflective coating is non-negotiable to ensure your eyes are clear, visible, and engaging, free from distracting reflections.
- Collaborate with Your Photographer: Communicate your concerns and be open to minor adjustments in posing or lighting to achieve the best possible result.
- Avoid Common Pitfalls: Steer clear of overly trendy frames, dirty lenses, or frames that obscure your natural expressions.
Ultimately, your prescription glasses, when chosen thoughtfully, become a powerful extension of your professional identity. They can convey intelligence, approachability, and confidence, reinforcing the message you want to send to the world. Invest the time in selecting the right pair, and you'll not only look your best but feel your most authentic self, allowing your professional headshot to truly shine and make a lasting, impactful impression. Your vision, in every sense of the word, deserves to be seen clearly.
Recommended Reading
- Secure That Veil: 7 Expert Steps for Fine, Slippery Bridal Hair All Day
- 7 Steps: Selecting Eyewear to Elevate Your Professional Brand
- 5 Strategic Ways: Project Executive Power Through Your Workwear Choices
- 5 Pillars: Ensuring Bio-Derived Textile Performance in Outdoor Apparel
- 5 Proven Strategies: How to Avoid Greenwashing When Marketing Sustainable Shoes?

Your email address will not be published. Required fields are marked *