
Best practices for repairing damaged movie costumes during filming?
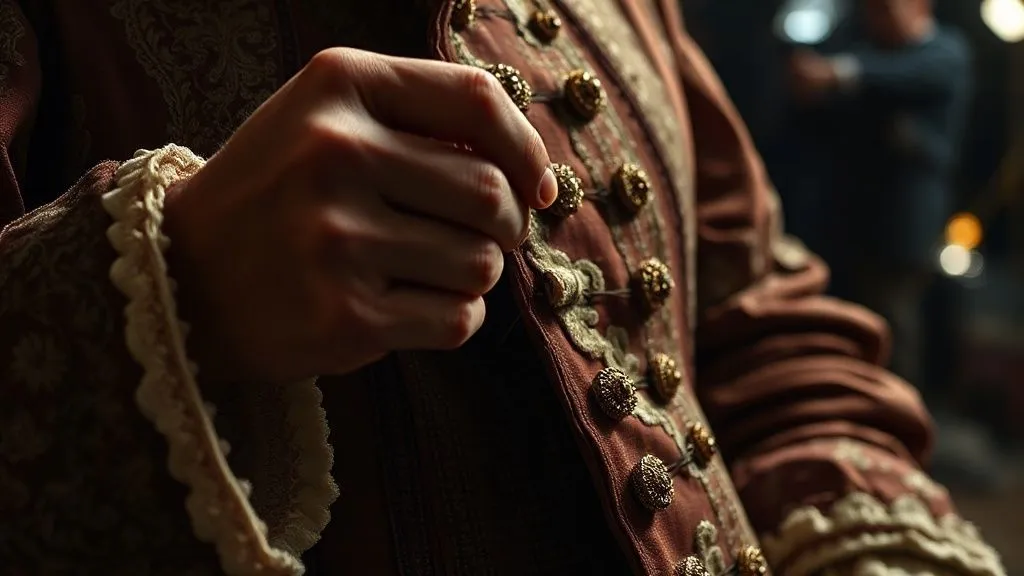
For over two decades in the intricate world of film costume design and wardrobe management, I’ve witnessed the full spectrum of on-set emergencies. From a lead actor’s period waistcoat tearing just before a crucial wide shot to a stunt double’s meticulously distressed jacket ripping mid-action, the clock always seems to be ticking loudest when a costume falters.
This isn't just about a torn seam; it's about continuity, budget, production delays, and the very authenticity of the narrative we’re trying to weave. The heart-stopping moment when damage occurs can send ripples of panic through a set, threatening to derail schedules and inflate costs, all while the director waits.
In this post, I will share the definitive best practices for repairing damaged movie costumes during filming, drawing from my own experience and the collective wisdom of countless wardrobe professionals. We'll explore proactive prevention, rapid response strategies, specialized techniques, and the critical communication frameworks that ensure seamless, invisible repairs, keeping your production on track and your costumes pristine.
The Proactive Approach: Prevention is the Best Repair
In my experience, the most effective repair is the one you never have to make. A robust preventative strategy is the bedrock of successful on-set costume management. It's about anticipating potential pitfalls long before the cameras roll.
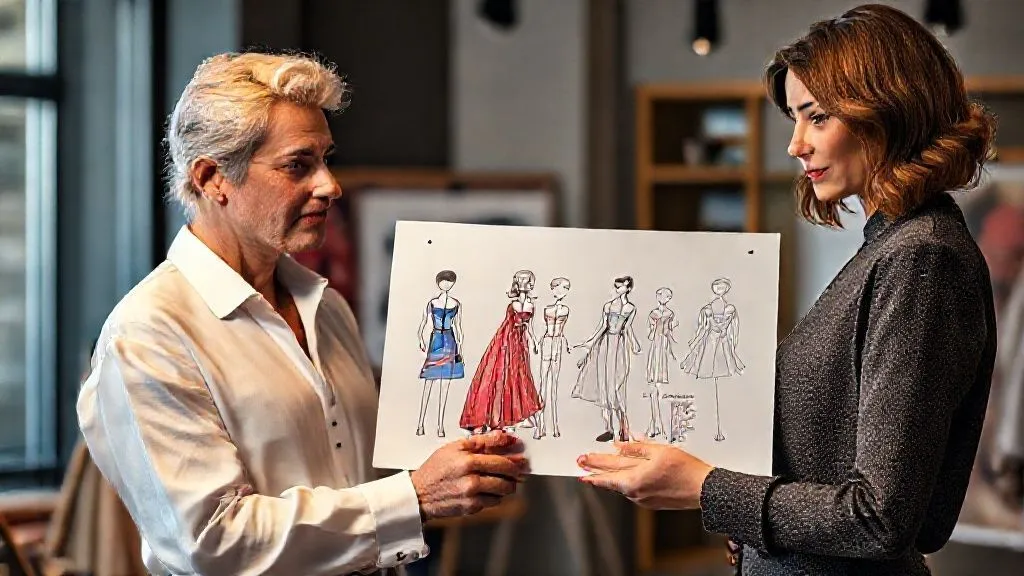
Comprehensive Pre-Production Planning
This phase is where we lay the groundwork for preventing costume damage. It involves meticulous research into fabric durability, identifying stress points based on character action, and understanding the demands of specific stunt sequences. I always advocate for rigorous testing of all costumes, especially those for stunts or intense physical scenes, under conditions that closely simulate filming. This means not just wearing, but moving, stretching, and even falling in the garments to identify weaknesses.
- Fabric Selection: Choosing materials not just for aesthetic accuracy but also for their inherent resilience, tear strength, and ease of repair. Sometimes, a slightly more durable blend is a wise compromise for an action-heavy costume.
- Reinforcement: Proactively reinforcing stress areas like armholes, crotches, elbows, and seams, particularly on period garments or heavily embellished pieces. This often involves adding internal canvas, double-stitching, or using specialized interfacings.
- Duplicate Costumes: Ensuring adequate numbers of duplicates (often 3-5, sometimes more for 'hero' costumes) are prepped, aged, and ready for immediate swap-out. These aren't just backups; they're integral to the repair strategy, allowing time for more thorough repairs on the damaged piece.
- Actor Briefing: Educating actors on the fragility and value of their costumes, fostering a sense of shared responsibility. Simple instructions on how to sit, move, or even remove certain pieces can significantly reduce wear and tear.
On-Set Wardrobe Protocols
Once on set, strict protocols are paramount to minimizing accidental damage. This includes establishing designated, safe dressing and undressing areas, providing clear instructions for handling delicate items, and constant vigilance from the wardrobe team during takes and breaks. I've seen countless minor damages occur during hurried costume changes or careless handling by non-wardrobe personnel.
"An ounce of prevention in pre-production is worth a pound of cure on a live set. The time saved from avoiding a single emergency repair can literally translate into thousands of dollars and precious hours of filming, proving that foresight is truly invaluable."

Assembling Your Rapid Response Repair Kit: The Essential Toolkit
Every seasoned wardrobe supervisor knows the value of a well-stocked, portable repair kit. This isn't just a sewing box; it's a mobile emergency room for textiles, meticulously organized for speed and efficiency. You need to be able to grab exactly what you need in seconds, often in low light or confined spaces.
- Needles & Threads: A comprehensive variety of sizes and strengths, pre-threaded bobbins in common costume colors (black, white, grey, beige), and specialty threads like invisible monofilament for delicate work or heavy-duty upholstery thread for tougher materials.
- Fabric Adhesives: Quick-drying, washable, and non-toxic fabric glue for temporary fixes or reinforcing delicate areas, fusible web for iron-on patches, and heat-activated tapes for quick hems.
- Cutting Tools: Razor-sharp fabric scissors for clean cuts, a seam ripper for careful unpicking, small snips for threads, and a utility knife for tougher materials like leather or heavy canvas.
- Fasteners: An assortment of buttons (often spares from the original costume), snaps, hooks & eyes, Velcro (both sew-on and adhesive), safety pins in various sizes, and a specialized button-sewing machine attachment if a portable machine is part of the kit.
- Cleaning Supplies: Stain remover pens (for various types of stains), lint rollers, wet wipes, a small brush for dirt and debris, and a specialized dry-cleaning solvent pen for grease marks.
- Specialty Items: Small leather repair kits (including dyes and fillers), fabric paints/markers for color touch-ups, small pliers for jewelry/metalwork, a portable steamer or travel iron for wrinkles, and a thimble for hand protection.
- Documentation Tools: A small notebook, pen, and a smartphone or compact camera for quick photo references of damage and repairs, ensuring continuity.
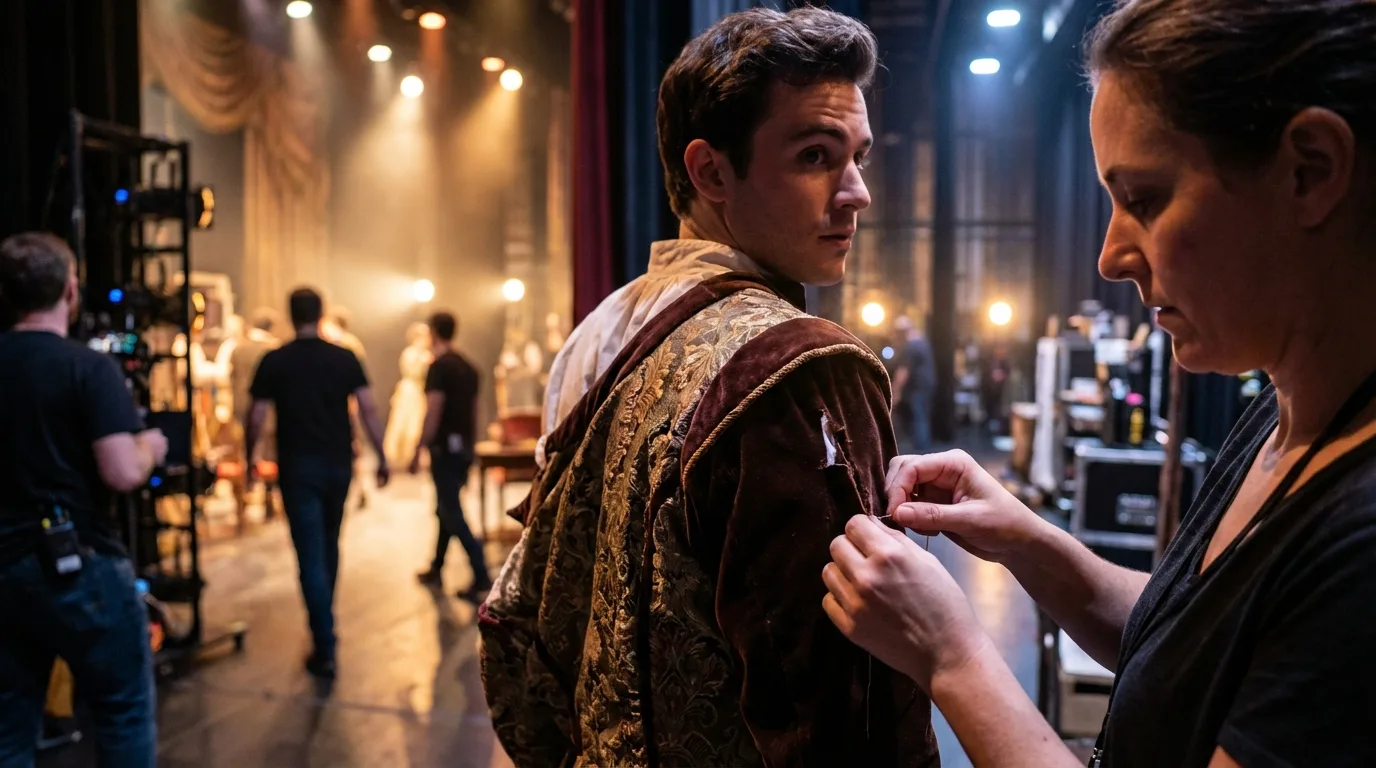
Case Study: The Midnight Seamstress
On a particularly challenging historical drama set in a remote castle, a lead actor's intricately embroidered tunic, a hero piece central to the film's climax, suffered a significant tear across the shoulder during an intense night shoot's sword fight scene. It was 2 AM, miles from the main workshop, and re-dressing would mean a 45-minute delay. The wardrobe supervisor, Sarah, immediately assessed the damage under a flashlight. Thanks to her meticulously organized rapid response kit, she had the exact silk thread, a fine curved needle for difficult angles, and even a tiny piece of matching silk organza for an internal backing patch. She executed an invisible mend in under 20 minutes, working carefully in the dimly lit tent. This quick, precise action allowed the scene to continue without delay, saving the production an estimated 4 hours of reshoots and overtime, highlighting the critical importance of being prepared and having the right tools at hand.
Damage Assessment & Prioritization: The First 60 Seconds
When damage occurs on a bustling film set, panic is the enemy. My first advice is always to take a breath and assess the situation systematically. This rapid, calm assessment dictates your entire repair strategy, preventing hasty decisions that could worsen the problem or compromise continuity.
Identifying the Severity and Type of Damage
Before any action, you must precisely diagnose the problem. Is it a simple popped seam, a small snag, a major rip, a stubborn stain, a broken embellishment, or something more complex like a dye transfer? Examine the fabric, the exact location of the damage (is it in a camera-visible area, or can it be easily hidden?), and the structural integrity of the garment. Sometimes, what appears to be a small tear is indicative of a larger weakness in the fabric.
- Locate the Damage Precisely: Pinpoint the exact spot and extent of the damage. Don’t just look at the obvious; check for secondary damage that might have occurred.
- Assess Visibility: Determine if the damage is in a camera-visible area for the upcoming shots, or if it's in a hidden spot that allows for a less immediate or more robust repair later.
- Identify Fabric Type: Different materials (silk, wool, leather, synthetic) require vastly different repair approaches and materials. Misidentifying the fabric can lead to further damage.
- Determine Severity: Is it superficial (e.g., a loose thread), structural (e.g., a major tear), or potentially irreparable on set (e.g., a large, permanent stain on a hero costume without duplicates)?
- Check for Secondary Damage: Often, one tear or snag can lead to others if not addressed carefully, or if the garment is stressed further.
Prioritizing Repairs Under Pressure
Not all damage is created equal, especially under the pressure of a film schedule. Your priority should always be on what impacts the immediate shot, continuity, and the overall look of the scene. A tear on the back of a costume for a close-up facial shot is significantly less critical than a visible stain on the front for an imminent wide shot.
"In the heat of the moment, the best costume technicians don't just see a problem; they see a hierarchy of problems, prioritizing what needs immediate attention to keep the camera rolling and maintain the visual integrity of the story."
Specialized Repair Techniques for Common Costume Materials
The 'one-size-fits-all' approach simply doesn't work in costume repair. Each fabric and material demands a specific touch, and understanding these nuances is a hallmark of truly experienced professionals. This is where your textile knowledge and practical expertise truly shine, ensuring repairs are not just functional but also invisible.
Delicate Fabrics (Silks, Lace, Embellishments)
For materials like silk, chiffon, lace, or heavily beaded garments, repairs must be virtually invisible and incredibly gentle. I often employ techniques like 'invisible mending' or 'French darning,' where individual threads are painstakingly rewoven into the fabric, effectively rebuilding the damaged area. For lace, delicate hand-stitching with fine, matching thread or even a minuscule amount of fabric glue applied with a toothpick can be effective for small tears. Embellishments like beads, sequins, or delicate appliques often require re-attaching with specific beading needles and strong, fine monofilament thread, sometimes using jewelry pliers for intricate metalwork. The guiding principle here is always 'less is more'; aggressive repairs can cause more damage than the original tear.
Sturdy Materials (Leather, Denim, Canvas)
Leather, denim, and canvas, while more forgiving of general wear, still require specific tools and methods. For leather, specialized leather needles (often wedge-point) and strong, waxed thread are essential. Small tears can sometimes be reinforced with leather glue and a patch on the inside, carefully matching the grain and texture. Larger tears might require a more visible, decorative stitch if it aligns with the costume's aesthetic, or a discreet internal patch. Denim and canvas can often handle a stronger machine stitch if a portable machine is available, or a robust hand-stitched patch. The key is to match the weight and texture of the original fabric, and sometimes even to 'distress' the repair slightly to blend it with the existing wear.
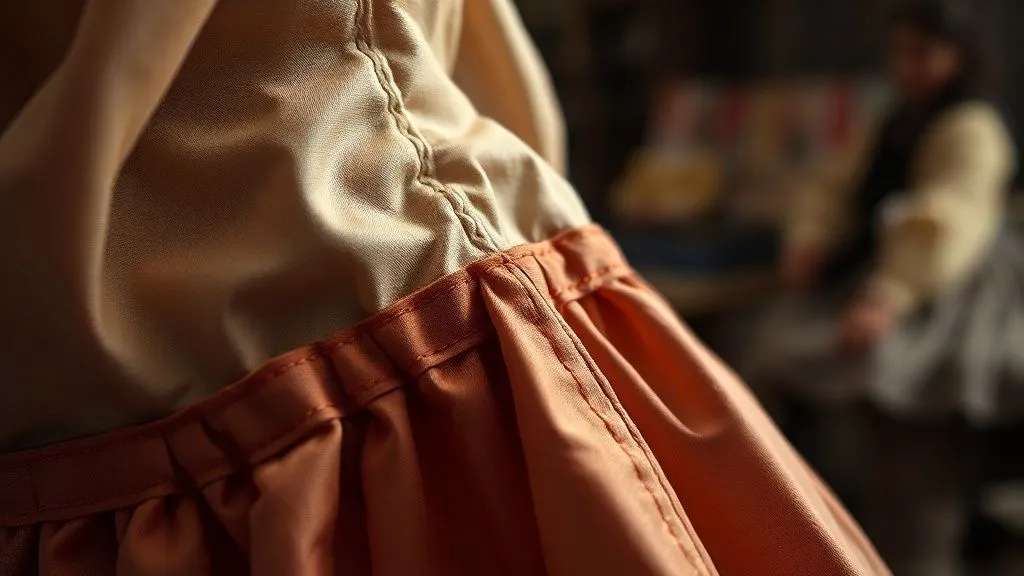
Aging & Distress: Repairing Without Undoing the Look
One of the trickiest aspects of costume repair is mending a garment that has been intentionally aged or distressed. A clean, pristine repair can instantly ruin the carefully crafted 'worn' look. In these cases, the repair itself often needs to be distressed afterward. This might involve light sanding, careful application of fabric paints or dyes to match the aged patina, or even subtle tearing and fraying of the repair to blend it seamlessly with the existing breakdown. It's an art form in itself, requiring a deep understanding of the original distressing process and an eye for authenticity. According to the Victoria and Albert Museum's textile conservation guidelines, understanding the material's history and condition is paramount, a principle that applies directly to our work on set, especially when dealing with intentionally aged pieces.
| Material Type | Common Damage | Preferred Repair Method | Key Tool/Material |
|---|---|---|---|
| Delicate Silks/Lace | Snags, Small Tears | Invisible Mending, Fine Hand Stitching, Fabric Glue (minimal) | Fine Needles, Silk Thread, Organza Patch |
| Sturdy Denim/Canvas | Rips, Seam Splits | Machine Stitching (if possible), Robust Hand Patching | Heavy Duty Needles, Waxed Thread, Matching Fabric Scraps |
| Leather/Faux Leather | Scratches, Tears, Punctures | Leather Glue, Internal Patching, Specialty Stitching | Leather Needles, Waxed Thread, Leather Repair Kit |
| Embellished Garments | Loose Beads, Missing Sequins | Re-attaching Individually | Beading Needles, Clear Monofilament, Jewelry Pliers |
Maintaining Continuity: The Unseen Art of Invisible Repairs
The ultimate goal of any on-set costume repair is to be entirely invisible to the camera and, more importantly, to the discerning eye of the audience. This isn't just about fixing the physical damage; it's about preserving the visual story and ensuring seamless continuity across takes and scenes.
Documentation is Key: Before & After
Before touching a damaged costume, always photograph it. Take close-ups of the damage and wider shots showing its context on the costume and actor. This documentation is invaluable for continuity and for informing the repair, especially if the damage is subtle or in a complex area. After the repair, take identical photos from the same angles. This serves as proof of the repair's effectiveness and helps the director and script supervisor confirm continuity. I've found that a quick, well-lit photo on a smartphone is often sufficient, timestamped for accuracy and shared immediately with the script supervisor.
Matching Materials and Techniques
An invisible repair demands an exact match of thread, fabric, and technique. If the original seam was machine-stitched, a hand-stitch might be visible unless executed with extreme precision and blended perfectly. If the fabric has a specific weave, pattern, or nap, the repair must respect that, ensuring the threads run in the same direction. Sometimes, a temporary, less-than-perfect repair is necessary for a single shot to keep the schedule moving, knowing a more thorough, invisible repair will be done between takes or during a longer break. The decision to make a quick visible fix versus a slower invisible one is a constant negotiation on set.
"Continuity is the silent guardian of believable storytelling. A visible costume repair shatters that illusion instantly, pulling the audience out of the world you've painstakingly created and reminding them they're watching a film."

The Wardrobe Team's Role: Collaboration and Communication
No repair happens in a vacuum. The efficiency and success of on-set costume repairs are profoundly influenced by the strength of the wardrobe team's communication and their ability to collaborate seamlessly with other departments. It’s a collective effort, not a solo act.
Empowering On-Set Technicians
The wardrobe supervisor can't be everywhere at once, especially on large, sprawling sets. Empowering your on-set costumers and dressers with the knowledge, tools, and authority to make immediate, minor repairs is crucial. Regular training sessions on quick fixes, fabric identification, and continuity checks can significantly reduce downtime. Fostering a culture of trust and proactive problem-solving among your team members means that many issues can be resolved before they escalate to major production delays.
Liaison with Production and Director
Clear, concise, and timely communication with the Assistant Director (AD) and the Director is paramount when damage occurs. As soon as damage is identified, the wardrobe supervisor must quickly assess the situation and provide an estimated repair time. This allows the AD to adjust the schedule, perhaps by shooting another scene, rehearsing, or taking a planned break. Honesty about the severity of the damage and the realistic repair time builds trust and prevents further complications. As a resource on The Hollywood Reporter frequently emphasizes, effective communication across all departments is a cornerstone of efficient film production and problem resolution.
Emergency Scenarios: When to Repair, When to Replace
There are moments on set when a quick repair simply won't cut it. Knowing when to pivot from mending to replacing is a critical decision that impacts budget, schedule, and ultimately, the integrity of the film. This isn't a failure to repair, but a strategic choice.
Cost-Benefit Analysis in Real-Time
When significant damage occurs, the wardrobe supervisor must perform a rapid cost-benefit analysis. Is the repair feasible within the allotted time without rushing and compromising quality? Will it compromise continuity or the costume's structural integrity in a way that will be visible on camera? Is the cost of the repair (labor hours, specialized materials, potential production delays) greater than simply swapping out for a duplicate? This isn't just about money; it's about time, which is arguably the most valuable commodity on a film set. Sometimes, the 'fastest' and most effective solution is to replace, even if the damaged original could technically be repaired given enough time.
Backup Costumes and Contingency Planning
This is where those duplicate costumes, mentioned earlier, become absolute lifesavers. Having identical backups, pre-aged, pre-distressed, and ready for immediate use, can prevent hours of downtime. For high-risk costumes (e.g., those for stunts, battle scenes, or heavy physical action) or those integral to many scenes, I always recommend having at least one complete duplicate set on standby, and often partial duplicates for high-wear components like sleeves, collars, or trousers. A robust contingency plan includes knowing exactly where these backups are stored, having a system for quick retrieval, and ensuring they are maintained in the same condition as the primary costume.

Post-Filming Debrief: Learning from Every Repair
The work doesn't end when the cameras stop rolling. Every repair, every emergency, is a valuable learning opportunity. A thorough debrief process is essential for refining your team's best practices for repairing damaged movie costumes during filming and for improving future productions.
Analyzing Repair Logs
Maintain detailed logs of all damages and repairs. This should include the type of damage, the specific costume affected, the repair method used, the time taken for the repair, and any notes on contributing factors, prevention strategies, or considerations for future designs. This data is incredibly powerful. It can reveal patterns: are certain fabrics consistently failing? Are specific actions causing repeated damage? This analysis informs future design, fabrication, and on-set management strategies, allowing for continuous improvement. It's a form of systematic problem-solving, much like project management methodologies discussed in publications like Harvard Business Review.
Refining Protocols for Future Productions
Based on the debrief and analysis of your repair logs, you can refine your wardrobe protocols. This might involve updating your standard repair kit, adjusting pre-production reinforcement strategies for common stress points, or implementing new on-set handling guidelines. Share these insights with your entire team and even other relevant departments (e.g., stunts, props). This institutional knowledge is invaluable for the entire industry, contributing to a smoother, more efficient, and less stressful production environment for everyone involved. It builds a stronger foundation for tackling future challenges.

Frequently Asked Questions (FAQ)
Question: How do you handle repairs for period costumes with unique or historically accurate fabrics? Detailed answer: Repairing period costumes, especially those made with historically accurate or rare fabrics, requires an even greater level of care and specialized knowledge. I always start by consulting textile conservation resources and, if possible, the original fabric supplier or a textile historian. The goal is to use repair techniques and materials that are sympathetic to the original garment, often involving hand-stitching with historically appropriate threads or carefully sourced matching fabric scraps. Sometimes, an internal patch using a modern, stable, and reversible material is preferred to avoid further stressing the original fabric, especially if the costume is intended for long-term preservation after filming. The key is preservation and seamless integration.
Question: What's the biggest mistake wardrobe departments make in emergency repairs? Detailed answer: In my experience, the biggest mistake is rushing the assessment and jumping straight to a repair without fully understanding the damage or its implications for continuity. Panic can lead to quick, visible fixes that might save a minute but ruin a shot. Another common error is using inappropriate materials – for instance, a strong, modern adhesive on a delicate vintage fabric, which can cause irreversible damage. Always take a moment to assess, plan the least invasive, most invisible method, and communicate the realistic timeframe to production.
Question: Is it always better to repair than replace, even if it's faster to replace? Detailed answer: Not always. While the instinct is often to repair, there are clear scenarios where replacing a damaged costume with a duplicate is the superior choice. If a repair is complex, highly visible, or will take an unacceptable amount of time, a quick swap can save the production significant money and time. The decision hinges on the real-time cost-benefit analysis I mentioned earlier, weighing the repair's feasibility, impact on continuity, and time against the availability and cost of a duplicate. The ultimate goal is to keep the production moving without compromising quality.
Question: How do you manage repairs when the original fabric or embellishment is no longer available? Detailed answer: This is a common and challenging scenario that calls for significant resourcefulness. When original materials are unavailable, I would first exhaust all options to source similar materials, contacting original suppliers, specialized textile vendors, or even other costume houses. If an exact match is impossible, the strategy shifts to camouflage and creative integration. This might involve using a slightly different but visually harmonious material in an inconspicuous area, or incorporating the repair into the costume's existing distressing or design elements. Sometimes, a subtle re-design or strategic placement of a new embellishment can hide a difficult repair while maintaining the costume's overall aesthetic.
Question: What role does digital continuity play in costume repair? Detailed answer: Digital continuity is an invaluable tool for costume repair, especially in complex productions with many changes or intricate details. Using still photos and video playback from previous takes allows the wardrobe team to precisely identify the exact state of a costume (e.g., how a tear looked, the position of a stain, the hang of a garment) before damage occurred. This ensures that any repair or adjustment perfectly matches the previous shots, preventing continuity errors that could necessitate costly reshoots. It also helps in documenting the damage and repair process, creating a digital log that can be referenced throughout production and for archival purposes.
Key Takeaways and Final Thoughts
The art of repairing damaged movie costumes during filming is a critical, often unsung, skill in the world of film production. It demands a unique blend of technical expertise, rapid problem-solving, meticulous planning, and calm under pressure. As someone who has spent years in the trenches, I can attest that mastering these best practices is not just about fixing fabric; it's about safeguarding the vision of the film and the efficiency of the entire production.
- Prevention is Paramount: Invest heavily in pre-production planning and on-set protocols to minimize the occurrence of damage.
- Be Prepared: A comprehensive, well-organized rapid response kit is your most valuable asset in an emergency.
- Assess and Prioritize: Always take a moment to understand the damage and its immediate impact before taking action.
- Specialize Your Approach: Recognize that different materials and types of damage require different, tailored repair techniques.
- Guard Continuity: Every repair must be invisible and meticulously documented to preserve the film's narrative integrity.
- Communicate and Collaborate: Seamless teamwork and clear communication with the AD and director are crucial for effective problem-solving.
- Know When to Pivot: Understand when a replacement is a more efficient and effective solution than a time-consuming repair.
- Learn from Every Incident: Use post-filming debriefs and repair logs to refine processes and build invaluable institutional knowledge for future projects.
Ultimately, the costume department is the unsung hero, stitching together not just garments, but the very fabric of the story. By embracing these best practices, you empower your team to tackle any costume crisis with confidence, ensuring that the magic on screen remains uninterrupted and utterly convincing. Keep calm, keep creating, and keep those needles sharp!
Recommended Reading
- 7 Smart Casual Outfits for Men: Project Authority at Professional Dinners
- How to Evolve Haute Couture: 7 Strategies to Preserve Brand DNA
- Textile Robots & New Fabrics: 7 Strategies to Bridge the Adaptation Gap
- Mastering Sustainable Sourcing for Premium Streetwear Hoodies: Your 7-Point Plan
- Why Your Automatic Watch Stops: A Desk Job Fix & 7 Solutions


Your email address will not be published. Required fields are marked *