
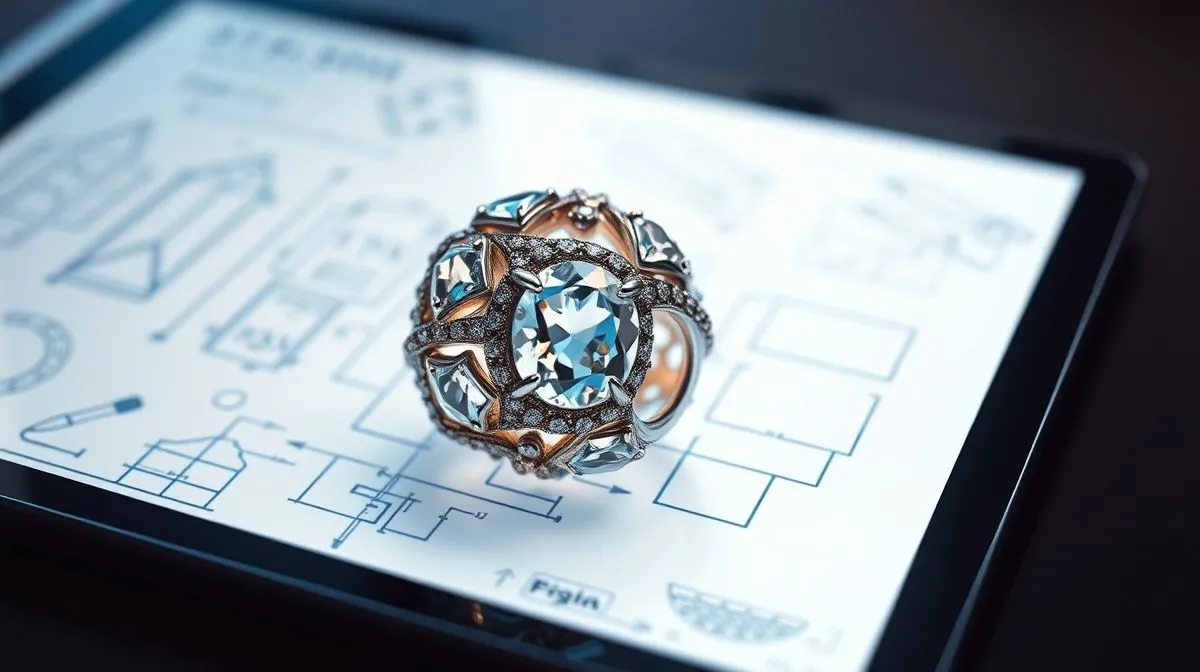
Unlocking the Future: How to Translate Jewelry Design Sketches into 3D?
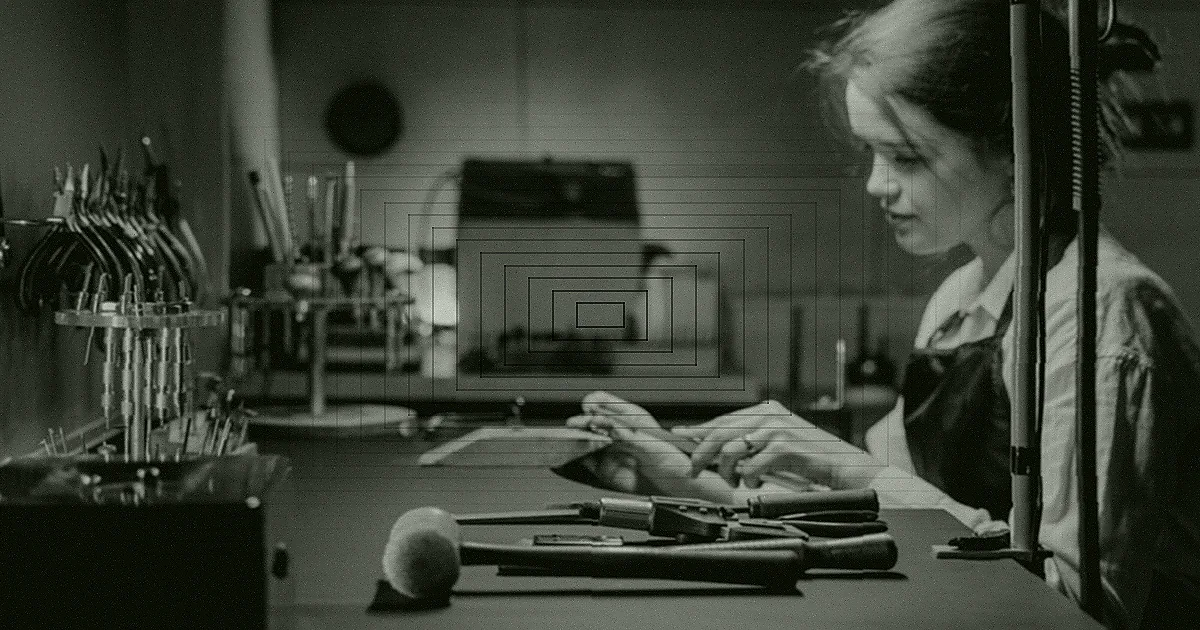
Imagine holding a tangible piece of jewelry, perfectly formed, exquisitely detailed, a mere reflection of a fleeting idea that began as a simple doodle on paper. For centuries, this transformation relied purely on the skilled hands of master jewelers, painstakingly shaping metal and setting stones. While that artistry remains invaluable, a digital revolution has reshaped the landscape of jewelry creation.
But how does a flat, two-dimensional sketch, with its lines and shading, leap into the tangible, three-dimensional realm? What are the bridges between traditional artistry and cutting-edge technology that allow designers to visualize, refine, and even produce their creations before a single gram of metal is cut?
This comprehensive guide will demystify the process, revealing the tools, techniques, and artistry involved in translating your jewelry design sketches into breathtaking 3D models. By the end of this reading, you will understand the power of digital design, the software that makes it possible, and the step-by-step journey from a conceptual drawing to a production-ready 3D file.
Why Embrace 3D for Jewelry Design? The Digital Revolution
The adoption of 3D modeling in jewelry design isn't just a trend; it's a paradigm shift that offers unparalleled advantages. It empowers designers and manufacturers with capabilities that traditional methods simply cannot match, leading to more innovative designs, faster production cycles, and happier clients.
Precision and Prototyping
One of the most compelling reasons to embrace 3D is the incredible precision it offers. Every curve, every facet, every measurement can be controlled down to the micron. This accuracy is crucial for creating intricate designs and ensuring that components fit together perfectly. Furthermore, 3D models can be rapidly prototyped using 3D printing, allowing designers to hold a physical representation of their piece, test its wearability, and identify any design flaws before committing to expensive metal casting. This iterative process significantly reduces errors and waste.
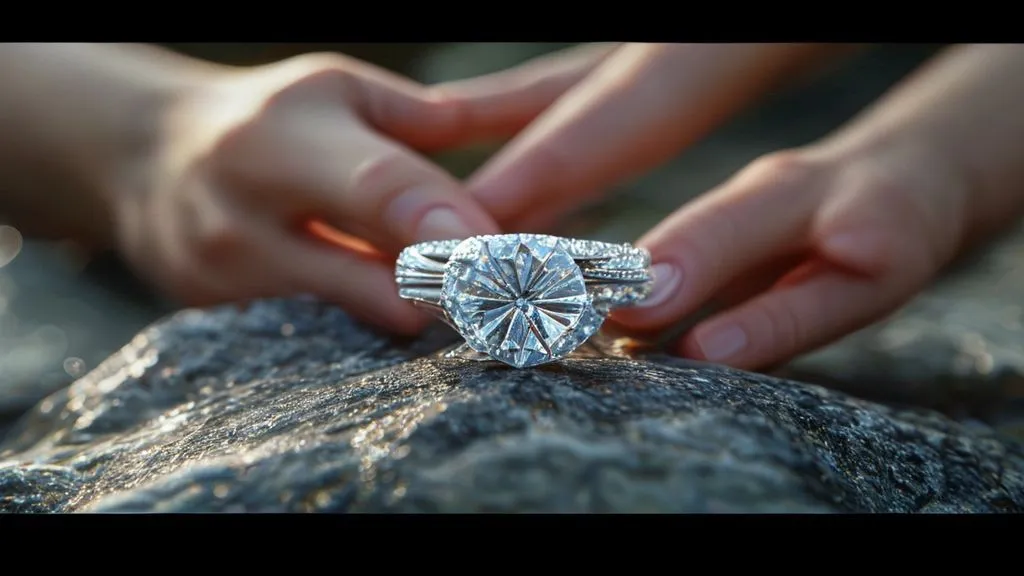
Visualization and Client Approval
Communicating a complex jewelry design to a client through a 2D sketch can be challenging. 3D modeling, however, allows for stunning, photorealistic renderings that bring the design to life. Clients can view the piece from any angle, see how it interacts with light, and even visualize it on a hand or neck. This enhanced visualization capability builds confidence, facilitates faster approvals, and minimizes misunderstandings, leading to a smoother client experience. According to a report by the Gemological Institute of America (GIA), enhanced visualization tools significantly improve client satisfaction in custom jewelry commissions.
Efficiency and Cost Savings
Beyond precision and visualization, 3D modeling dramatically improves efficiency. Design changes that might take hours or days with traditional methods can be implemented in minutes. Files can be easily shared globally, enabling seamless collaboration. This streamlined workflow reduces labor costs, material waste, and time-to-market. The ability to simulate various materials and gem settings virtually also saves on costly physical samples, directly impacting the bottom line.
The Essential Toolkit: Software for 3D Jewelry Design
To embark on the journey of translating your jewelry design sketches into 3D, you'll need the right software. The choice of tool often depends on your specific needs, design style, and budget. Here's a look at the leading contenders:
Industry Standards: Rhino3D and MatrixGold
- Rhino3D: A versatile NURBS (Non-Uniform Rational B-Splines) modeling software, Rhino is a cornerstone in many design industries, including jewelry. Its strength lies in its ability to create precise, free-form 3D shapes. While not jewelry-specific out of the box, its open architecture allows for numerous plugins that cater to jewelers.
- MatrixGold: Built on the Rhino platform, MatrixGold (and its predecessor, Matrix) is specifically engineered for jewelry design. It offers a vast library of jewelry components, automated tools for stone setting, ring sizing, and shank creation, making it incredibly efficient for production-ready designs. It significantly accelerates the workflow for jewelers.
Sculpting Power: ZBrush
For organic, highly detailed, or artistic jewelry pieces, ZBrush is an unparalleled choice. Unlike CAD software that relies on mathematical precision, ZBrush is a digital sculpting tool. It allows designers to 'sculpt' virtual clay, pushing, pulling, and smoothing surfaces with incredible fluidity. This makes it ideal for intricate filigree, realistic animal forms, or unique, flowing designs that are difficult to achieve with traditional CAD methods. It's often used in conjunction with Rhino for hybrid workflows.
Open-Source Alternatives and Entry-Level Tools
- Blender: A powerful open-source 3D creation suite, Blender is free to use and offers extensive modeling, sculpting, rendering, and animation capabilities. While it has a steeper learning curve than some dedicated CAD programs, its community support and flexibility make it a viable option for those on a budget.
- Fusion 360: Autodesk's Fusion 360 offers a more accessible entry point for parametric modeling, combining CAD, CAM, and CAE tools in a cloud-based platform. It's becoming increasingly popular for its ease of use and integrated workflow, suitable for both hobbyists and professionals.
The Translation Process: From Sketch to Screen
The journey of how to translate jewelry design sketches into 3D is a methodical one, blending artistic vision with technical execution. Here's a typical step-by-step breakdown:
Step 1: Analyzing and Refining Your 2D Sketch
Before touching any software, thoroughly review your original sketch. Ensure all angles, proportions, and critical dimensions are clear. If necessary, create multiple views (front, side, top) to provide a comprehensive blueprint. This initial clarity saves significant time and rework in the 3D environment.
Step 2: Setting Up Your Digital Workspace
Import your 2D sketches (as images) into your chosen 3D software. Use them as reference planes, scaling them accurately to ensure your 3D model maintains the correct real-world dimensions. Calibrate your units (millimeters are standard for jewelry) and set up appropriate layers for different parts of your design, such as metal, stones, and construction lines.
Step 3: Building the Base Geometry (Blocking Out)
Start by creating the fundamental shapes of your jewelry piece. For a ring, this might involve drawing the basic profile of the shank and then revolving it to create the band. For a pendant, you might begin with simple extruded shapes. This stage is about establishing the core structure and overall volume, not yet focusing on intricate details. Think of it as creating a rough clay model.
Step 4: Adding Detail and Refinement
Once the base is established, begin adding the specifics that define your design. This includes refining curves, adding filigree, creating bezels or prongs, and carving intricate patterns. This is where the true power of CAD software shines, allowing for precise control over every element. Utilize tools like booleans (adding/subtracting shapes), sweeps, lofts, and blends to achieve complex geometries.
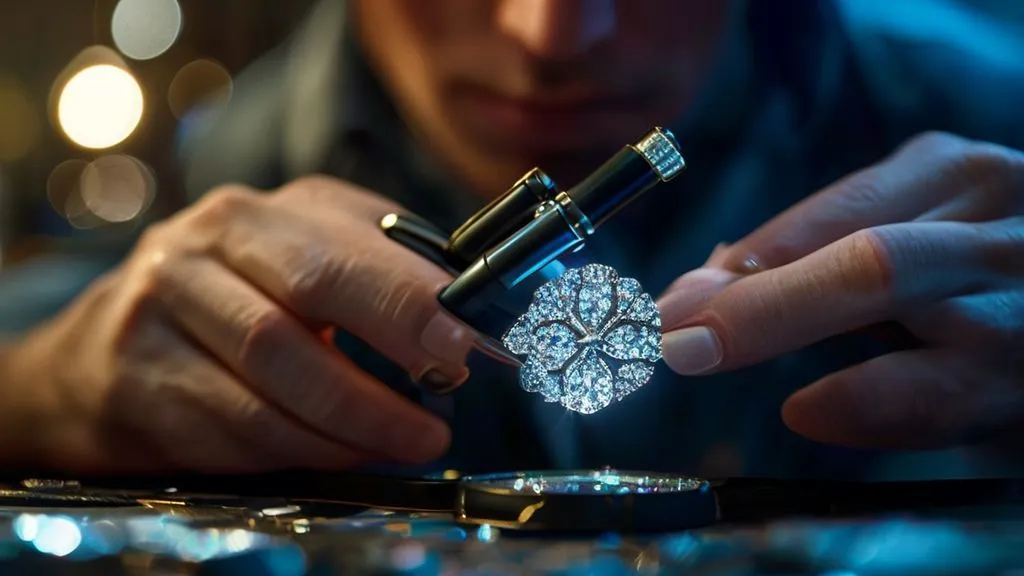
Step 5: Incorporating Gemstones and Settings
If your design includes gemstones, accurately model their shapes and sizes. Then, create the necessary settings – prongs, bezels, pave, or channel settings – ensuring they securely hold the stones while complementing the overall aesthetic. Many jewelry CAD programs have libraries of standard stone sizes and pre-made settings, which can be customized.
Step 6: Texturing, Lighting, and Rendering (Visualization)
With the 3D model complete, the next crucial step is rendering. Apply realistic material properties (gold, silver, platinum, various gemstones) to your model. Set up virtual lights to illuminate the piece, mimicking natural or studio lighting conditions. The rendering process generates a high-quality, photorealistic image or animation that allows you to visualize the finished product with stunning accuracy. This is often the stage where clients are truly captivated by the design.
Best Practices and Advanced Techniques for Flawless 3D Models
Mastering 3D jewelry design goes beyond knowing the software; it involves adopting best practices that ensure your models are not only beautiful but also manufacturable and efficient.
Maintaining Proportions and Scale
Always work in real-world units and frequently check your dimensions against your original sketch and industry standards. A ring designed to be 18mm in diameter must be precisely that, as even minor discrepancies can lead to manufacturing issues. Understanding ergonomic considerations for wearability is also key.
Topology and Mesh Optimization
For models destined for 3D printing or complex rendering, good mesh topology is vital. This refers to the clean, organized structure of your model's polygons or NURBS surfaces. Clean topology ensures smooth surfaces, accurate calculations for printing, and easier modifications. Avoid unnecessary complexity or overlapping geometry.
Leveraging Libraries and Components
Most professional jewelry CAD software comes with extensive libraries of common components: shanks, prongs, bezels, standard stone cuts, and even full ring styles. Learning to effectively use and customize these pre-built components can drastically speed up your design process without sacrificing originality. This is particularly true for programs like MatrixGold.
Iteration and Feedback Loops
The beauty of 3D is its flexibility. Don't be afraid to iterate. Create multiple versions of a design, explore different stone layouts, or experiment with various metal finishes. Solicit feedback from peers or clients early in the process and be prepared to make adjustments. This iterative approach refines your vision and leads to superior final products. Iterative design is a core principle in many design disciplines.
Common Pitfalls and How to Avoid Them
While the digital realm offers immense freedom, it also presents its own set of challenges. Being aware of common mistakes can save you considerable time and frustration.
Ignoring Manufacturing Constraints
A beautiful 3D model is useless if it cannot be physically manufactured. Always consider the limitations of your chosen manufacturing method (e.g., 3D printing, casting, stone setting). Wall thicknesses, undercut angles, and minimum details for casting are critical. Consult with your manufacturer or familiarize yourself with industry best practices for manufacturability early in the design phase.
Over-Complicating Designs Early On
It's tempting to jump straight into intricate details, but this often leads to a messy and difficult-to-modify model. Follow a hierarchical approach: establish the main forms, then add secondary details, and finally, the fine embellishments. This structured workflow ensures stability and ease of revision.
Neglecting Proper File Management
3D files can be large and complex. Implement a robust file management system, including clear naming conventions, regular backups, and version control. Losing hours of work due to a corrupted file or mismanaged versions is a frustrating, yet common, pitfall for new designers.
Skipping the Learning Curve
3D software has a learning curve. Rushing through tutorials or avoiding foundational concepts will hinder your progress. Invest time in understanding the software's core functionalities, keyboard shortcuts, and parametric principles. Patience and consistent practice are key to developing proficiency.
The Impact of 3D Modeling on Modern Jewelry Manufacturing
The ability to translate jewelry design sketches into 3D has not only revolutionized the design process but also fundamentally transformed how jewelry is manufactured and sold. This digital shift has opened doors to unprecedented levels of customization, efficiency, and global collaboration.
Integration with 3D Printing
Perhaps the most significant impact is the seamless integration with 3D printing technology. Once a 3D model is finalized, it can be directly sent to a 3D printer to create a wax or resin prototype. This prototype is then used for lost-wax casting, a centuries-old technique now supercharged by digital precision. This bypasses the need for hand-carved waxes, dramatically reducing production time and costs, especially for complex or unique pieces.
Mass Customization and Personalization
3D modeling facilitates mass customization. Jewelers can now easily modify existing 3D models to fit specific client preferences – changing stone sizes, engraving personalized messages, or altering dimensions – all with remarkable efficiency. This allows businesses to offer bespoke pieces at a scale previously unimaginable, catering to the growing demand for unique and personalized items.
Global Collaboration and Workflow Efficiency
With 3D digital files, designers can collaborate with manufacturers, stone setters, and clients across continents in real-time. Changes can be communicated instantly, and feedback incorporated swiftly, streamlining the entire production workflow. This global interconnectedness fosters innovation and makes the jewelry industry more agile and responsive to market demands.
Frequently Asked Questions (FAQ)
Is it hard to learn 3D jewelry design software? Like any specialized skill, it requires dedication and practice. While the initial learning curve can be steep for powerful programs like Rhino or ZBrush, many resources (online tutorials, courses) are available. With consistent effort, proficiency can be achieved within months.
Can I use free software to translate sketches into 3D? Yes, open-source options like Blender are very powerful and free. While they might not have the specialized jewelry tools of commercial software, dedicated users can achieve professional results with enough effort and custom plugins.
How long does it take to create a 3D jewelry model from a sketch? It varies widely depending on the complexity of the design and the designer's skill level. A simple ring might take a few hours, while an intricate, highly detailed piece could take several days or even weeks. Experience significantly reduces this time.
What's the difference between CAD modeling and digital sculpting for jewelry? CAD (Computer-Aided Design) software (like Rhino, MatrixGold) focuses on precise, mathematically defined shapes, ideal for geometric and structured designs. Digital sculpting (like ZBrush) works like virtual clay, allowing for organic, free-form, and highly artistic details. Often, designers use both in a hybrid workflow.
Do I need artistic skills to do 3D jewelry design? While technical proficiency in software is crucial, strong artistic skills, an understanding of form, proportion, and aesthetics, and a keen eye for detail are invaluable. The software is a tool; the artistic vision is what brings the design to life.
Recommended Reading
- Unlock the Secret: How to Pick Cute Outfits for Active Kids That Last!
- Unlock Sustainable Style: How to Buy Fashion Without Greenwashing Lies
- Unlock the Secret: How to Spot Quality Vintage Items for Timeless Wear
- Cracking the Code: What Are the Secrets to Streetwear Influencer Success?
- Unlock Ultimate Comfort: How Responsive Textiles Enhance Wearer Experience
Conclusion
The journey of how to translate jewelry design sketches into 3D is a fascinating blend of traditional artistry and cutting-edge technology. It's a process that empowers designers with unprecedented precision, visualization capabilities, and efficiency, fundamentally reshaping the landscape of modern jewelry creation. From understanding the essential software tools to mastering the step-by-step translation process and adhering to best practices, every aspect contributes to bringing your creative visions to life in the digital realm.
Embracing 3D modeling is more than just learning new software; it's adopting a powerful methodology that can elevate your designs, streamline your production, and open new avenues for customization and collaboration. As the jewelry industry continues to evolve, proficiency in 3D design will remain an indispensable skill, allowing you to not only keep pace but to lead the way in crafting the exquisite pieces of tomorrow.

Your email address will not be published. Required fields are marked *