
How to Safely Restore Fragile Pre-1920s Vintage Textiles?
For over two decades in the vintage fashion industry, I've had the immense privilege of handling countless pieces of textile history. I've also, regrettably, witnessed the irreversible damage inflicted upon delicate garments and fabrics by well-meaning but ill-informed attempts at 'restoration'. It's a heartbreaking sight when a century-old silk gown or a hand-tatted lace collar crumbles simply because someone didn't understand its inherent vulnerabilities.
The allure of pre-1920s textiles lies in their craftsmanship, their stories, and their remarkable endurance. Yet, this very endurance has often made them incredibly fragile. We're talking about natural fibers that have endured decades of environmental exposure, improper storage, and the inevitable march of time, leaving them susceptible to tearing, discoloration, and structural breakdown with even the slightest mishandling.
This comprehensive guide is born from years of hands-on experience, meticulous research, and the wisdom passed down by seasoned conservators. I will walk you through the precise, expert-backed methodologies to safely restore fragile pre-1920s vintage textiles, offering actionable frameworks and insights that ensure you become a confident caretaker of these irreplaceable treasures.
Understanding the Unique Challenges of Pre-1920s Textiles
Before we even consider touching these delicate items, it's crucial to understand what makes them so vulnerable. Textiles from before the 1920s largely predate synthetic fibers, relying on natural materials like silk, cotton, linen, and wool, often hand-spun and hand-woven. Their age means the very chemical structure of their fibers has begun to break down, making them brittle and weak.
Deterioration Factors: The Silent Enemies
- Light Exposure: UV rays, even from indirect sunlight or fluorescent lights, cause dyes to fade and fibers to degrade, leading to 'photodegradation'.
- Humidity and Temperature Fluctuations: Extreme changes cause fibers to expand and contract, leading to stress. High humidity encourages mold and mildew, while low humidity can make fibers brittle.
- Pests: Moths, carpet beetles, and silverfish see natural fibers as a delicious meal, leaving behind holes and frass.
- Acidic Contaminants: Poor quality storage materials (non-acid-free paper, cardboard), environmental pollutants, or even residual body oils and perspiration can cause 'acid rot' over time, literally dissolving the fabric.
- Previous Improper Care: Harsh detergents, aggressive washing, or even poor repairs from decades past can significantly weaken a textile.
Common Fabric Types and Their Vulnerabilities
Each fiber type presents its own unique set of challenges:
- Silk: Highly susceptible to sunlight damage, becoming brittle and shattering. Also prone to watermarks and ring stains if not handled carefully.
- Cotton and Linen: Stronger when wet, but still vulnerable to acid degradation, mold, and insect damage. Can yellow or 'fox' (develop brown spots) over time.
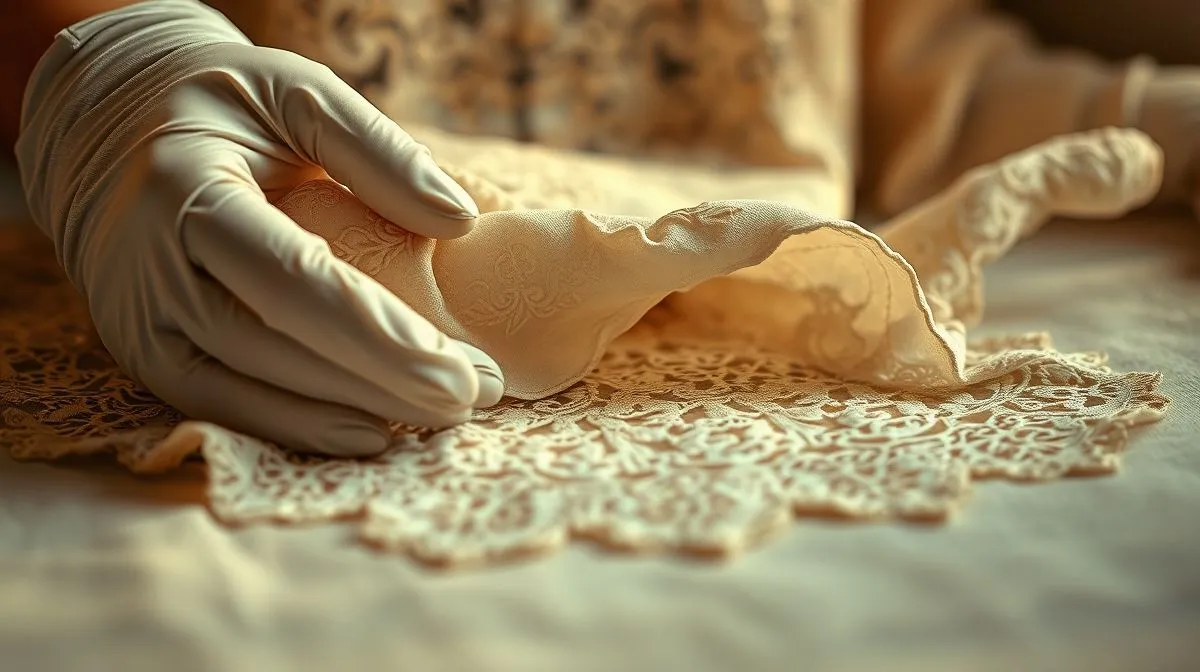
- Lace (especially hand-made): Incredibly delicate due to its open structure. Easily tears, snags, and loses shape when wet.
- Wool: Prone to moth damage, shrinkage with heat and agitation, and can become felted if not washed correctly.
Every thread tells a story of its past, but also whispers its present fragility. Approaching these textiles without a profound respect for their age and inherent weaknesses is an invitation to irreparable damage.
The Essential Pre-Restoration Assessment: Your First Line of Defense
The golden rule in textile conservation is 'do no harm'. Before any active restoration begins, a thorough, meticulous assessment is non-negotiable. This step provides the blueprint for your approach, dictating what can be safely attempted and what requires professional intervention.
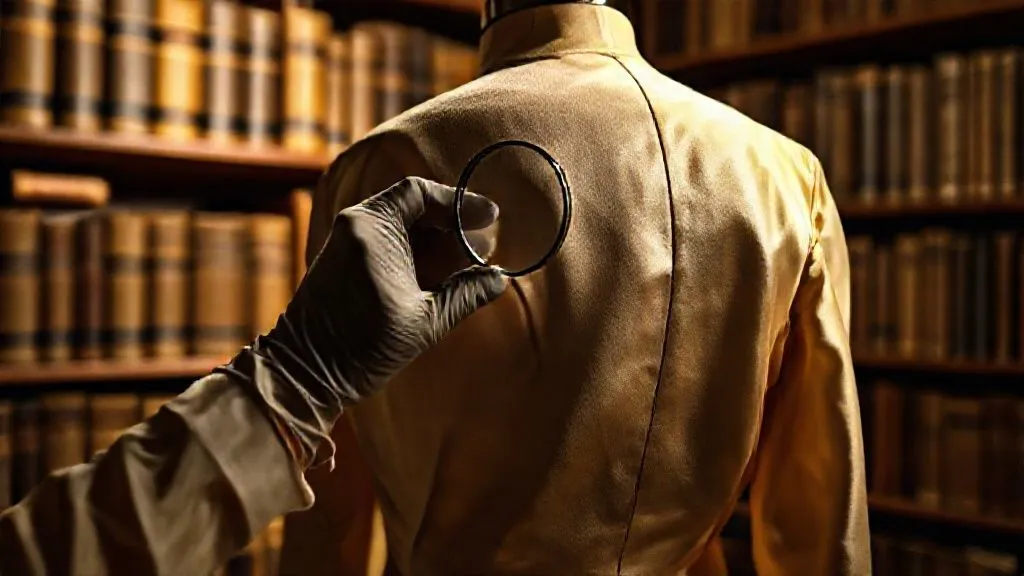
- Visual Inspection (The Detective's Eye):
Lay the textile flat on a clean, white surface under good, diffused light. Use a magnifying glass. Look for: areas of weakness, tears, holes, insect damage (tiny holes, frass, webbing), old repairs, discoloration, stains, and signs of previous treatments. Note the overall condition and specific areas of concern. Check seams and embellishments.
- Fiber Identification (Knowing Your Material):
Accurate fiber identification is paramount. If you have a tiny, loose thread (and I mean tiny, from an unnoticeable area), you can attempt a burn test. Silk and wool smell like burning hair and leave a brittle ash. Cotton and linen burn quickly and smell like burning paper, leaving a fine ash. Synthetics melt or curl. For most, tactile feel and historical context will be your primary guides. For example, pre-1920s silk often feels softer, almost 'dry' compared to modern silks.
- Dye Fastness Test (Crucial for Color):
This is arguably the most critical step before any wet cleaning. Find an inconspicuous area (e.g., inside a seam, hem allowance). Dampen a clean, white cotton swab with distilled water and gently press it against the colored fabric for 10-15 seconds. Check the swab for any color transfer. If color transfers, the dyes are not fast, and wet cleaning is extremely risky or impossible without professional expertise.
- Structural Integrity Check (The Gentle Tug):
Very gently, with two fingers, try to stretch a small, sturdy section of the fabric. Does it feel resilient or does it feel brittle and ready to tear? This indicates the overall strength of the fibers. If it feels like it will tear with minimal pressure, wet cleaning might be too aggressive, even if dyes are fast. The American Institute for Conservation offers excellent guidelines on assessing textile condition.
Creating a Safe Environment for Restoration
Once you've completed your assessment, establishing a pristine, controlled workspace is the next vital step. This isn't just about cleanliness; it's about minimizing risks and creating an optimal environment for delicate work.
Workspace Setup: Clean, Calm, and Controlled
- Location: Choose a quiet, dust-free room. Avoid kitchens or areas with high foot traffic.
- Surface: Use a large, flat, clean surface. Cover it with multiple layers of clean, white cotton sheeting or archival blotting paper.
- Lighting: Good, even, diffused lighting is essential. Avoid direct sunlight or harsh spotlights that can create shadows or heat.
- Distractions: Ensure pets are out of the room, and there are no food or drinks present that could accidentally spill.
Essential Tools and Materials: Your Conservation Toolkit
Having the right tools is as important as having the right technique:
- Gloves: Always wear clean, lint-free cotton or nitrile gloves to prevent transferring oils, dirt, or residues from your hands to the textile.
- pH-Neutral Soap: Use only pure, unscented, pH-neutral soap specifically designed for delicate textiles or conservation. Orvus WA Paste is a common conservator's choice.
- Distilled Water: Tap water contains minerals and chemicals that can stain or react with old fibers. Always use distilled water for cleaning.
- Mesh Screens: Essential for supporting fragile textiles during wet cleaning and drying. You can make one by stretching fiberglass window screen over a wooden frame.
- Soft Brushes: For very gentle dry brushing of surface dirt, use a soft artist's brush or a clean, soft-bristled toothbrush.
- Archival Materials: Acid-free tissue paper, archival boxes, and cotton sheeting for drying and storage.
- Small Bowls/Basins: For creating cleaning solutions and rinsing.
Gentle Cleaning Techniques: The Art of the 'Wet Bath'
The vast majority of pre-1920s textiles can benefit from a gentle wet cleaning, provided the dye fastness test passed. Forget harsh detergents, washing machines, or scrubbing. This is a meditative, slow process designed to float away grime without stressing the fibers.
- Prepare the Bath:
Fill a clean basin or tub with cool to lukewarm distilled water. Add a tiny amount (a few drops per gallon) of pH-neutral textile soap. Stir gently to dissolve, ensuring no suds. The water should be barely cloudy.
- Submersion: The Controlled Descent:
Place your textile onto a clean, rigid mesh screen or between two screens for extra support. Gently lower the screen and textile into the prepared bath. The goal is to avoid any sudden movements or folding that could strain the fabric. Ensure the textile is fully immersed.
- Soaking & Agitation: Less is More:
Allow the textile to soak for 30 minutes to an hour, or until the water starts to show discoloration. Do NOT agitate, rub, or squeeze. If the water becomes very dirty, carefully lift the screen, drain the water, and prepare a fresh bath. For extremely soiled items, this process might need to be repeated several times over a few days, changing the water frequently. This slow, gentle process allows dirt to diffuse out of the fibers.
- Rinsing: The Crucial Step:
This is where most damage or residual staining can occur if not done properly. Drain the dirty water. With the textile still supported on its screen, gently refill the basin with fresh, cool distilled water. Allow it to soak for 30 minutes. Repeat this rinsing process at least 3-5 times, or until the water remains perfectly clear. Any soap residue left behind will attract dirt and cause future degradation.
- Drying: The Flat Foundation:
Once rinsing is complete, lift the screen and textile from the water. Do NOT wring or twist. Place the screen (with textile still on it) onto a layer of clean, absorbent cotton towels or archival blotting paper. Gently press down with more towels to absorb excess water. Then, transfer the textile (still on its screen or very carefully slide it) onto a fresh layer of dry, clean cotton sheeting or mesh in a clean, well-ventilated area. Lay it perfectly flat, shaping it if necessary. Allow it to air dry completely, away from direct sunlight or heat sources. This can take days. The Smithsonian's National Museum of Natural History offers similar guidance on wet cleaning.
Case Study: How Sarah Revived Her Grandmother's Christening Gown
Sarah inherited her great-grandmother's christening gown, a delicate confection of fine cotton and intricate lace, dating to 1898. It was yellowed, stiff, and bore faint brown spots from decades of attic storage. After a careful assessment confirmed dye fastness, Sarah followed the wet bath method outlined above. She performed four gentle soaks over two days, each time seeing more discoloration in the water. The gown was then meticulously rinsed seven times until the water was pristine. Laid flat to dry on a mesh screen for 48 hours, the gown transformed. The cotton regained its soft white hue, the lace became pliable again, and the faint stains had significantly diminished, making the gown suitable for display and future family use.
Targeted Stain Removal for Historical Textiles
While the gentle wet bath often removes general grime and some stains, specific blemishes might require a more targeted approach. However, extreme caution is paramount. Aggressive stain removal can be more damaging than the stain itself.
Common Stains & Gentle Approaches
- Rust Spots: Often caused by old pins or metal fasteners. A very dilute solution of oxalic acid (use with extreme care and gloves) can sometimes remove rust, but this is a high-risk treatment best left to professionals if the textile is very fragile. For DIY, try a tiny bit of lemon juice and salt, then rinse thoroughly.
- Protein Stains (blood, food): These are best treated when fresh. For old, dried stains, a very dilute enzyme cleaner (ensure it's textile-safe and pH-neutral) applied locally with a cotton swab, followed by immediate rinsing, might work. Avoid heat, as it sets protein stains.
- Oil/Grease Stains: Often challenging. You can try carefully blotting with a very small amount of mineral spirits or dry cleaning solvent on a cotton swab, working from the outside in. Always test in an inconspicuous area first, and ensure excellent ventilation.
Spot Treatment vs. Full Immersion: When to Use Which
Spot treatment is for isolated, stubborn stains on otherwise clean textiles, or on items too fragile for a full wet bath. It involves applying a very small amount of treatment solution directly to the stain using a cotton swab, then immediately blotting with distilled water. The risk is creating a clean 'halo' or water ring around the treated area. Full immersion is for overall soiling and general brightening, and is generally safer for the entire textile's even cleaning.
Patience is your most potent tool in stain removal. If a stain doesn't lift easily with the gentlest methods, it's often wiser to accept its presence as part of the textile's history rather than risk irreversible damage.
Stabilizing and Repairing Fragile Damage
True 'restoration' in conservation terms often means making a textile look as close to original as possible, which for a home enthusiast, is typically beyond reach. Our goal is 'stabilization' and 'preservation' – preventing further damage and ensuring the textile's longevity and integrity.
Support Fabrics and Netting: The Invisible Reinforcement
For areas with significant tears, shattering, or extreme weakness, adding a support fabric is the most common conservation approach. This involves carefully backing the damaged area with a sheer, lightweight, archival fabric (like conservation crepeline or very fine silk organza) dyed to match the original. The support fabric is typically applied with very fine, non-permanent stitching or, in professional settings, with heat-activated conservation adhesives (which are not recommended for home use).
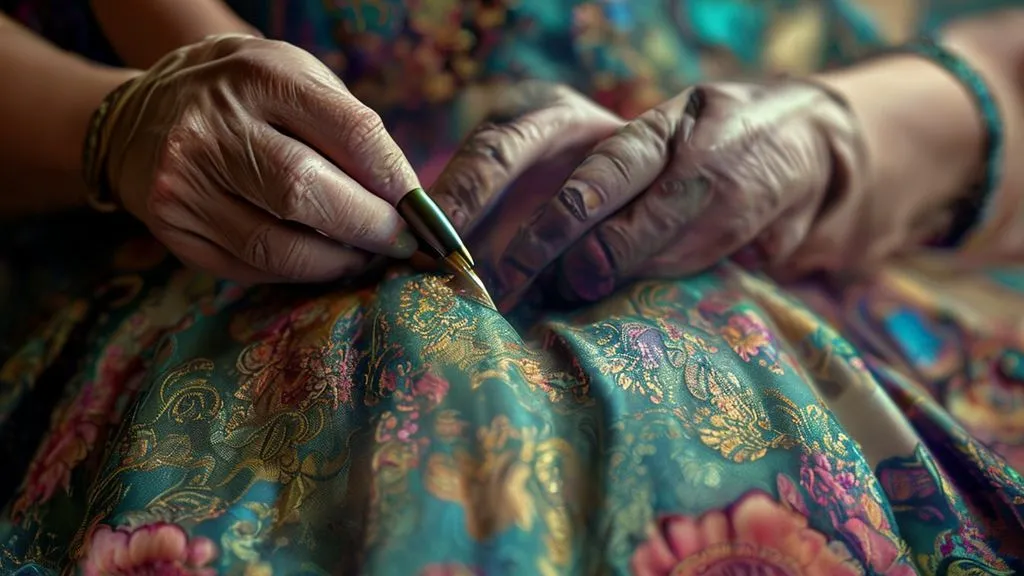
Hand Stitching Techniques: Gentle, Mindful Mending
When mending fragile pre-1920s textiles, the aim is not to make the repair invisible (unless it's an heirloom meant for display where aesthetics are paramount and the fabric can withstand it), but to stabilize and prevent further unraveling. Use very fine, strong, color-matched silk or cotton thread. Key techniques include:
- Couching: For securing loose threads or frayed edges.
- Conservation Stitching: Tiny, evenly spaced running stitches to hold a support fabric in place, or to bridge small tears. The stitches should be minimal and not put undue tension on the original fabric.
- Netting/Tulle Application: For large areas of shattering, a fine nylon or silk net can be placed over the area and stitched down around the edges, effectively holding the crumbling pieces in place.
When to Seek Professional Help: Knowing Your Limits
It's vital to recognize when a textile is beyond your skill level. If you encounter:
- Major structural damage (e.g., entire sections missing, complex tears).
- Irreplaceable historical significance.
- Complex dyes or embellishments that could be damaged by any treatment.
- Molds, serious insect infestations, or other biological hazards.
In these cases, consult a professional textile conservator. They have specialized equipment, chemicals, and expertise that a home enthusiast cannot replicate. Organizations like The American Institute for Conservation (AIC) can help you locate qualified professionals.
Archival Storage for Long-Term Preservation
Cleaning and repair are only the first steps. The true longevity of your restored textile depends on its ongoing care and storage. Improper storage can undo all your hard work in a matter of months or years.
- Ensure Textile is Completely Dry:
Before storage, the textile must be absolutely, completely dry. Even a tiny amount of residual moisture can lead to mold, mildew, and accelerated degradation.
- Use Acid-Free Materials:
This is non-negotiable. Store textiles in acid-free, lignin-free tissue paper, archival boxes, or on padded, acid-free hangers. Avoid regular cardboard boxes, plastic bags (unless they are archival polyethylene or polypropylene), and colored tissue paper, which can leach acids and dyes onto your textile over time.
- Folding vs. Rolling:
For most garments, flat storage in an archival box is best. If folding is necessary, pad the folds with acid-free tissue paper to prevent sharp creases that can weaken fibers. For very long or fragile items, rolling around an acid-free tube (padded with tissue) can be preferable, as it avoids folds altogether. However, make sure the roll is not too tight.
- Environmental Control:
Store textiles in a dark, cool (ideally 65-70°F or 18-21°C), and dry (50-55% relative humidity) environment. Attics, basements, and garages are generally poor choices due to extreme temperature and humidity fluctuations, and pest risks. A climate-controlled closet inside your home is usually ideal. According to the National Park Service's Conserve O Grams, stable environments are key to preventing deterioration.
- Regular Inspection:
Even with perfect storage, it's wise to inspect your textiles annually for any signs of pest activity, mold, or unexpected degradation. Early detection can save your treasured piece.
Frequently Asked Questions (FAQ)
Question: Can I use a regular washing machine for pre-1920s textiles, even on a 'delicate' cycle? Absolutely not. Even the most gentle machine cycle involves agitation and spinning that will almost certainly cause irreparable damage to fragile, century-old fibers. Hand-washing, using the specific wet bath method described, is the only safe approach for these delicate items.
Question: How do I remove stubborn foxing (brown spots) or mildew from old fabrics? Foxing is often a fungal growth or a chemical reaction, and mildew is a type of mold. For mildew, very gentle wet cleaning can sometimes help, but persistent spots may require targeted enzyme treatments or careful bleaching agents that are generally too risky for fragile vintage textiles outside of a professional conservation lab. For foxing, it's often permanent. Attempting to force removal can destroy the fabric. In these cases, it's usually best to accept the spots as part of the textile's history.
Question: Is it safe to wear these garments after restoration? Generally, no. Pre-1920s textiles are often too fragile for regular wear. Even after careful restoration, the fibers remain brittle, and the stress of movement can cause new tears or damage. They are best preserved for display, study, or very occasional, controlled, and gentle handling. The goal is preservation, not renewed utility.
Question: What if the textile is crumbling or shattering just by touching it? If a textile is crumbling, it indicates extreme fiber degradation, often from acid rot or severe light damage. At this stage, any wet treatment or active manipulation will likely cause more damage. This textile is a candidate for stabilization only, often by mounting it onto a rigid support with a sheer overlay, and should be handled by a professional textile conservator. Home restoration is generally not advisable for such severe cases.
Question: How often should I check my stored textiles? Even in ideal storage conditions, it's a good practice to gently unroll or unfold your textiles and inspect them at least once a year. This allows you to check for any signs of pest activity, mold, or unexpected deterioration. It also gives the textile a chance to 'breathe' and can help prevent permanent creasing if it's folded.
Recommended Reading
- The Ultimate Guide: Best Strategies for Copping Streetwear Drops
- Effortless Elegance: How to Choose Casual Menswear for Men Over 40
- Unlock the Secret: How to Translate Jewelry Sketches into Stunning 3D Designs
- Unveiling the Secrets: How Couturiers Achieve Haute Couture Precision
- Unlock Comfort & Style: The Ultimate Guide to Wide Feet Shoe Trends
Key Takeaways and Final Thoughts
- Assess Rigorously, Act Cautiously: Never skip the pre-restoration assessment, especially the dye fastness test. Your motto should be 'do no harm.'
- Embrace Gentle Cleaning: The 'wet bath' technique with distilled water and pH-neutral soap is your safest bet for general cleaning. Avoid harsh chemicals and agitation at all costs.
- Prioritize Stabilization: For repairs, focus on stabilizing damage and preventing further deterioration rather than achieving an invisible 'perfect' mend.
- Master Archival Storage: Long-term preservation hinges on proper storage in a cool, dark, dry, and acid-free environment.
- Know When to Call an Expert: Recognizing the limits of your own skills is a sign of true expertise. Don't hesitate to consult a professional conservator for complex or highly valuable pieces.
Caring for fragile pre-1920s vintage textiles is more than just a cleaning task; it's an act of historical stewardship. Each stitch, each fiber, holds a tangible connection to the past. By approaching these delicate treasures with knowledge, patience, and profound respect, you're not just restoring a piece of fabric; you're preserving a story, ensuring its survival for generations to come. Embrace this responsibility, and you'll find immense satisfaction in becoming a true guardian of history.


Your email address will not be published. Required fields are marked *