
How to Construct a Historically Accurate Corset Pattern?
Have you ever gazed upon a painting from the Victorian era or a photograph from the turn of the 20th century and wondered about the exquisite silhouettes worn by the women within? The foundation of these iconic shapes often lay in the corset, a garment that, despite its controversial reputation, was a cornerstone of fashion for centuries. Its construction was an art form, a blend of engineering and tailoring, designed to sculpt the body into the prevailing ideal.
Yet, for many modern enthusiasts and historical costumers, the journey to recreate these authentic forms can be fraught with challenges. Commercial patterns often simplify or modernize historical designs, leading to a fit that feels more like a costume than a true historical garment. The problem lies in understanding the nuanced principles and specific measurements that defined each era’s corsetry, and then translating that knowledge into a tangible, wearable pattern.
This definitive guide will unravel the mysteries of period-accurate corsetry. You will learn not only how to construct a historically accurate corset pattern from scratch but also delve into the historical context, the essential materials, and the meticulous techniques required to achieve a truly authentic silhouette. Prepare to transform your understanding of historical fashion and elevate your crafting skills to an unprecedented level.
Understanding the Historical Context of Corsetry
Before we pick up our measuring tapes and drafting tools, it’s crucial to immerse ourselves in the history of corsetry. Corsets were not static garments; they evolved dramatically across centuries, reflecting societal changes, aesthetic ideals, and technological advancements. Each era boasted a distinct silhouette, and understanding these differences is paramount to achieving historical accuracy.
Eras and Their Silhouettes: A Brief Overview
- Regency (c. 1800-1820): Characterized by a high waistline and a relatively natural bust, Regency corsets were often less restrictive, focusing on lifting and separating the breasts rather than extreme waist reduction. They were frequently referred to as 'stays' and were lighter in construction.
- Victorian (c. 1837-1901): This era saw the corset reach its zenith in complexity and shaping. Early Victorian corsets emphasized a small waist and rounded bust, while later designs, particularly from the 1880s, introduced the 'spoon busk' for a flat front and a more dramatic 'wasp waist'.
- Edwardian (c. 1901-1910): The 'S-bend' or 'health corset' dominated this period, pushing the bust forward and the hips back, creating a distinctive curvilinear profile. This design aimed to distribute pressure differently, though its impact on posture was still significant.
The purpose of corsets extended far beyond mere waist reduction. They served as foundational garments, providing support for outer clothing, improving posture, and creating the fashionable silhouette of the day. They were integral to the overall look, shaping the body to fit the prevailing aesthetic rather than simply cinching the waist.
Evolution of Corset Construction
Early stays were often made from linen with cording or whalebone. As the centuries progressed, materials became more refined, and construction techniques more sophisticated. The invention of the metal busk and grommets revolutionized fastening and lacing, making corsets easier to put on and take off, and allowing for greater tension. This evolution reflects a continuous quest for both improved function and greater comfort, within the confines of the desired shape.
Essential Tools and Materials for Authentic Corsetry
Crafting a historically accurate corset requires specific materials and tools that contribute to both the structural integrity and the authentic feel of the garment. Substituting modern equivalents without understanding their historical counterparts can often lead to an inaccurate or less durable result.
Fabric Choices: Coutil, Twill, and Linings
The primary fabric for a corset is crucial. Coutil is the gold standard for modern corsetry due to its tightly woven, high-density cotton structure, which prevents stretching and provides excellent support. Historically, strong cotton twills, drills, and even linen were used. For linings, fine linen or cotton sateen were common, providing a smooth, comfortable surface against the skin and adding another layer of strength.
When selecting your fabric, consider its weight and weave. A strong, non-stretch fabric is paramount. Avoid anything with elastane or a loose weave, as it will not provide the necessary compression and shaping.
Boning: Steel vs. Whalebone (and Modern Alternatives)
Boning is the skeletal structure of the corset. Historically, whalebone (baleen) was the primary material, prized for its flexibility, durability, and ability to hold a curve. Today, spring steel and spiral steel boning are the most common and historically accurate modern alternatives. Spring steel, also known as flat steel, is rigid and provides strong support for straight seams, while spiral steel is flexible and ideal for curved seams and areas requiring more movement, like the bust and hip.
- Spring Steel Boning: Best for front and back seams, and along the busk.
- Spiral Steel Boning: Ideal for side seams, curved panels, and areas needing flexibility.
Plastic boning is generally not suitable for structural corsetry, as it lacks the necessary rigidity and durability to create a true historical silhouette. For an authentic feel, investing in quality steel boning is non-negotiable.
Grommets, Lacing, and Busks
Grommets (or eyelets) are used for the lacing channels. Historically, hand-stitched eyelets were common, but modern metal grommets offer superior durability and ease of application. Choose two-part grommets for a professional finish. For lacing, sturdy cotton or linen cord is appropriate. Avoid satin ribbons as they tend to stretch and snap under tension.
The busk is the front fastening of the corset. Historically, whalebone or steel busks were used. Modern steel busks come in various lengths and styles, including spoon busks for Edwardian corsets. A good quality busk is essential for ease of wear and achieving the correct front silhouette.
Pattern Drafting Tools
To accurately draft your pattern, you will need a few key tools:
- Large paper (pattern paper, craft paper, or even butcher paper)
- Long ruler or yardstick
- French curve and hip curve rulers
- Pencils, erasers, and a fine-point marker
- Measuring tape (flexible, fabric type)
- Scissors for paper and fabric
- Awl or hole punch for marking grommet positions
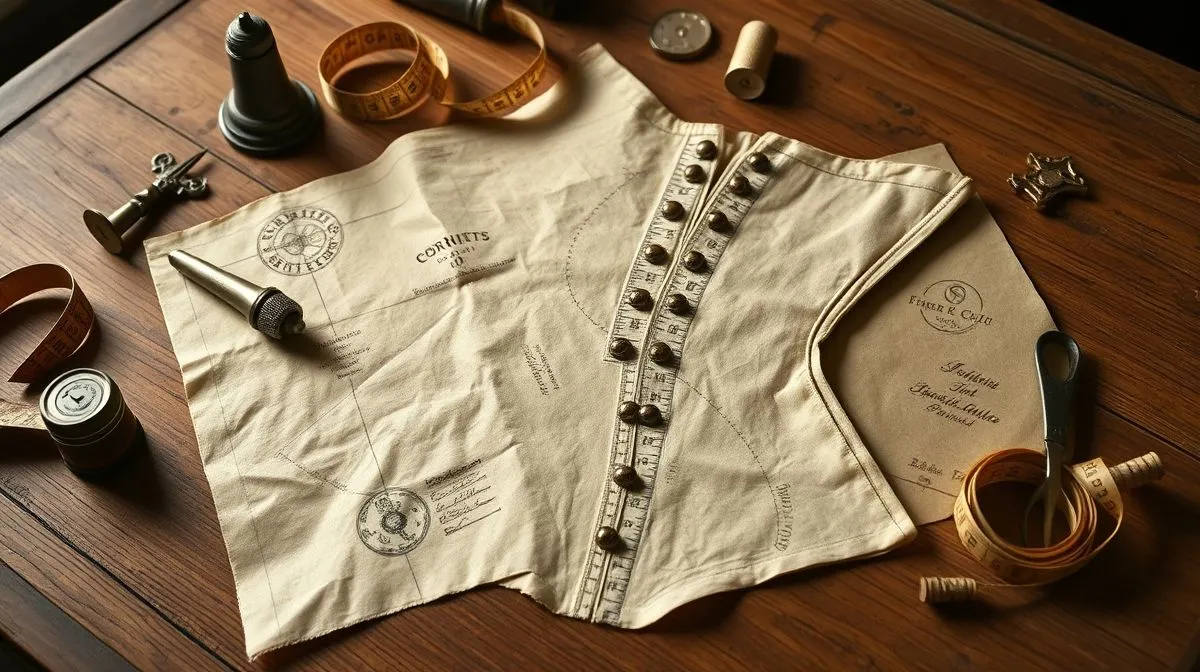
Deconstructing Historical Corset Patterns
The core challenge in creating a historically accurate corset pattern lies in translating historical imagery, extant garments, or period drafting manuals into a usable pattern for a modern body. This process requires a keen eye for detail and an understanding of the underlying principles of period shaping.
Sourcing Authentic Patterns and Resources
The best sources for authentic patterns are often found in museums with textile collections, university archives, or specialized historical costuming books that reproduce original patterns. Websites like the Metropolitan Museum of Art's digital collections or the Victoria and Albert Museum's archives can provide invaluable insights into extant garments. Additionally, historical sewing forums and communities are excellent places to find shared knowledge and resources.
Some historical pattern companies also offer reproductions of original patterns, which can be a great starting point, though they may still require personal adjustments for a perfect fit.
Understanding Period-Specific Measurements and Sizing
Historical sizing was vastly different from modern sizing. Corsets were often custom-made, based on individual measurements. Key measurements for a corset include: bust (over and under), waist, high hip, low hip, and various vertical measurements like bust point to waist, underbust to waist, and waist to hip. It's crucial to understand that a corset is designed to compress and reshape, so the finished garment will have a smaller waist measurement than the wearer's natural waist.
The amount of 'reduction' (the difference between natural waist and corseted waist) varied historically, but a common reduction for comfortable wear for a beginner might be 2-4 inches, while more experienced wearers might achieve 4-6 inches or more, depending on the period and individual body.
The Importance of Grainline and Seam Allowances
Accurate pattern drafting relies heavily on understanding grainline. Corset panels are often cut on the straight grain or sometimes on the bias for specific shaping, but always with a purpose. Incorrect grainline can lead to stretching, distortion, and a poorly fitting garment. Mark your grainlines clearly on your pattern pieces.
Seam allowances are also critical. While historical patterns might have had minimal or no seam allowances included, modern practice dictates adding consistent allowances (e.g., 1/2 inch or 5/8 inch) to all seams. This ensures consistent construction and allows for minor adjustments during fitting. Boning channels will also require specific allowances, often wider than standard seams.
Step-by-Step Guide to Drafting Your Pattern
Drafting a corset pattern from scratch can seem daunting, but by breaking it down into manageable steps, it becomes a rewarding process. This method focuses on creating a custom pattern based on your unique measurements, ensuring the best possible fit and historical silhouette.
Taking Accurate Body Measurements
This is the most critical step. Wear only a thin layer of clothing or undergarments. Have someone assist you for accuracy. Measure tightly, but without compressing the body. Key measurements include:
- Bust: Around the fullest part of the bust, and directly under the bust.
- Waist: The narrowest part of your torso, typically at or just above the navel.
- High Hip: Around the top of the hip bones.
- Low Hip: Around the fullest part of the hips/buttocks.
- Vertical Measurements: Center front from underbust to waist, side seam from underarm to waist, center back from neck to waist, and waist to desired corset length (e.g., top of hip bone, mid-hip).
Record all measurements meticulously. These will be the foundation of your pattern.
Creating a Toile (Muslin Mock-up)
Before cutting into your expensive coutil, create a toile (also known as a muslin or mock-up). This is a test garment made from an inexpensive, non-stretch fabric with a similar weight to your final material. The toile allows you to test the fit, make adjustments, and visualize the silhouette without risking your main fabric.
Draft your initial pattern pieces on paper based on your measurements and a chosen historical style. Cut and assemble the toile, leaving generous seam allowances initially. Sew it together with a long stitch length for easy adjustments.
Pattern Adjustment and Fitting Techniques
Fit the toile on your body. Pin out excess fabric, mark areas that need more room, and observe how the corset is shaping your figure. Pay close attention to:
- Bust Fit: Is it lifting and supporting correctly? Are there gaps or compression?
- Waist Reduction: Is it achieving the desired waistline without discomfort?
- Hip Curve: Is the corset smooth over the hips, or is it digging in/flaring out?
- Length: Is the corset the correct length at the bust, waist, and hips?
- Panel Alignment: Do the seams lie smoothly and follow the contours of your body?
Make adjustments directly on the toile using a marker. Then, carefully remove the toile, flatten the adjusted pieces, and transfer these changes back to your paper pattern. This iterative process of 'draft-toile-adjust' is crucial for a perfectly fitting and historically accurate corset.
Transferring to Final Fabric
Once your paper pattern is perfected, it’s time to cut your final fabric. Lay out your pattern pieces carefully, paying strict attention to the grainline markings. Cut precisely, using sharp fabric scissors. Remember to cut two layers of your main fabric (outer and lining) for each panel. Some corsets might also have an interlining for extra strength.
Mark all notches, dart points, and boning channel lines accurately onto your fabric pieces using tailor's chalk or a fabric pen. These markings are essential for precise assembly.
Common Pitfalls and How to Avoid Them
Even experienced sewers can encounter challenges when venturing into historical corsetry. Being aware of common mistakes can save you a lot of frustration and ensure a more successful outcome.
Misinterpreting Historical Illustrations
It's easy to look at a fashion plate or photograph and assume the corset underneath creates the exact shape depicted. However, illustrations often exaggerate or idealize the silhouette. Rely more on extant garments and period drafting manuals when possible. For example, a study by the University of Chicago Press on 19th-century corsetry highlights how perceptions of ideal body shape influenced both design and artistic representation.
Using Modern Construction Techniques
While some modern sewing machine techniques can speed up the process, blindly applying them can compromise historical accuracy. For instance, using a serger on corset seams isn't historically accurate and can make future alterations difficult. Hand-stitched eyelets, while time-consuming, offer unparalleled authenticity. Understand the historical methods first, then decide where modern shortcuts are acceptable without sacrificing the integrity of the garment.
Ignoring Body Proportions
Every body is unique. A historical pattern drafted for one individual will likely not fit another perfectly without adjustment. Trying to force your body into a pattern not designed for your specific proportions will result in discomfort, poor fit, and an inaccurate silhouette. The toile stage is designed precisely to address this, allowing the pattern to be adapted to your individual measurements and curves.
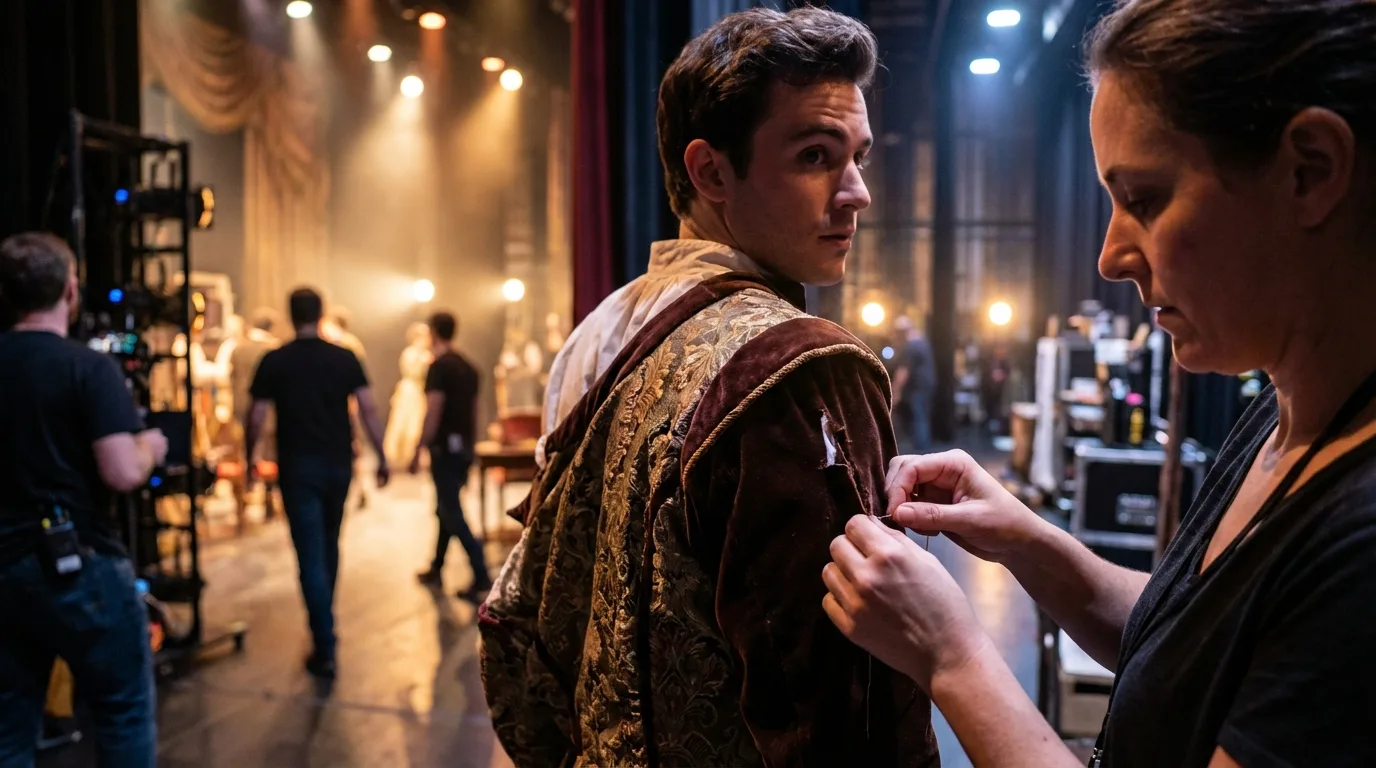
Beyond the Pattern: Assembly and Finishing Touches
Drafting the pattern is only half the battle. The assembly process, particularly the insertion of boning and the finishing details, is where the corset truly comes to life and gains its structural integrity.
Boning Channel Creation and Insertion
Boning channels are typically sewn directly into the corset panels or created by stitching two layers of fabric together. They must be wide enough to accommodate your chosen boning but snug enough to prevent it from twisting. Common methods include:
- Sewing channels onto the lining layer before joining to the outer fabric.
- Creating channels by stitching through both outer and lining layers.
Measure and cut your boning to the precise length, ensuring it is slightly shorter than the channel to avoid poking through. Cap the ends of steel boning with boning tips to prevent rust and protect the fabric. Insert the boning after the corset is mostly assembled, but before the binding is applied.
Grommet Setting and Lacing Techniques
The lacing edge of the corset is crucial for fit and adjustment. Mark the grommet positions precisely, ensuring even spacing. Historically, grommets were often placed 1/2 to 1 inch apart. Use an awl to pierce the fabric, then set your metal grommets using a grommet setting tool. Ensure they are securely fastened.
For lacing, use a strong, non-stretch cord. The most common historical lacing method involves a single lace threaded from the top and bottom, meeting in the middle. This allows for independent tightening of the bust and hip areas, and a 'bunny ears' loop in the middle for easy cinching.
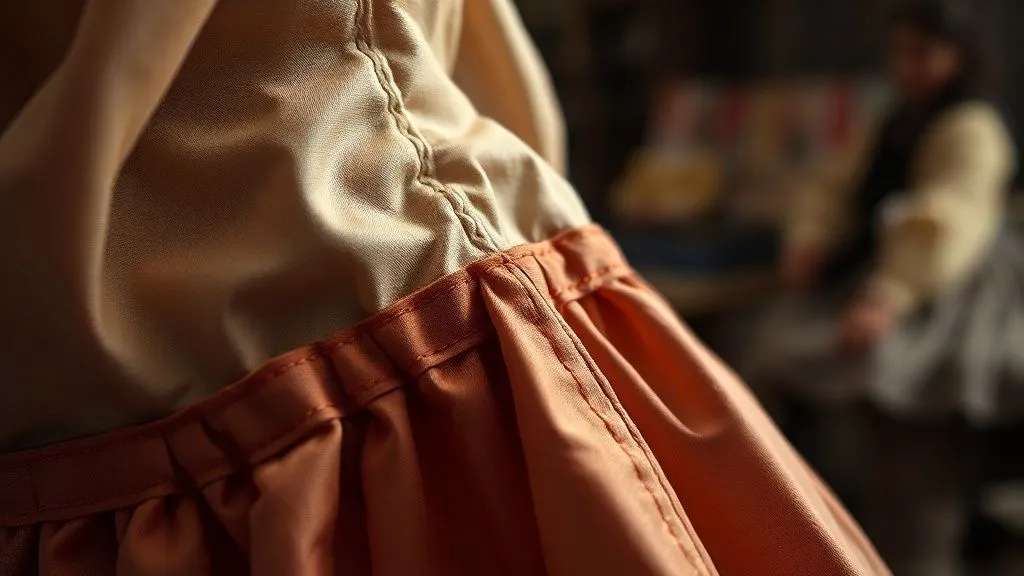
Binding and Embellishments
The top and bottom edges of the corset are typically finished with a binding. This can be made from a bias strip of the corset fabric, or a contrasting material like silk ribbon. The binding provides a neat, durable edge and prevents fraying. Stitch it securely by hand or machine for a clean finish.
Embellishments were common on historical corsets, especially those worn as outerwear or for special occasions. These could include lace trim, embroidery, ribbon appliqué, or even decorative stitching. Choose embellishments that align with the historical period and the intended use of your corset.
The Art of Achieving the Period Silhouette
A historically accurate corset is more than just a garment; it's a foundation for a specific historical silhouette. Understanding how the corset interacts with other period undergarments and the outer fashion is key to truly embodying the look.
The "S-Bend" vs. Natural Waist
As mentioned, the Edwardian 'S-bend' corset created a very distinct posture, pushing the torso forward and the hips back. This contrasts sharply with the earlier Victorian 'wasp waist' which aimed for a more vertical line through the torso, with the emphasis on a small waist. When constructing your corset, be mindful of the specific posture and shape it is designed to create. It's not just about waist reduction, but the overall line of the body.
Pairing with Period Undergarments
A corset rarely stood alone. Historically, it was worn over a chemise (a thin cotton or linen slip) for hygiene and comfort. Over the corset, various layers of padding, petticoats, and bustles would be worn to further enhance the desired silhouette before the outer dress. For example, a Victorian corset would be paired with a crinoline or bustle, while an Edwardian corset might be worn with a petticoat featuring ruffles at the back to enhance the 'pigeon-breast' silhouette. These layers work in harmony to create the complete historical look.
Understanding these symbiotic relationships is crucial. A perfectly drafted corset, worn without its complementary undergarments, may not achieve the full, authentic period silhouette you are aiming for. This holistic approach to historical dress ensures that your hard work in drafting and constructing the corset truly pays off.
Frequently Asked Questions (FAQ)
Can I use a modern sewing machine for historical corsetry? Yes, a modern sewing machine is perfectly suitable for most corset construction. However, some historical details like hand-stitched eyelets or specific finishing techniques may still require hand sewing for ultimate authenticity.
How long does it take to make a historically accurate corset? The time required varies greatly depending on your skill level, the complexity of the pattern, and the level of historical detail. A basic corset might take 20-40 hours, while a highly detailed or complex one could take 60+ hours. The toile fitting stage is often the most time-consuming but crucial.
Is it safe to wear a historically accurate corset? When properly fitted and worn, historical corsets are generally safe. The key is proper fit, gradual lacing, and listening to your body. Extreme tight-lacing or wearing an ill-fitting corset can be uncomfortable or harmful. Always prioritize comfort and breathability over extreme reduction.
Where can I find historical corset patterns? Look for reproductions from historical pattern companies, digital archives of museums (like the V&A or Met), or specialized books on historical costume. Online communities and forums dedicated to historical sewing are also excellent resources.
What is the most important factor for historical accuracy in a corset? While materials and construction are important, the most critical factor is achieving the correct historical silhouette and fit for the chosen period. This means understanding the specific body shape the corset was designed to create, rather than simply cinching the waist.
Recommended Reading
- Draping Dreams: Best Fabric for Textile Art Costumes REVEALED!
- The Ultimate Men's Capsule Wardrobe for Travel: Pack Light & Right!
- 1950s Dresses: Which Neckline Flatters You Most? Find Out!
- Eco-Friendly Shoes That Last: Find Durable & Sustainable Brands
- Unlock Comfort & Style: The Ultimate Guide to Wide Feet Shoe Trends
Conclusion
The journey of learning how to construct a historically accurate corset pattern is a profoundly rewarding one, blending the precision of drafting with the artistry of historical recreation. From understanding the nuanced evolution of corsetry across different eras to meticulously taking measurements, creating toiles, and selecting authentic materials, each step contributes to a garment that is not merely a costume, but a piece of wearable history. By embracing the iterative process of fitting and paying close attention to historical details, you can create corsets that truly embody the elegance and structural ingenuity of past centuries. Embrace the challenge, enjoy the process, and soon you will possess the skills to sculpt history with your own hands.


Your email address will not be published. Required fields are marked *